As usual, it seems I’ve had a lot more time for sewing than I have for blogging. Such is life, especially with Sew Up North bubbling away behind the scenes. But I have been trying to follow along with Sewisfaction’s #seweverydayseptember prompts where I can, and the encouragement to take time to sew, even if it’s just a little bit, resulted in my finally getting to make this Kalle hack.

Kalle is one of those patterns that’s felt like a near miss to me. It’s no secret that I love Closet Case Patterns designs and this is one that looks fabulous on just about everyone.
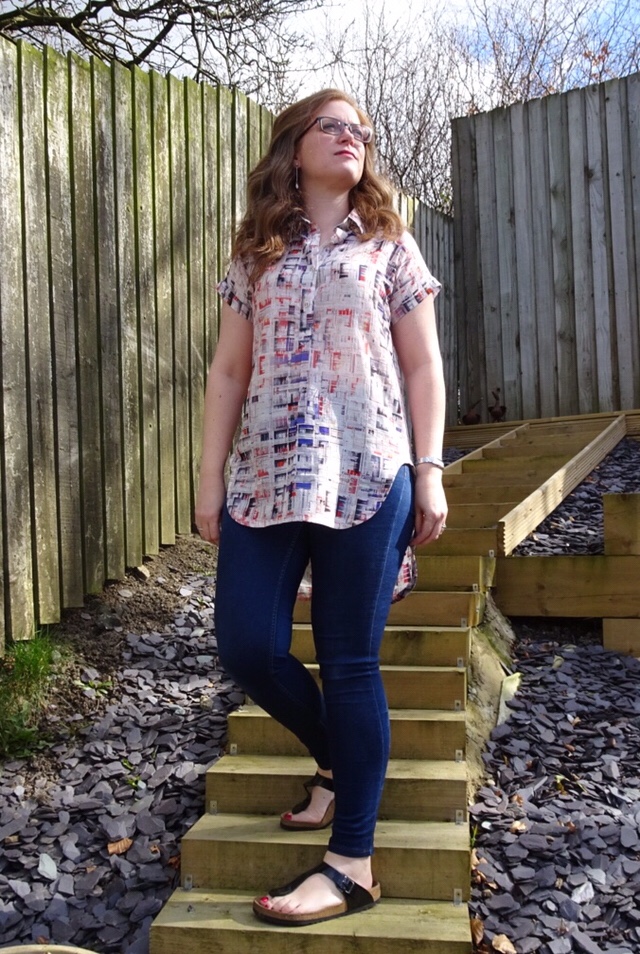
I’ve actually already made this pattern twice before; once at tunic length and once as a dress. But somehow, neither of these sees much wear. I don’t know why, but I don’t feel good in the dress and really I need to hack into it and make it into a more wearable shirt. The tunic is a victim of fabric / pattern combination: to me, that length needs skinny jeans underneath it, but the voile I made it in is so lightweight that it only really works in weather too hot for skinny jeans.

I really enjoy shirt making (there’s something very satisfying about all the steps and the burrito method and the plackets…) so I’ve been wanting to make a “proper” shirt version of this, but I knew the cropped view of the pattern was going to be too short for my comfort zone. Then Claire came to the Stitch Room Sewcial in the most beautiful white version that she’d hacked to the perfect length and I was sold!
(The above link is to one of Claire’s Kalles; I can’t see a post with the specific one but this is equally gorgeous) Claire was kind enough to tell me how she’d changed the orginal pattern, so I dived into the fabric I used my Haystack Pack discount code for just before I went on holiday this year.
So, in order to make my amended version, I did the following;
- I traced off the front and back using the popover placket piece for the front and the cropped length
- I added 6″ to the length of the front piece
- I added 4.5″ to the length of the back piece
- I redrew the hem curve on the back piece to ensure it would still meet the front piece
- I adjusted the hem facing pieces to ensure they still matched the front and back shirts, which involved free handing the curve a little
And off I trundled!

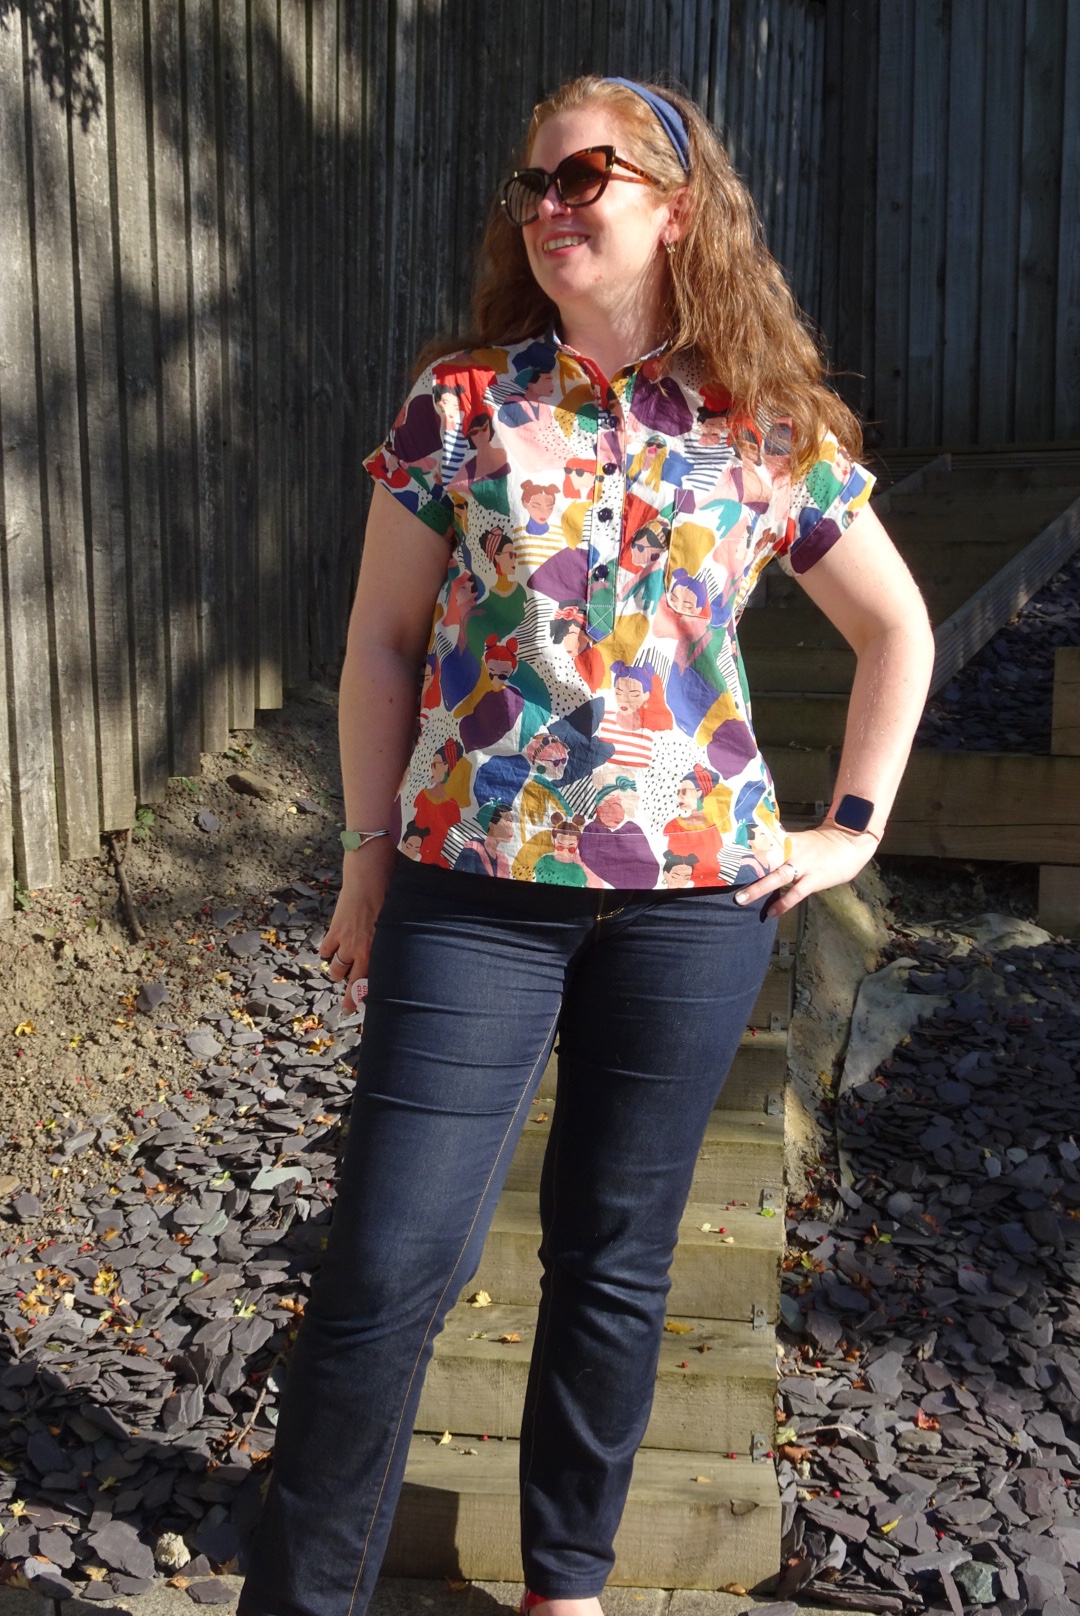
Once again, the pattern was a joy to complete. It’s been an incredibly busy month so it took me quite a few evenings to complete, one or two steps at a time, but slowly still gets there and I love the finished shirt.
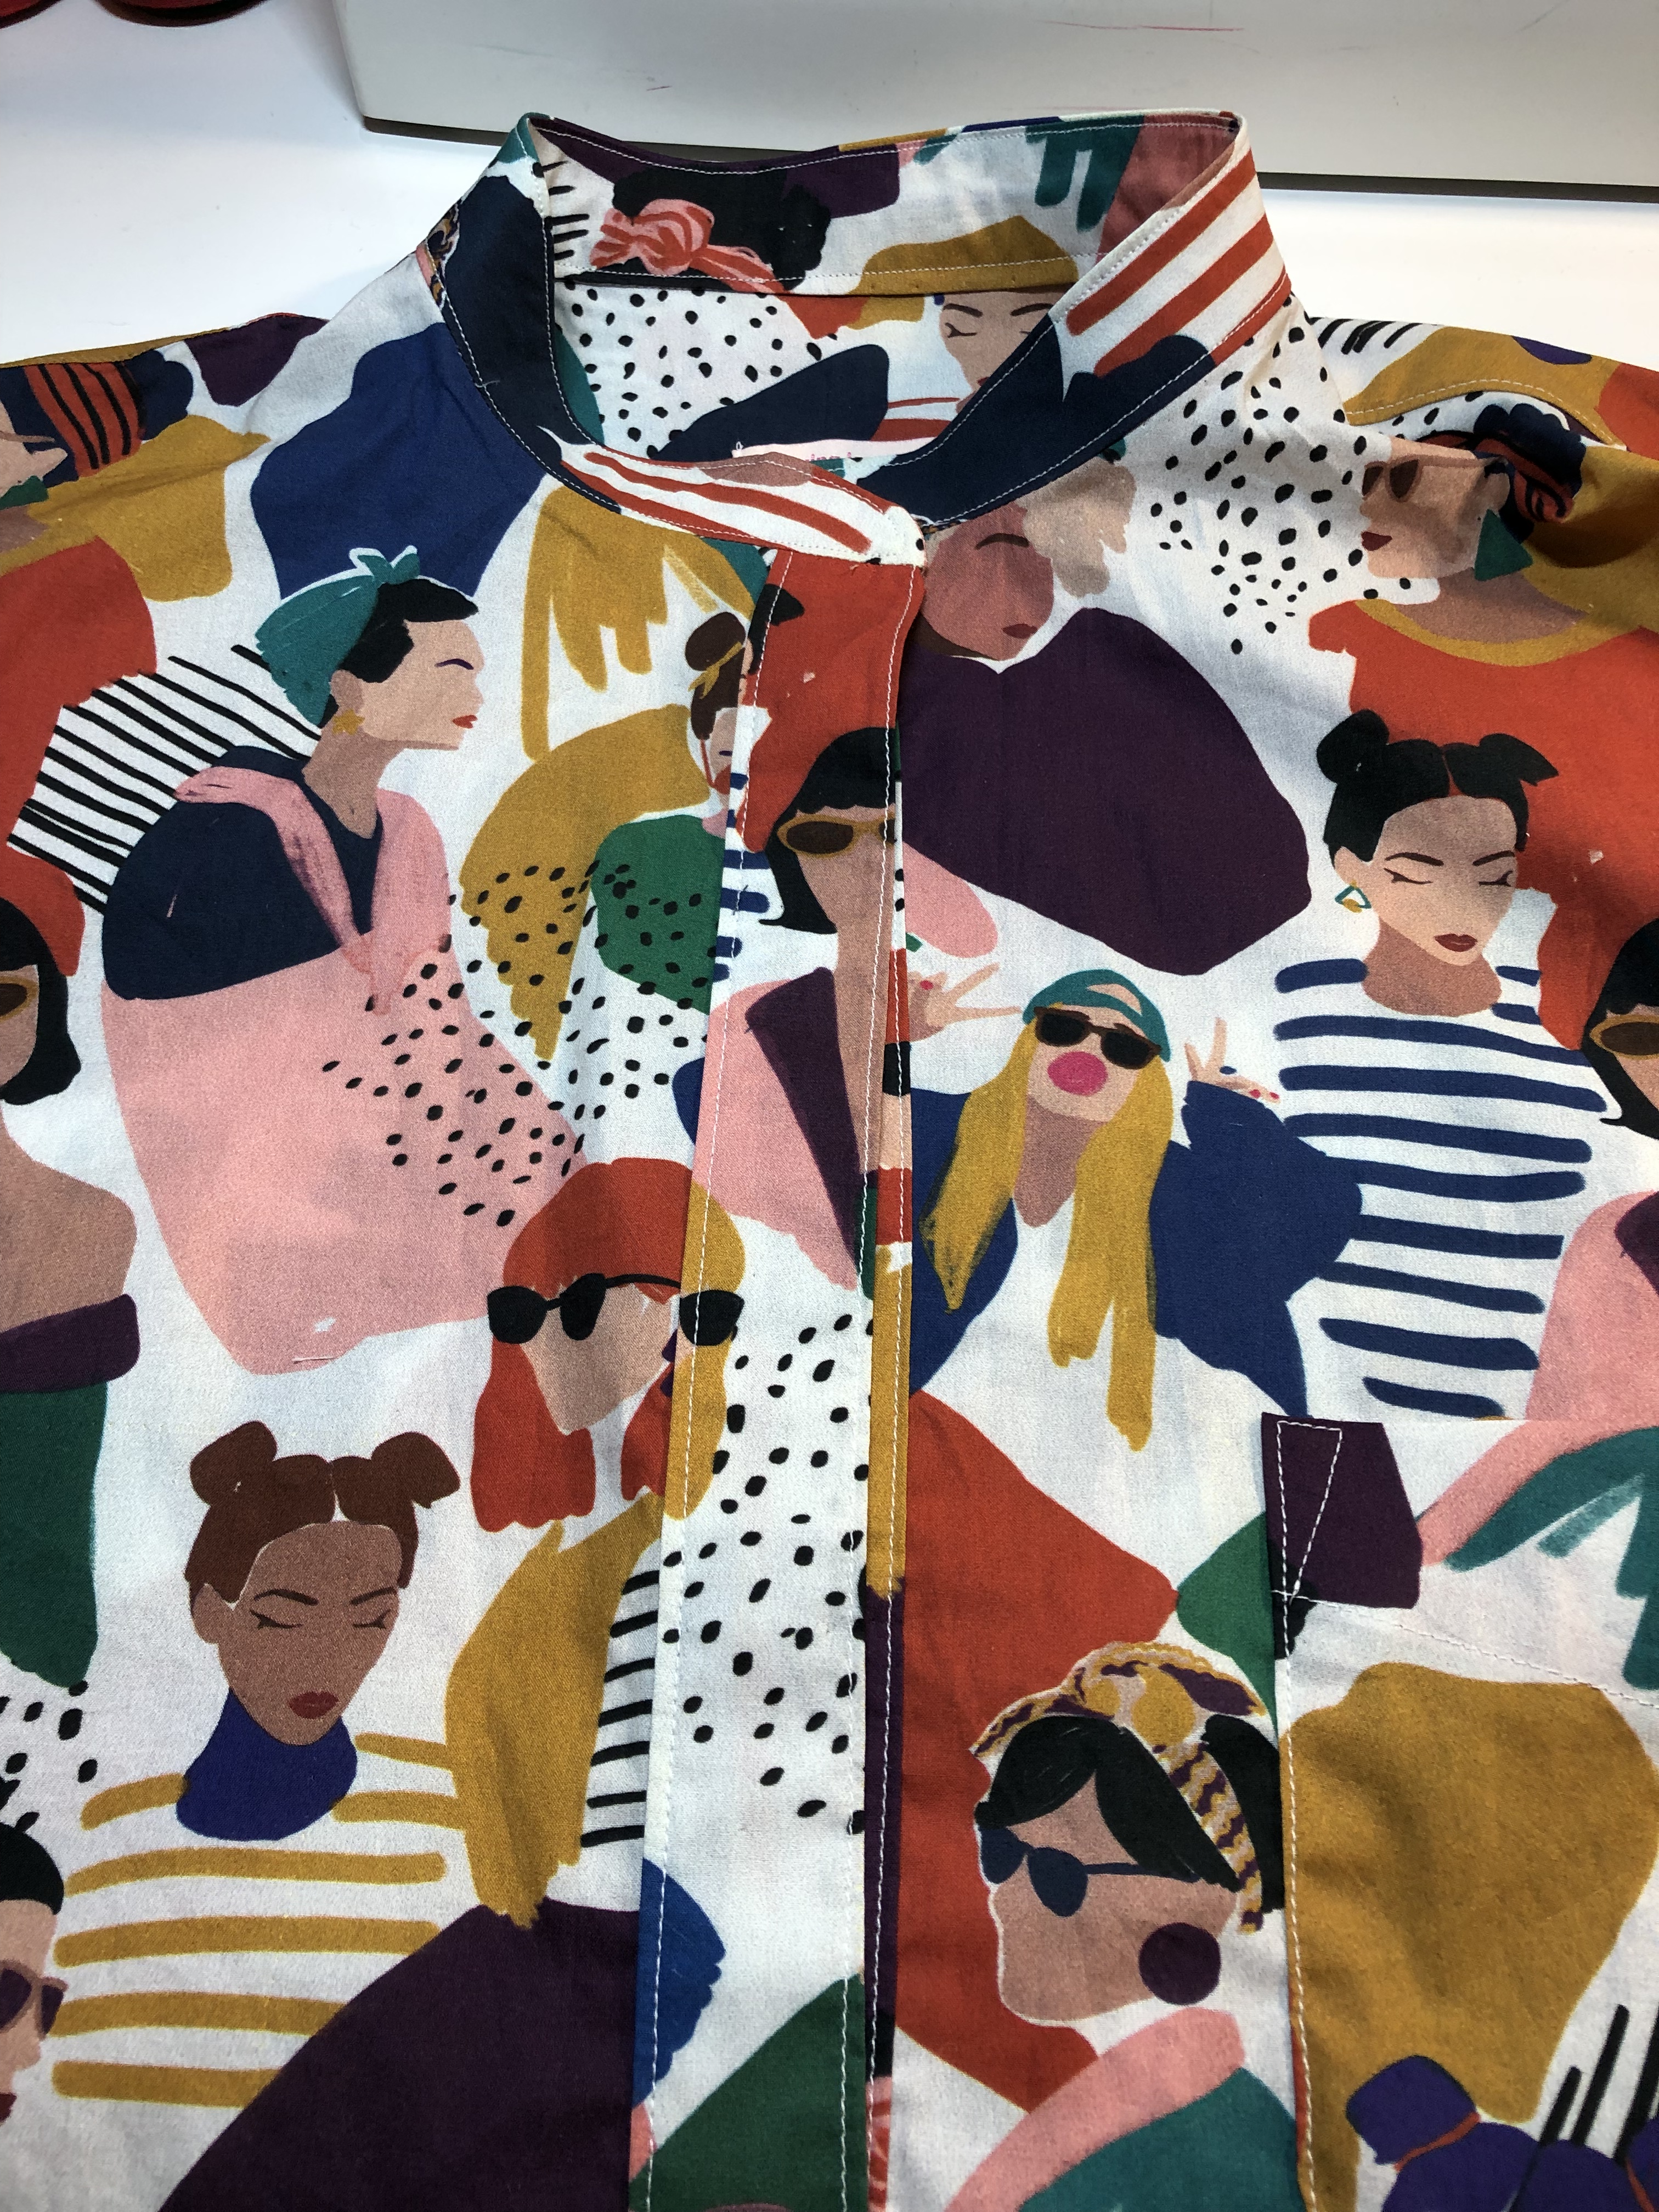
I took the time to French seam the sides, which are pretty much the only bit where you see the seams anyway. I love the look of this finish (and I couldn’t be bothered to change the red thread in my overlocker for two seams!)
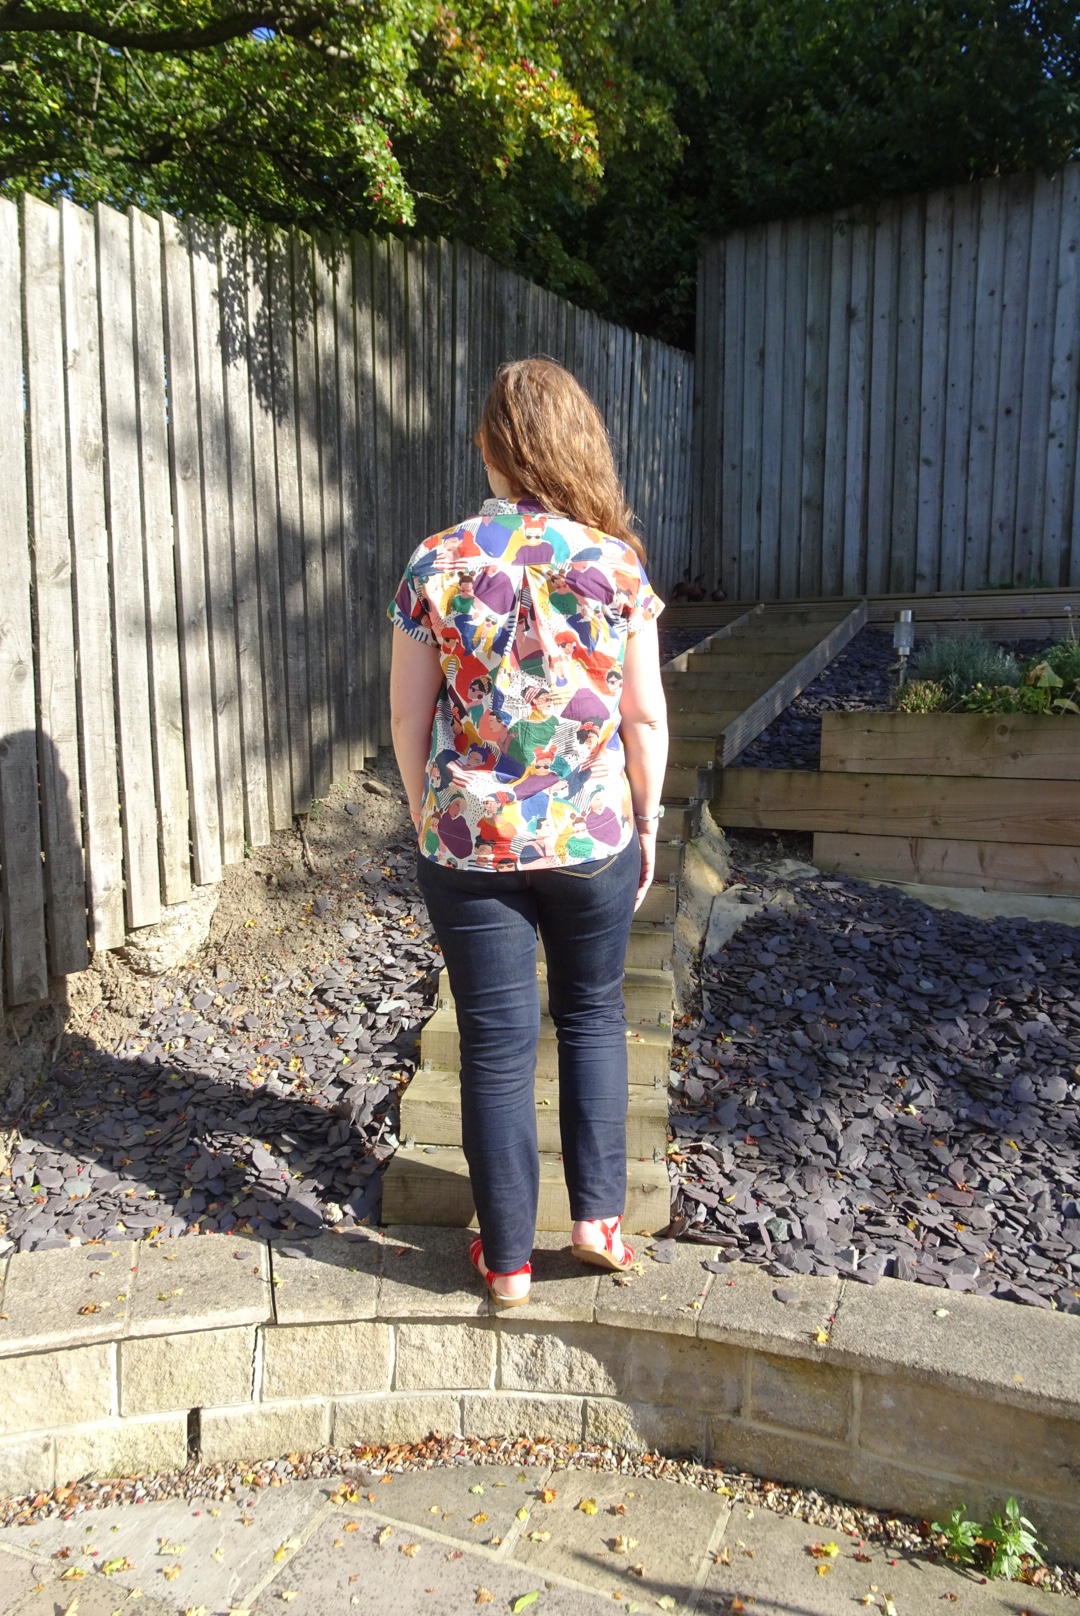
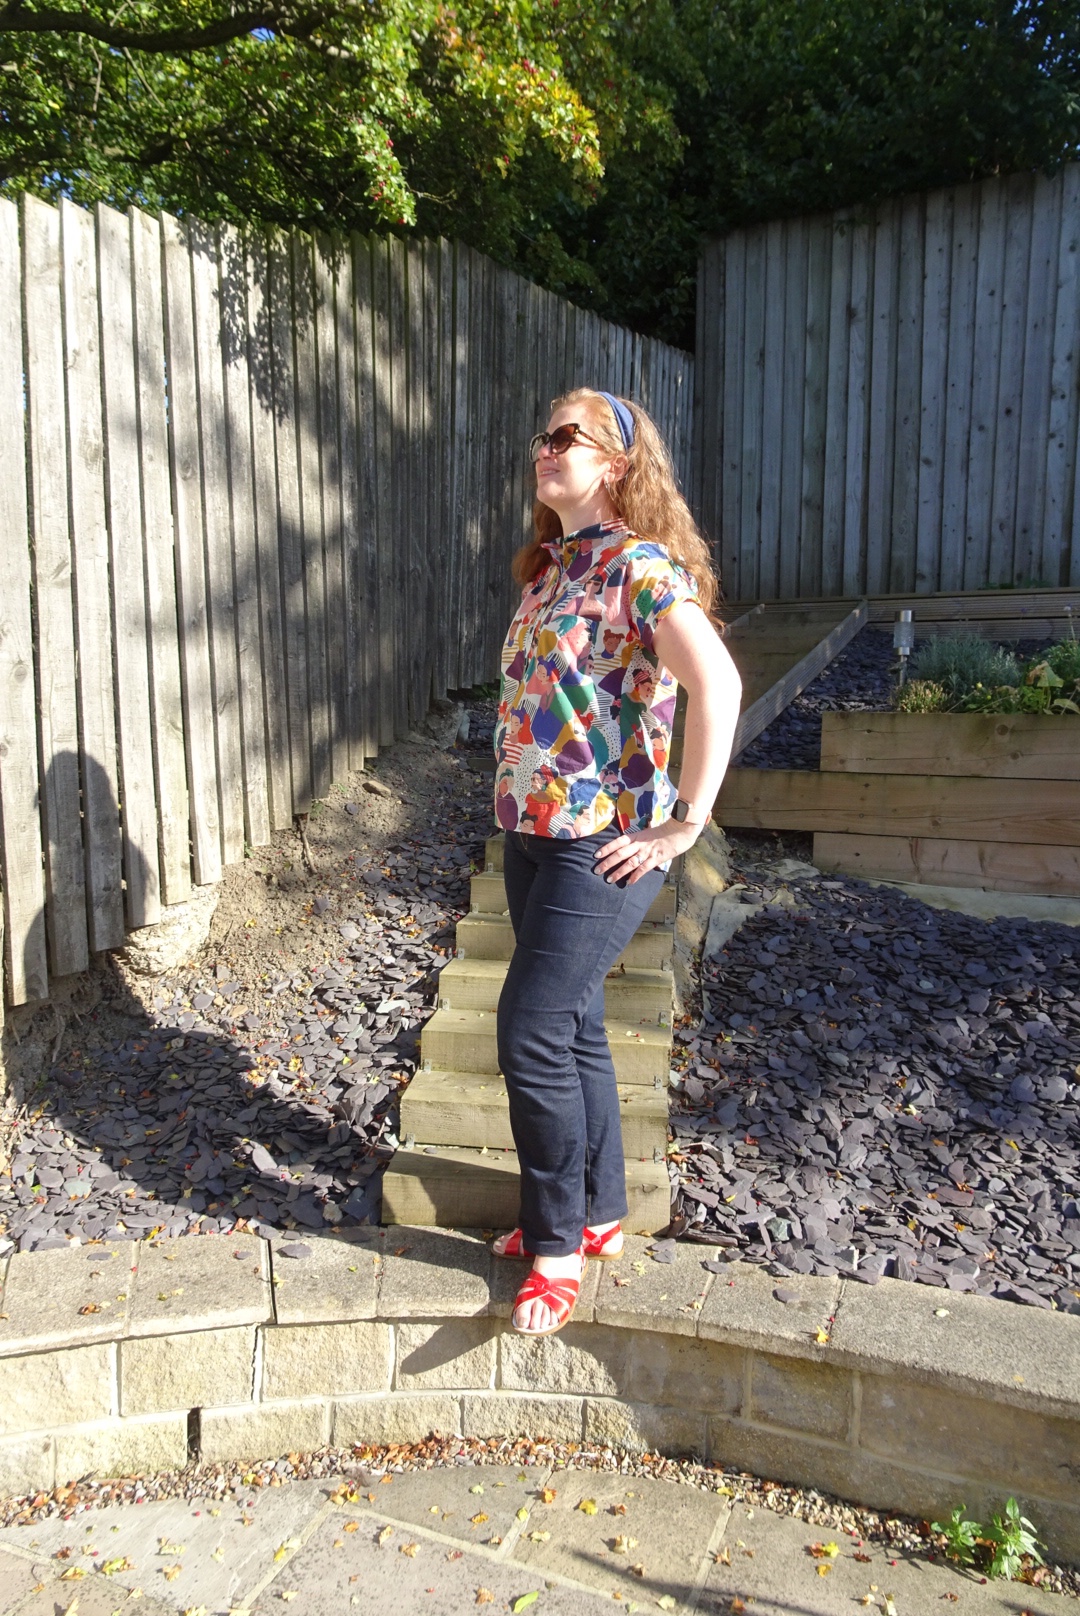
I think another time I might shorten it by another inch front and back to get more of a cropped feel, but this length is a great, wearable shirt in a stunning fabric. And the really good news is I had plenty of the fabric left from my 2m to make the pocket facings and waistband lining for the Ginger jeans which are currently on the go!
And then I will get around to blogging my jeans and the workshop I did to get such a great fit, promise!
Becca x
Details
Pattern
Closet Case Patterns Kalle shirt
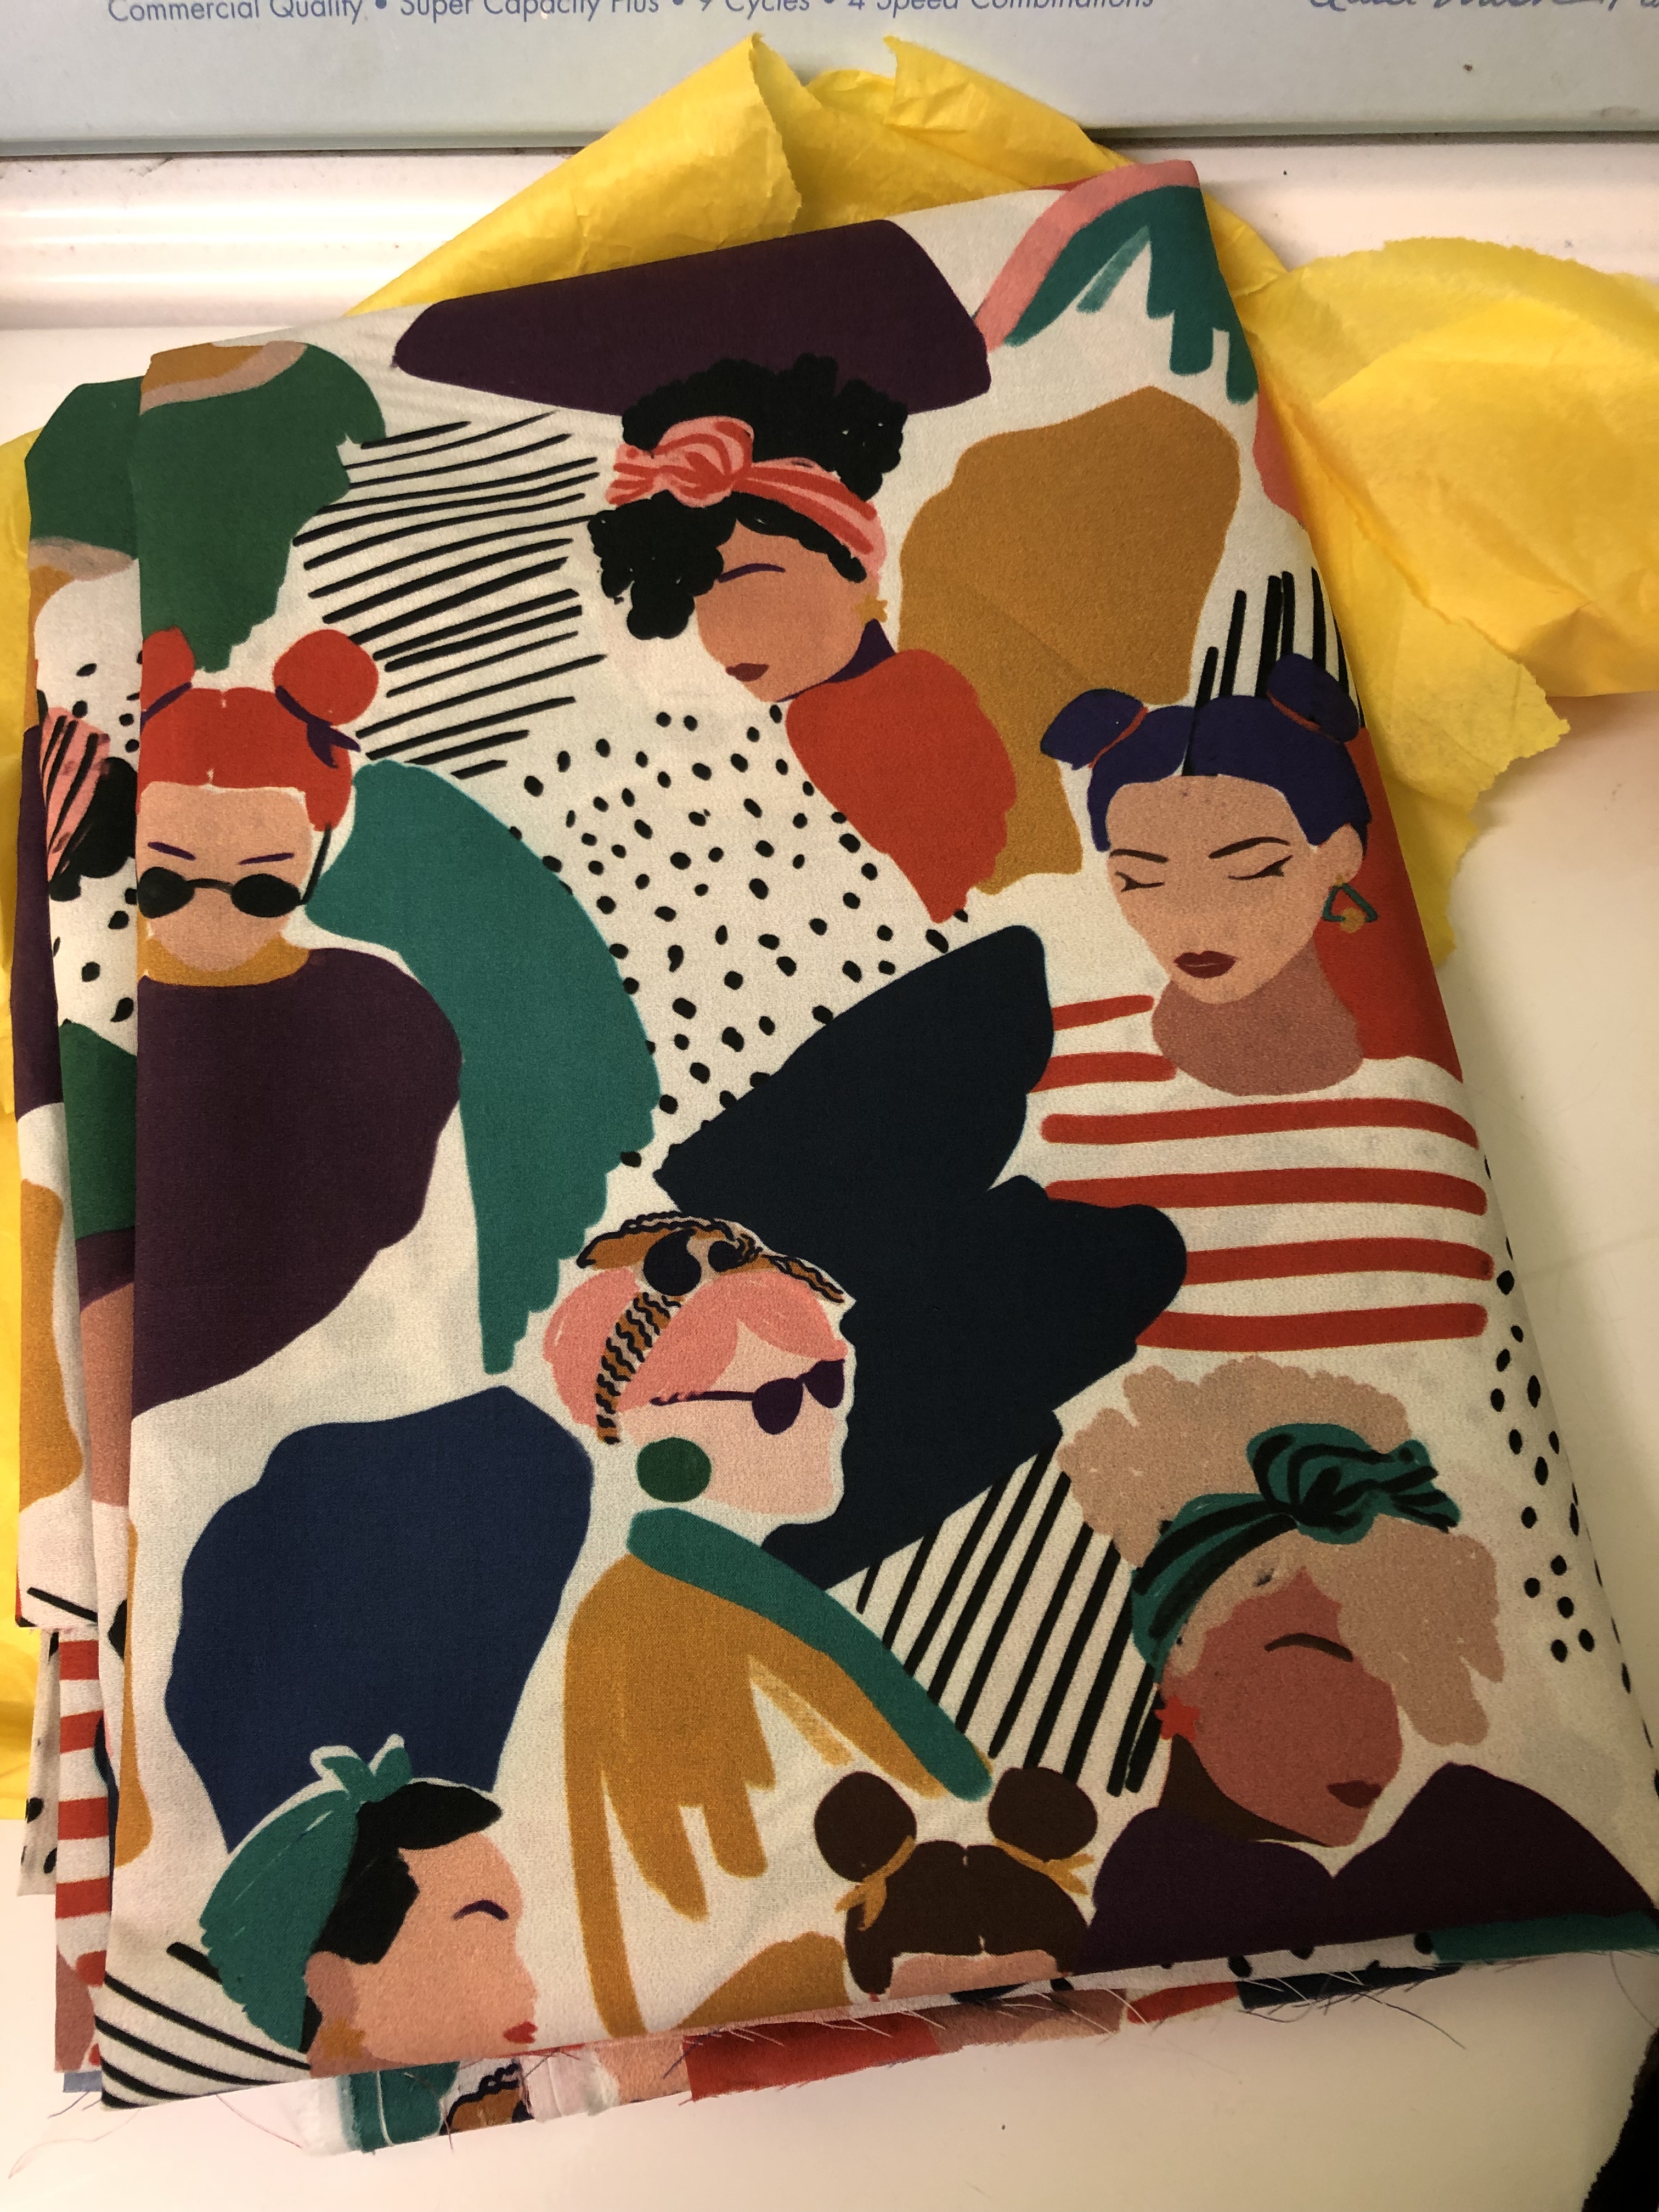
Fabric Lady McElroy cotton lawn from Sew Me Sunshine
My measurements
Bust: 36″
Waist: 32″
Hips: 42″
Size cut 8
Adjustments made
Added 6” to the front, 4.5” to the back and redrew the side curves and hem facings appropriately
Future adjustments?
Potentially take an inch off front and back to make a more cropped version


How do you alter the hem facings please and redraw them
LikeLike
I placed them over my redrawn front and back pieces and made them the same shape at the bottom, checked that they would meet at the sides and that they were the same sort of depth as the originals
LikeLike