
There are some makes that you throw yourself at with gay abandon. The quick wins, the easy fabrics; I’m looking at you, vast collection of me made sweatshirts.
Then there are the ones that you mull over for some time. The ones where you carefully research and gather supplies. The ones where you google techniques and maybe buy a new gadget to help (just me and Sarah Smith on that last one?)
This month’s Minerva Crafts Blogger Network make was one of those projects. (To be clear, the fabric for this project was provided as part of my ongoing participation in the blogger network in return for my honest review. All thoughts and all other supplies were my own – hopefully that meets the legal requirements!)
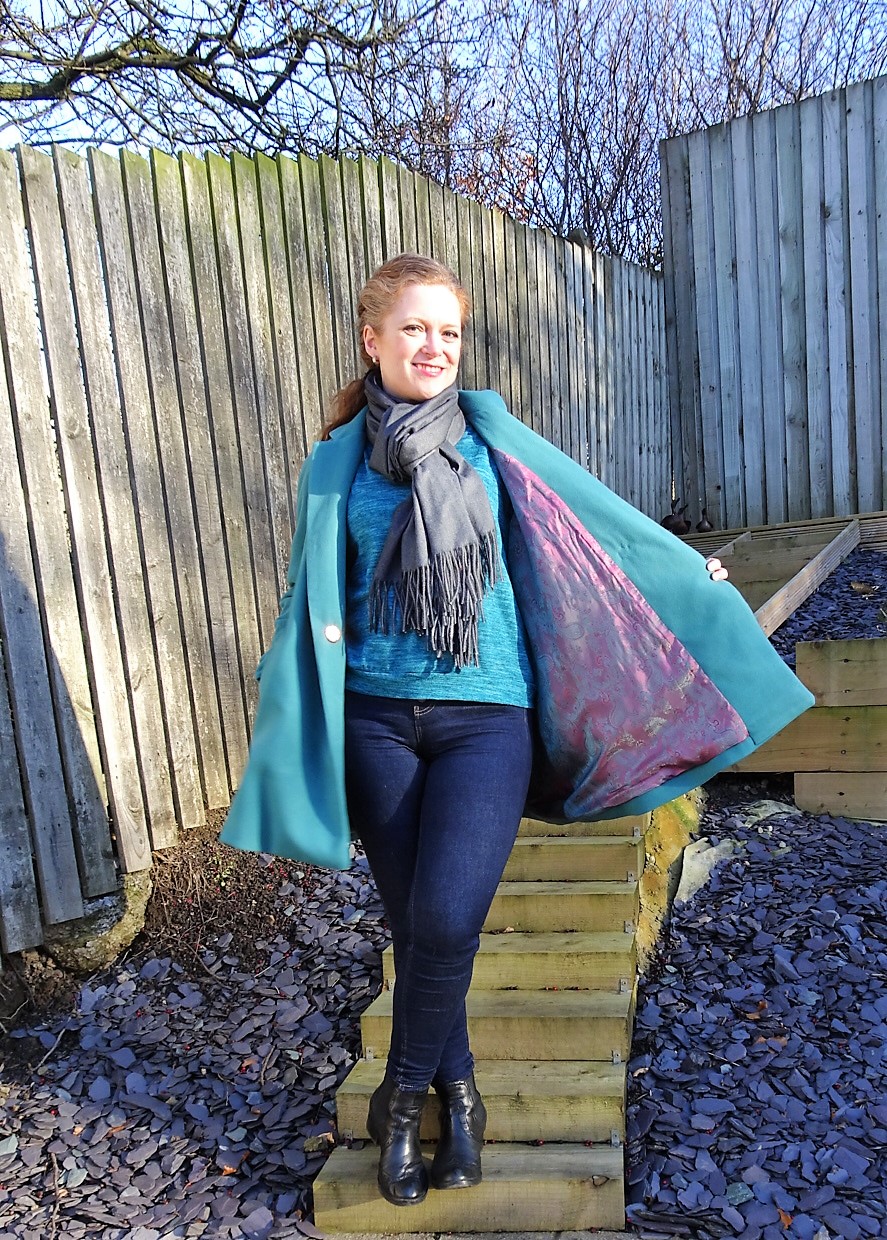
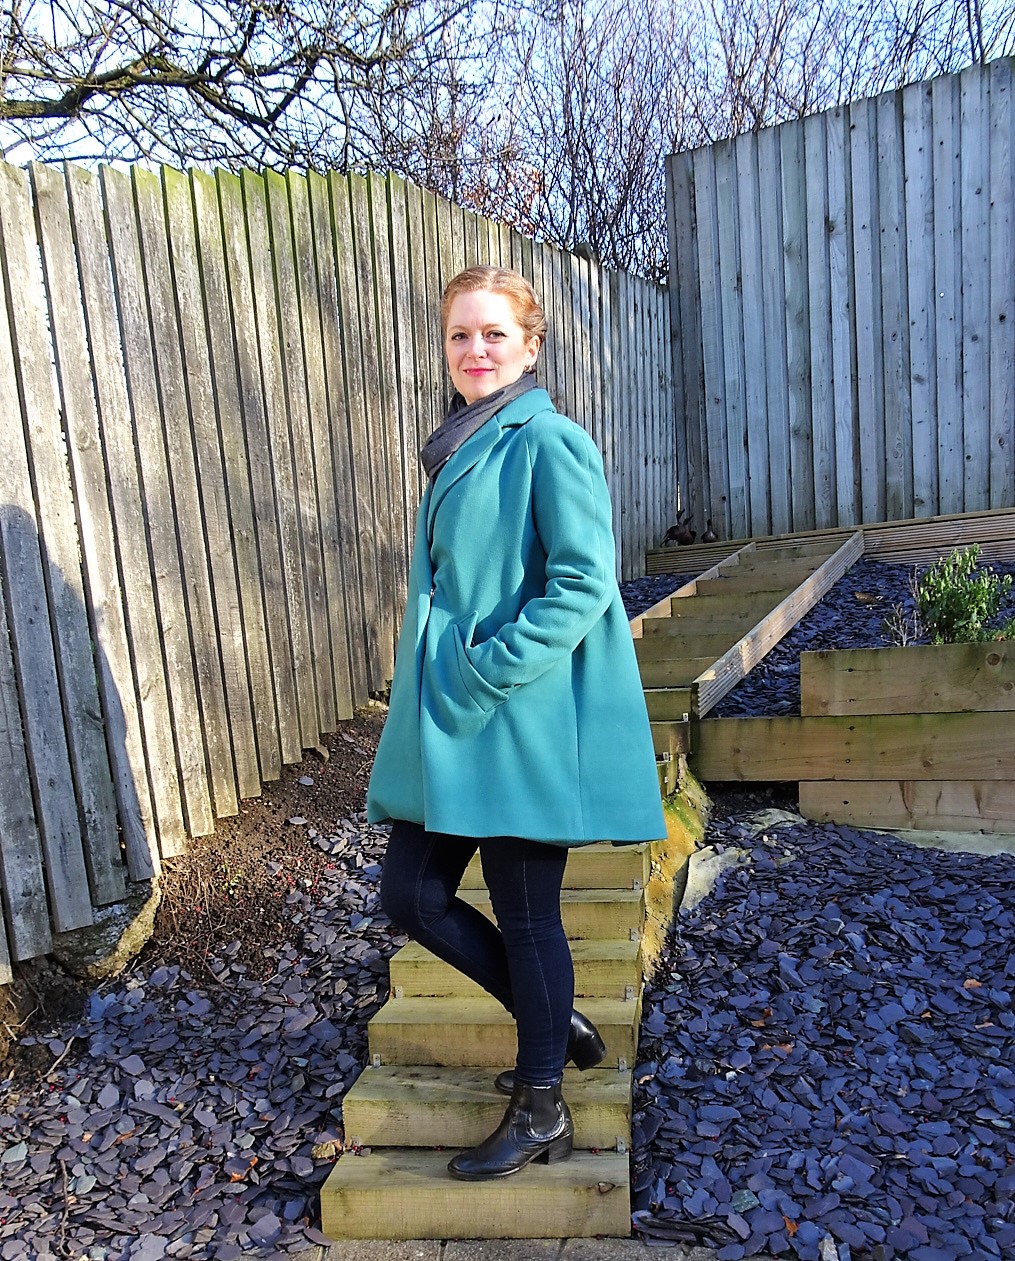
I chose to make the Deer and Doe Opium coat, which was a new release last year. With its raglan sleeves, swing fit and lack of fastenings, it seemed like a good starter winter coat for someone who hasn’t made one before.
As ever, the Deer and Doe instructions are clear but succinct. I did a fair bit of Googling on various tips for coat making and then started gathering supplies.
Aside from the lovely washable wool coating and the lining material provided by Minerva, there weren’t a lot of extra items to get hold of. The key one was the woven iron on interfacing, which I bought from Samuel Taylors in Leeds . This is used in coat making I think because it gives more stability to the heavier fabrics than the usual non woven stuff (I’m guessing here, but that seems likely!) The pattern also calls for seam tape; I actually found an online tip and cut strips the right width on grain from my interfacing off cuts.
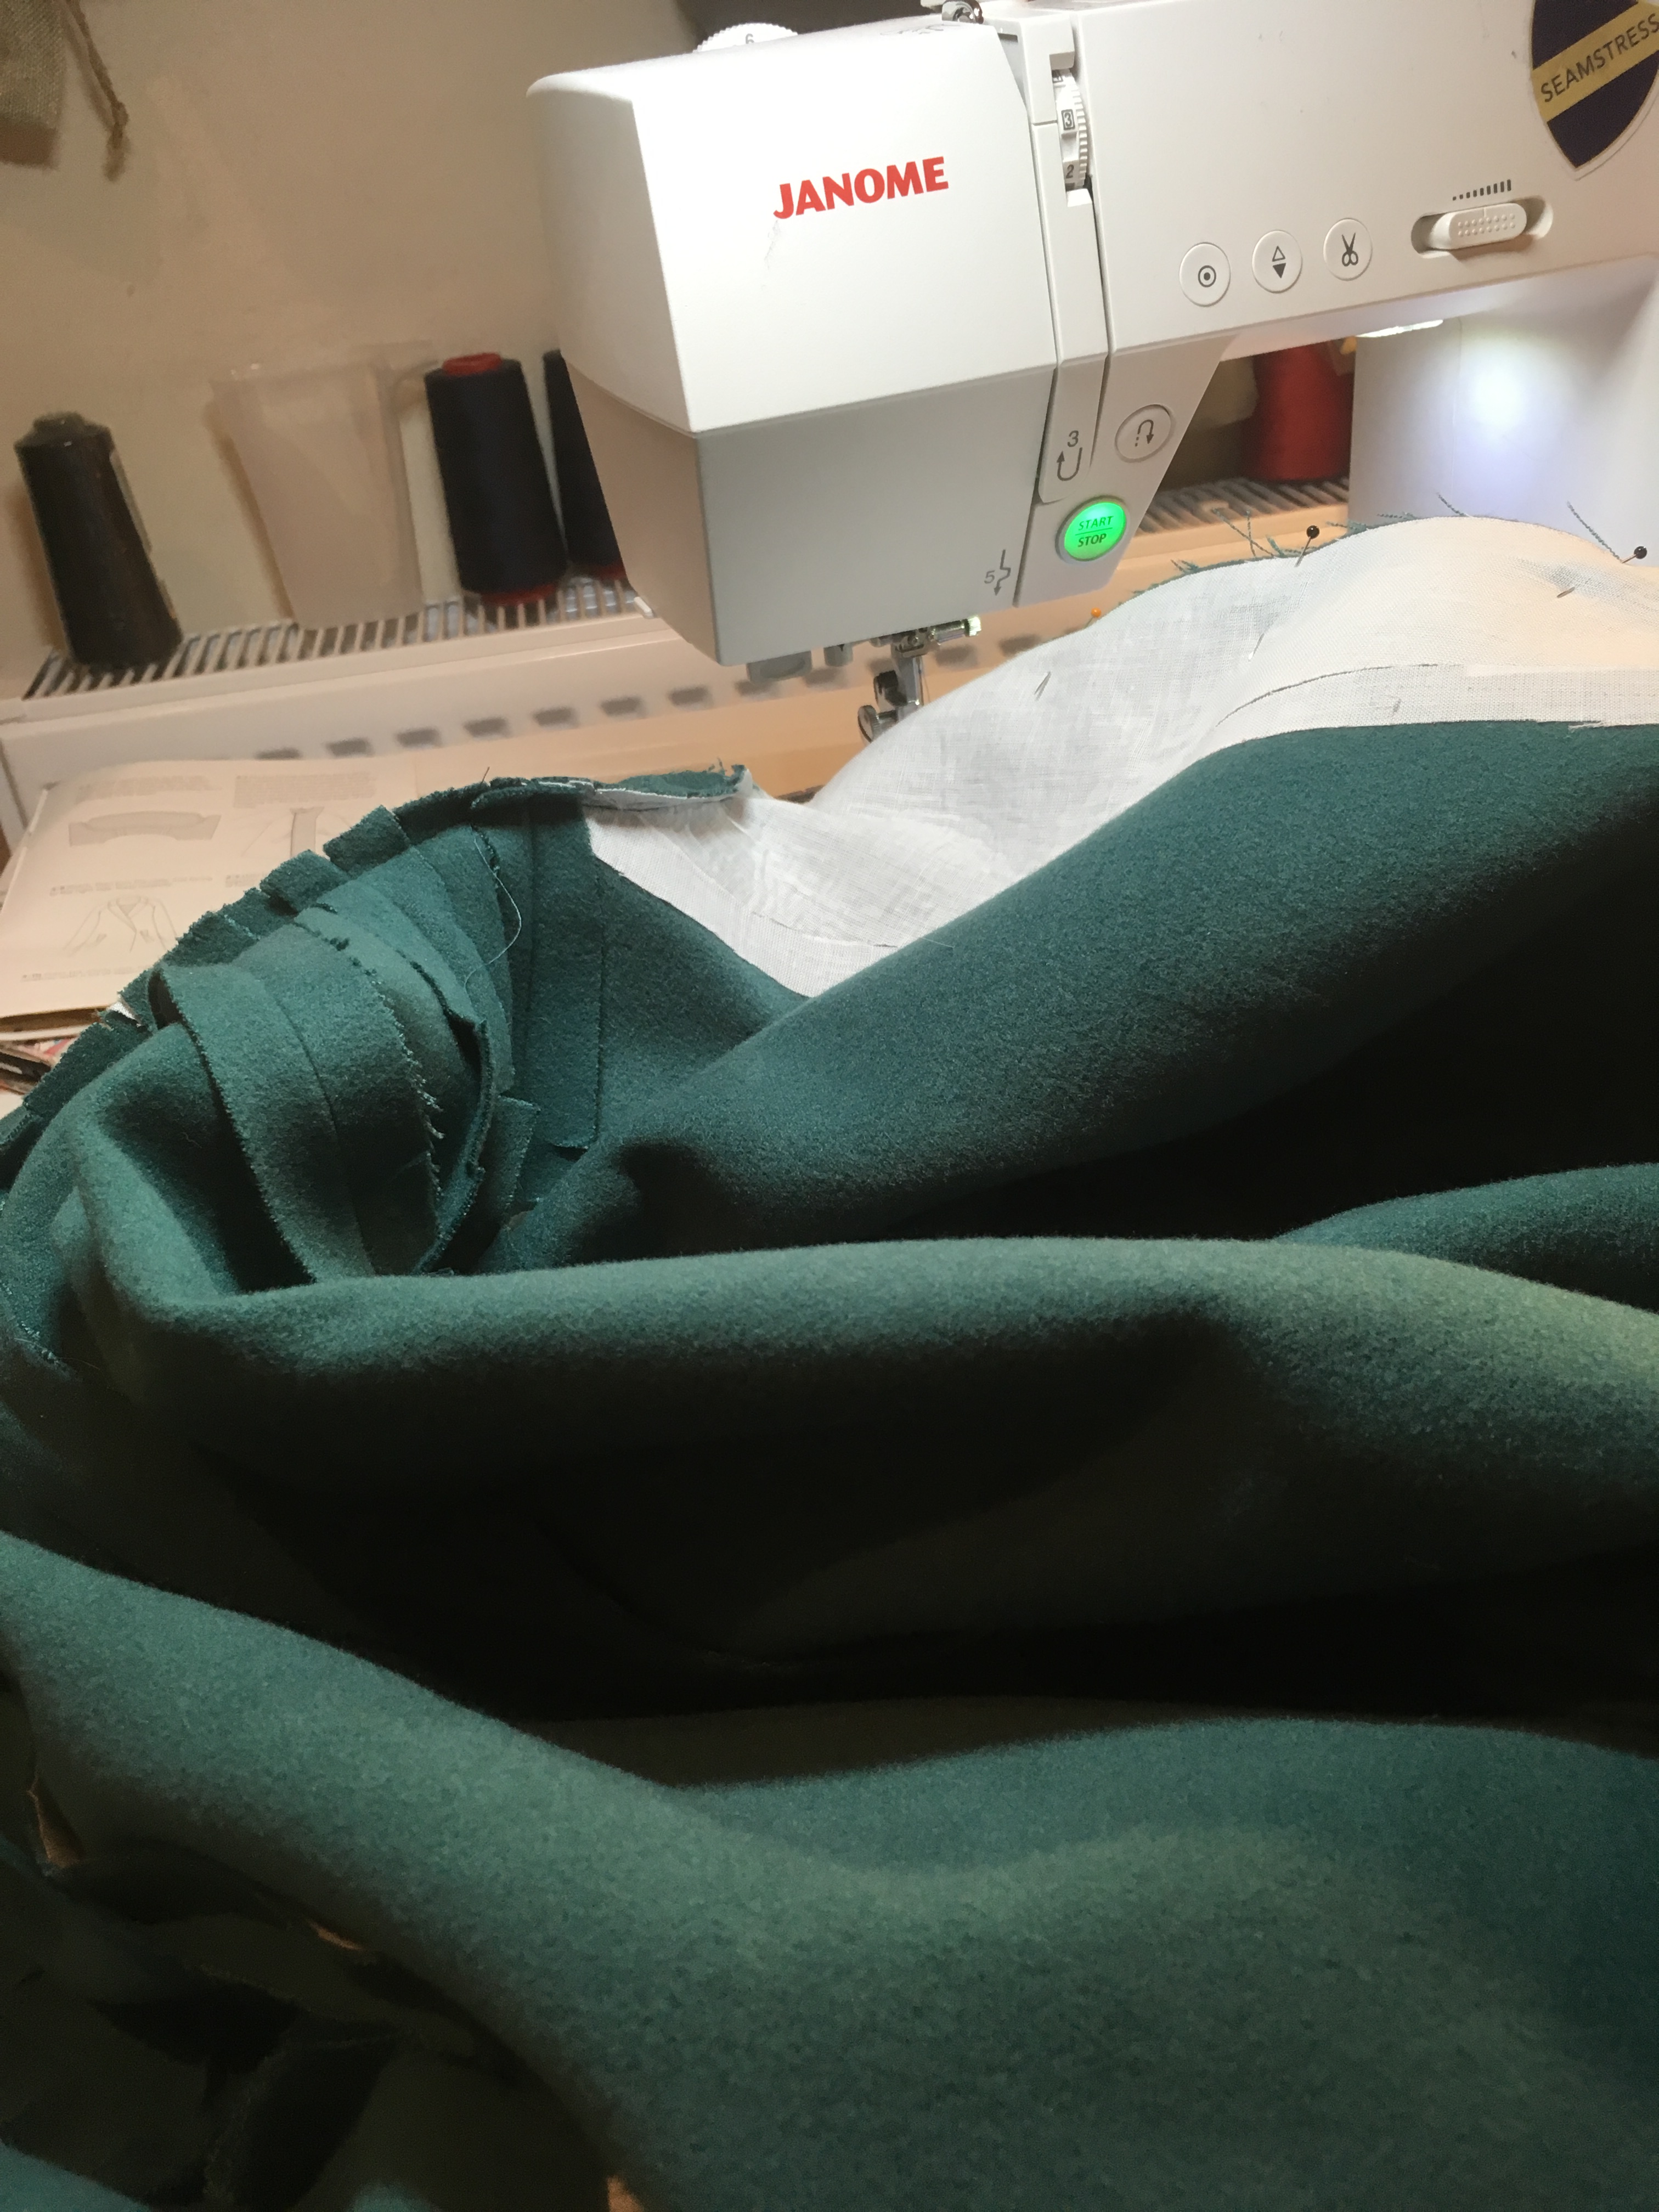
The most imposing part of this (and I guess any coat pattern) was the sheer number of pattern pieces. This is actually worse than it first appears as there are separate front and back pattern pieces for the lining which are created by tracing off part of the front and back pieces for the body. And then separate pieces again for the interfacing! Looking at my fabric, I couldn’t see an obvious right and wrong side but I know that sometimes that can come back to bite you when seen in different lights. So I cut out little squares of paper, labelled them with which pattern piece they were (e.g. front left, upper left sleeve….) and pinned them to the same side of each piece as I cut out. That way at least I knew I was being consistent!
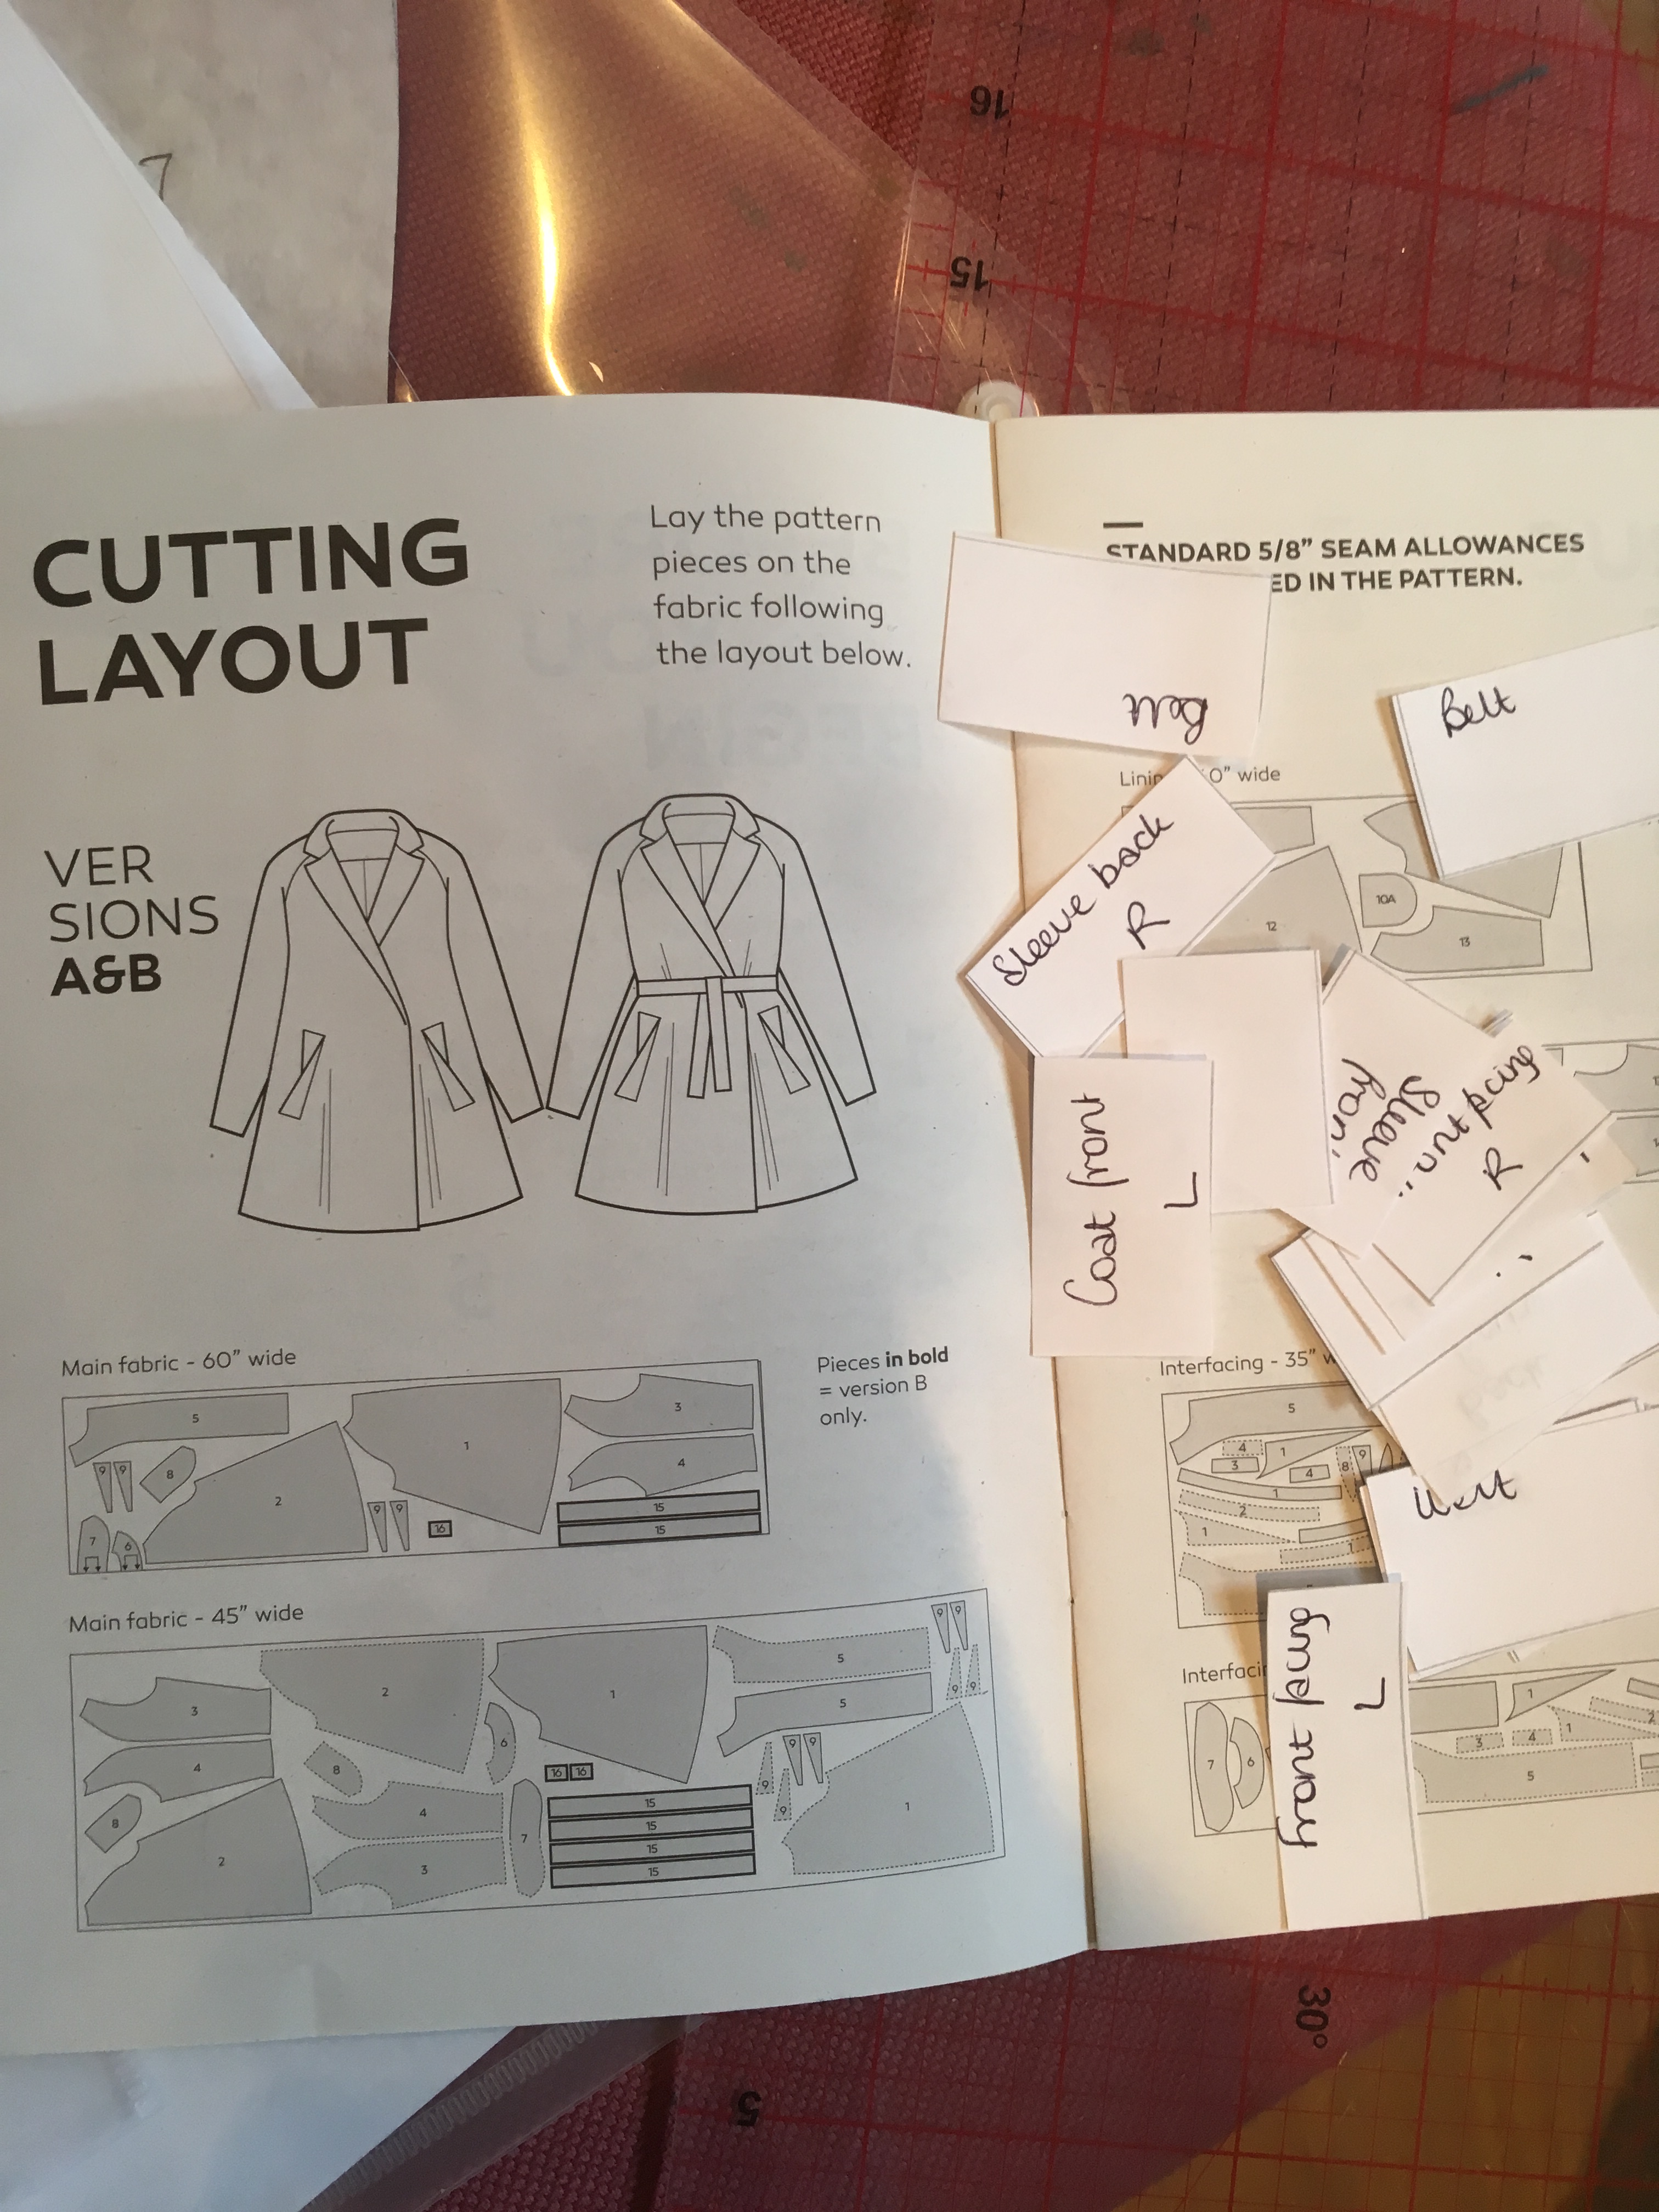
And let’s not underestimate how long it took to cut out! The pattern pieces for the body of the coat are pretty large so actually I didn’t save very much over the packet requirements; this is definitely one of those garments where you should probably get the amount of fabric stated, just in case.
I took all of January to make this coat. That was in large part because we’ve not been having the easiest time of late as a family so there have been many days where even 10 minutes in the sewing room didn’t happen. As it happens, this is one of those patterns where that isn’t a big problem; getting through an individual step still feels like an accomplishment.
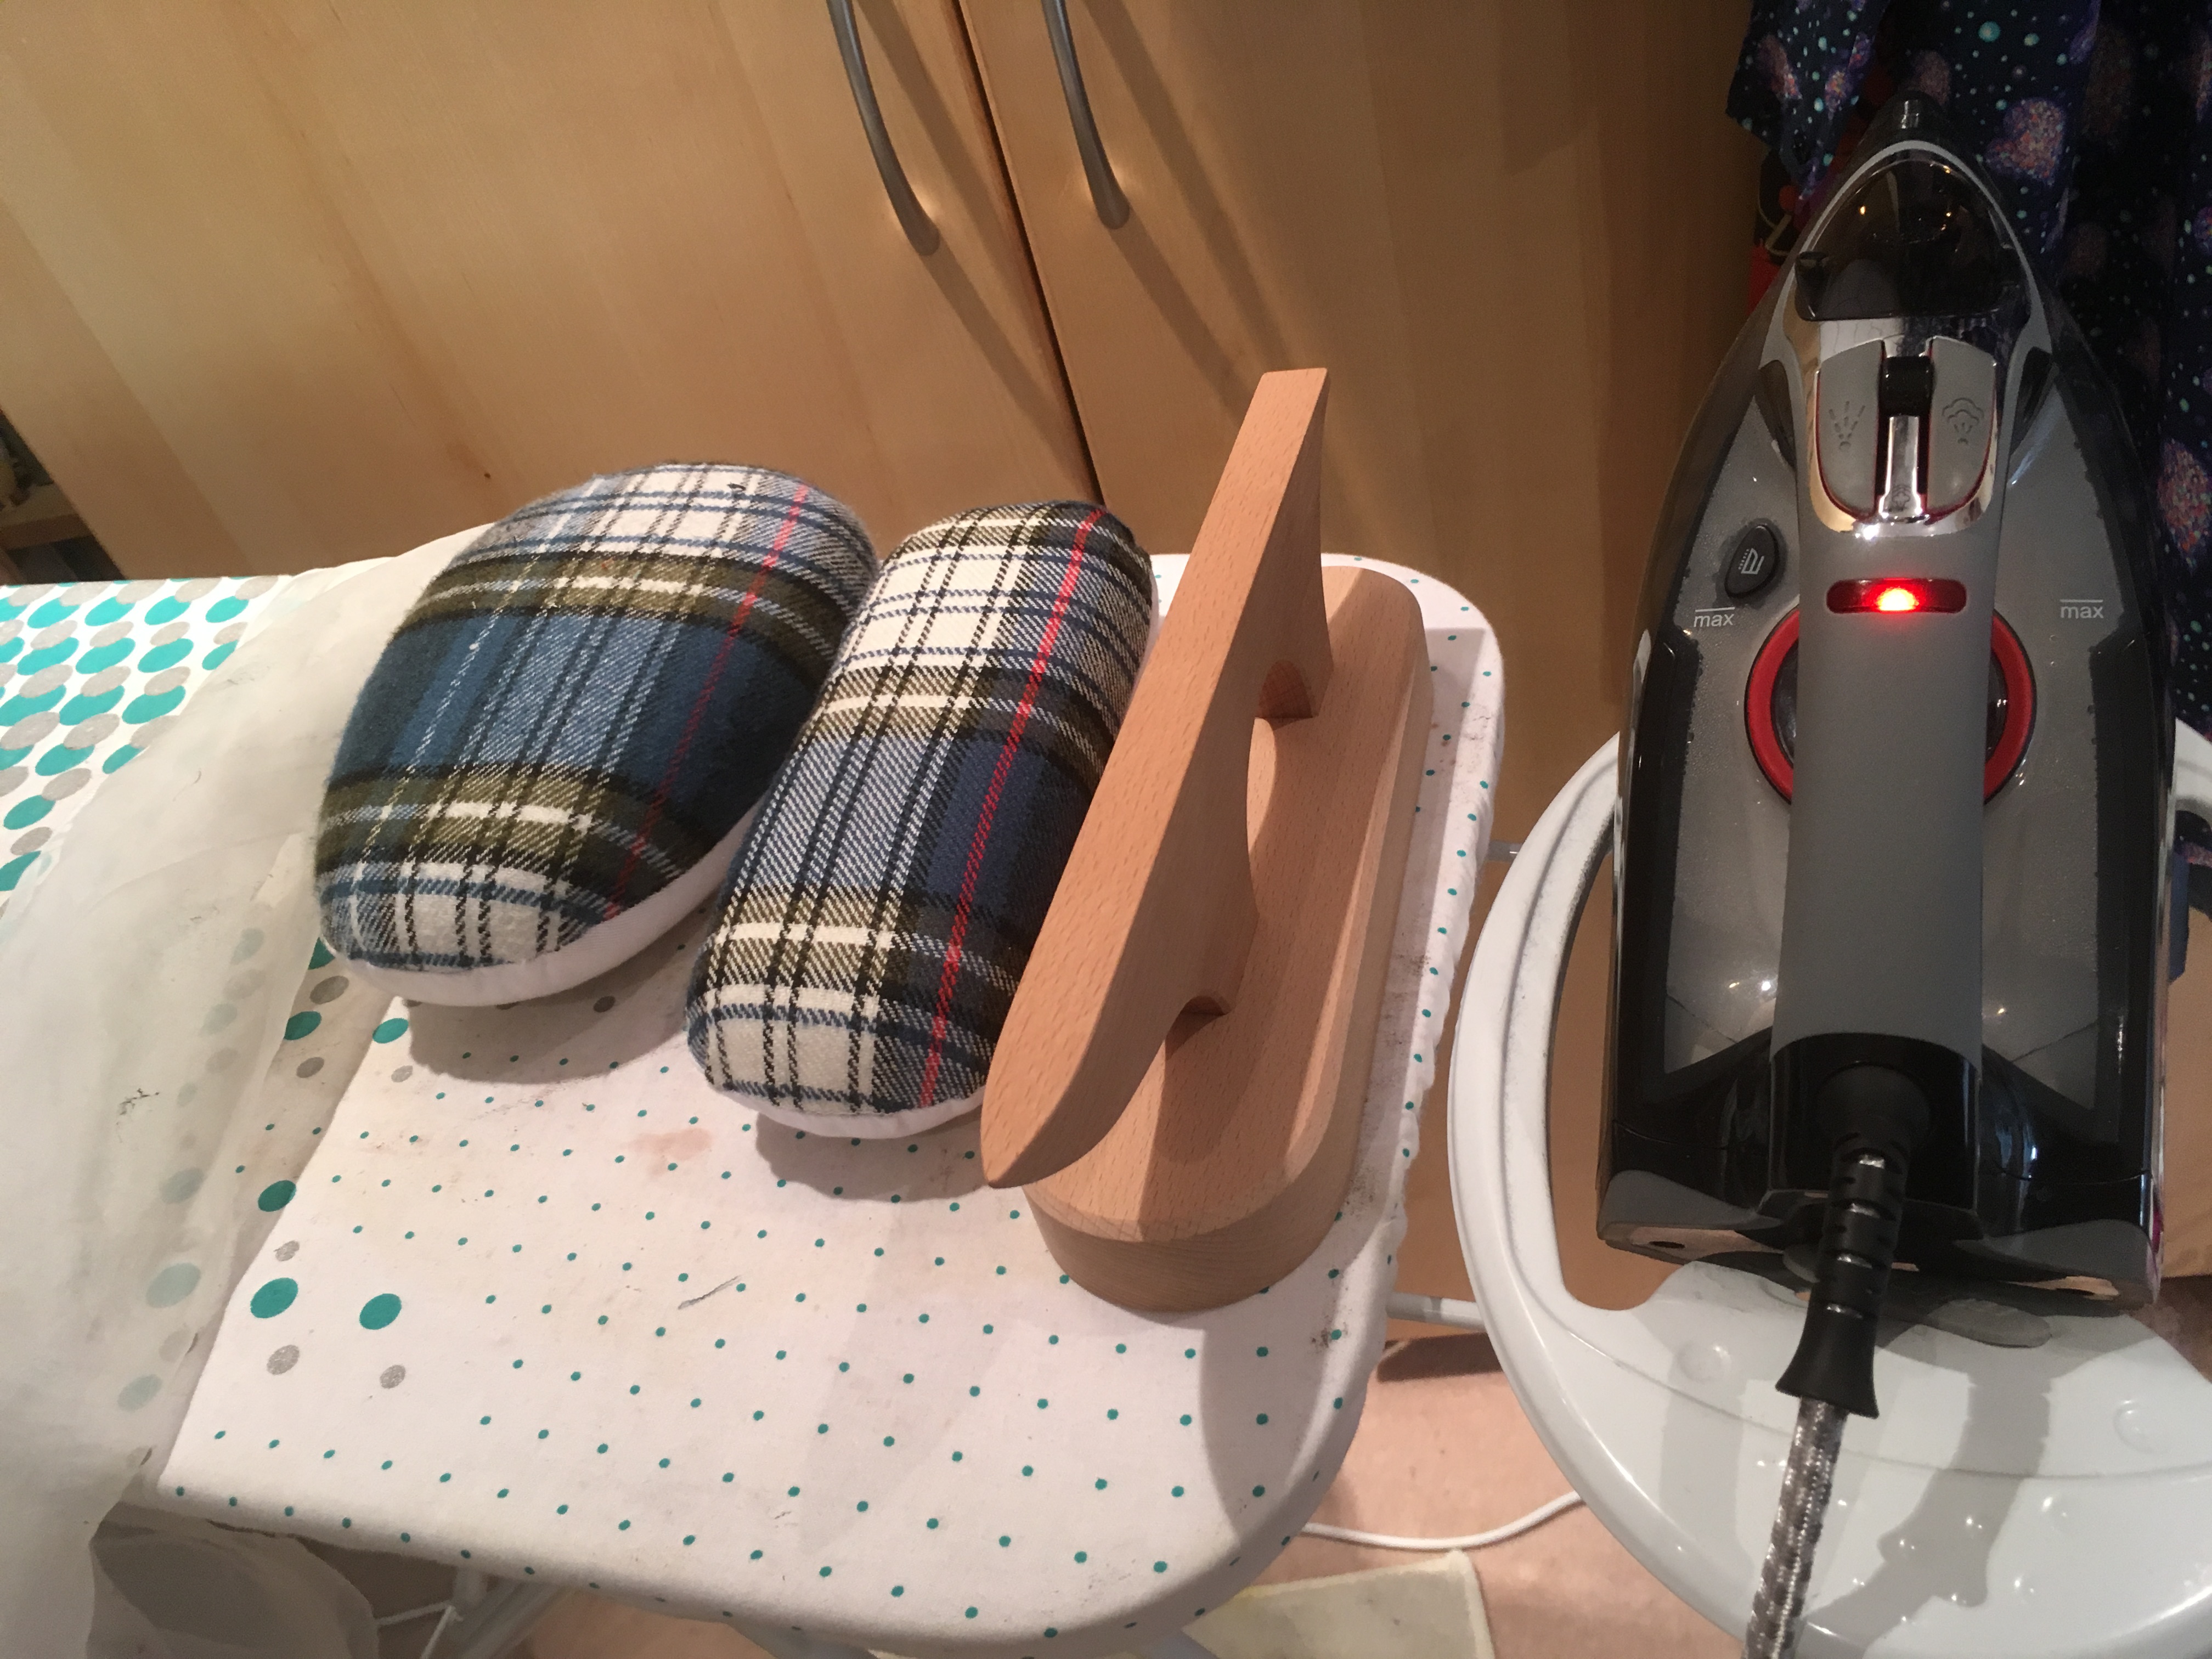
The thing that contributed most to the look of the finished coat was pressing. Lots and lots and LOTS of pressing! I’m fortunate to already have a silk organza pressing cloth which I used EVERY time I went near the fabric as I wanted to avoid any shiny marks on the cloth. I also used both my tailor’s ham and my (new) sleeve roll extensively. The biggest game changer though was my tailor’s clapper, bought with some Christmas money. I don’t think the coat would have worked nearly as well without it; this very thick fabric really needed that extra pressure whilst the steam cooled to stay in place.
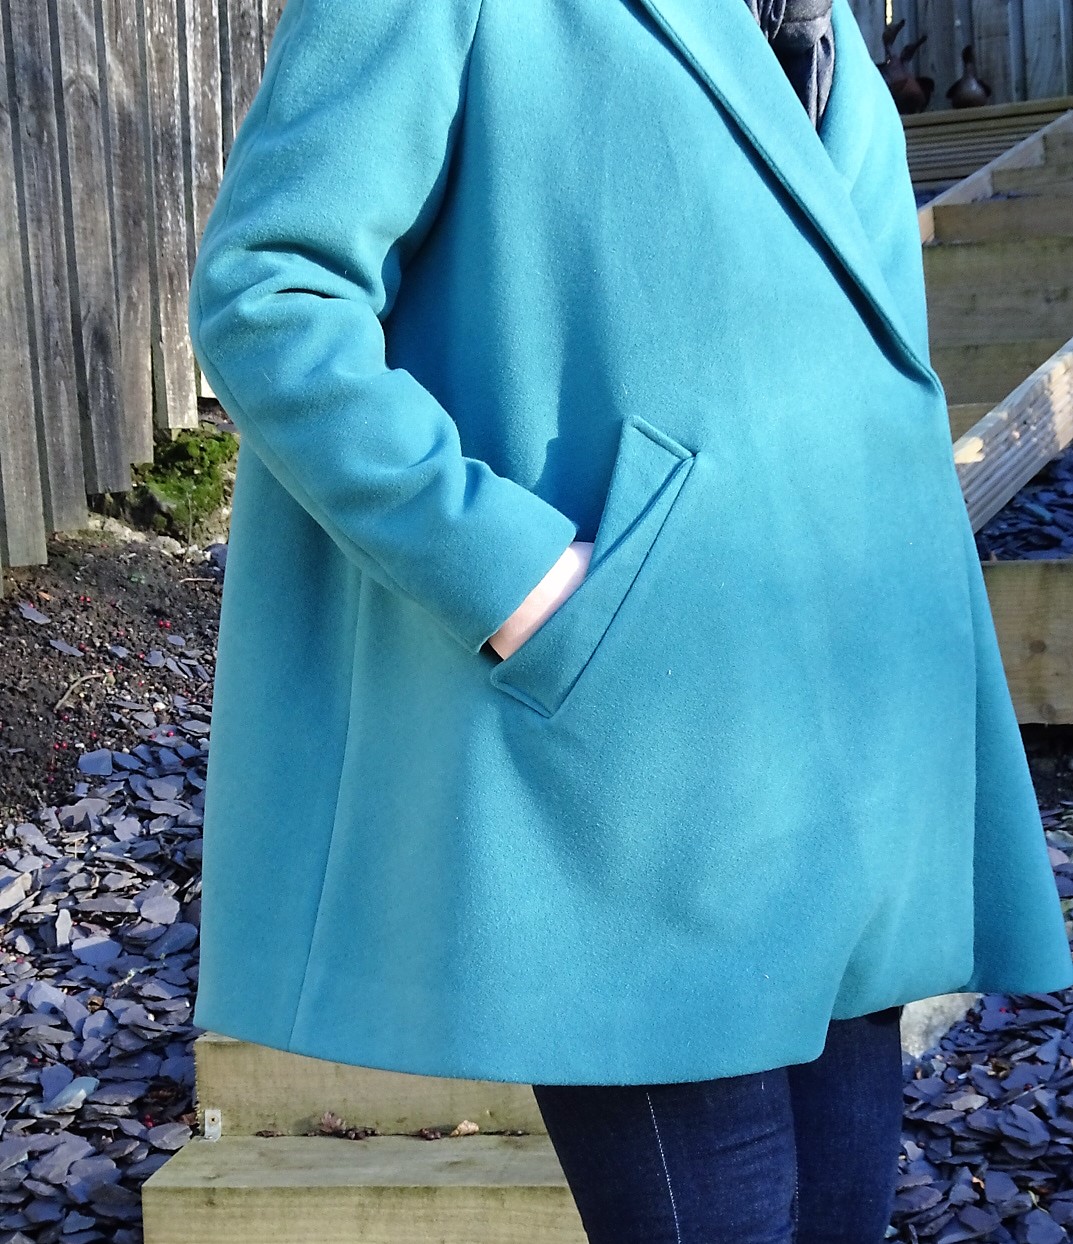
There were a couple of other gadgets which I found really helpful, mostly around getting those gorgeous welt pockets in place. Assembling the triangles was fine (after I’d unpicked the first time after sewing the wrong long side closed!), but then by the time you’ve got two of them lined up on top of your coat outer, you have in some places got 9 layers of coat fabric to get through. Ouch! I found that using a hump jumper made a massive difference to my machine’s ability to get through all that fabric.
The other trick I found really helpful was not to use pins for those layered triangles. Instead, I whacked on some Wondertape instead of pins, which had the huge advantage of not distorting the fabric whilst holding everything in place.
Not going to lie though, cutting those welt pockets as one of the first steps is pretty scary! I’m really pleased with how well they turned out though.
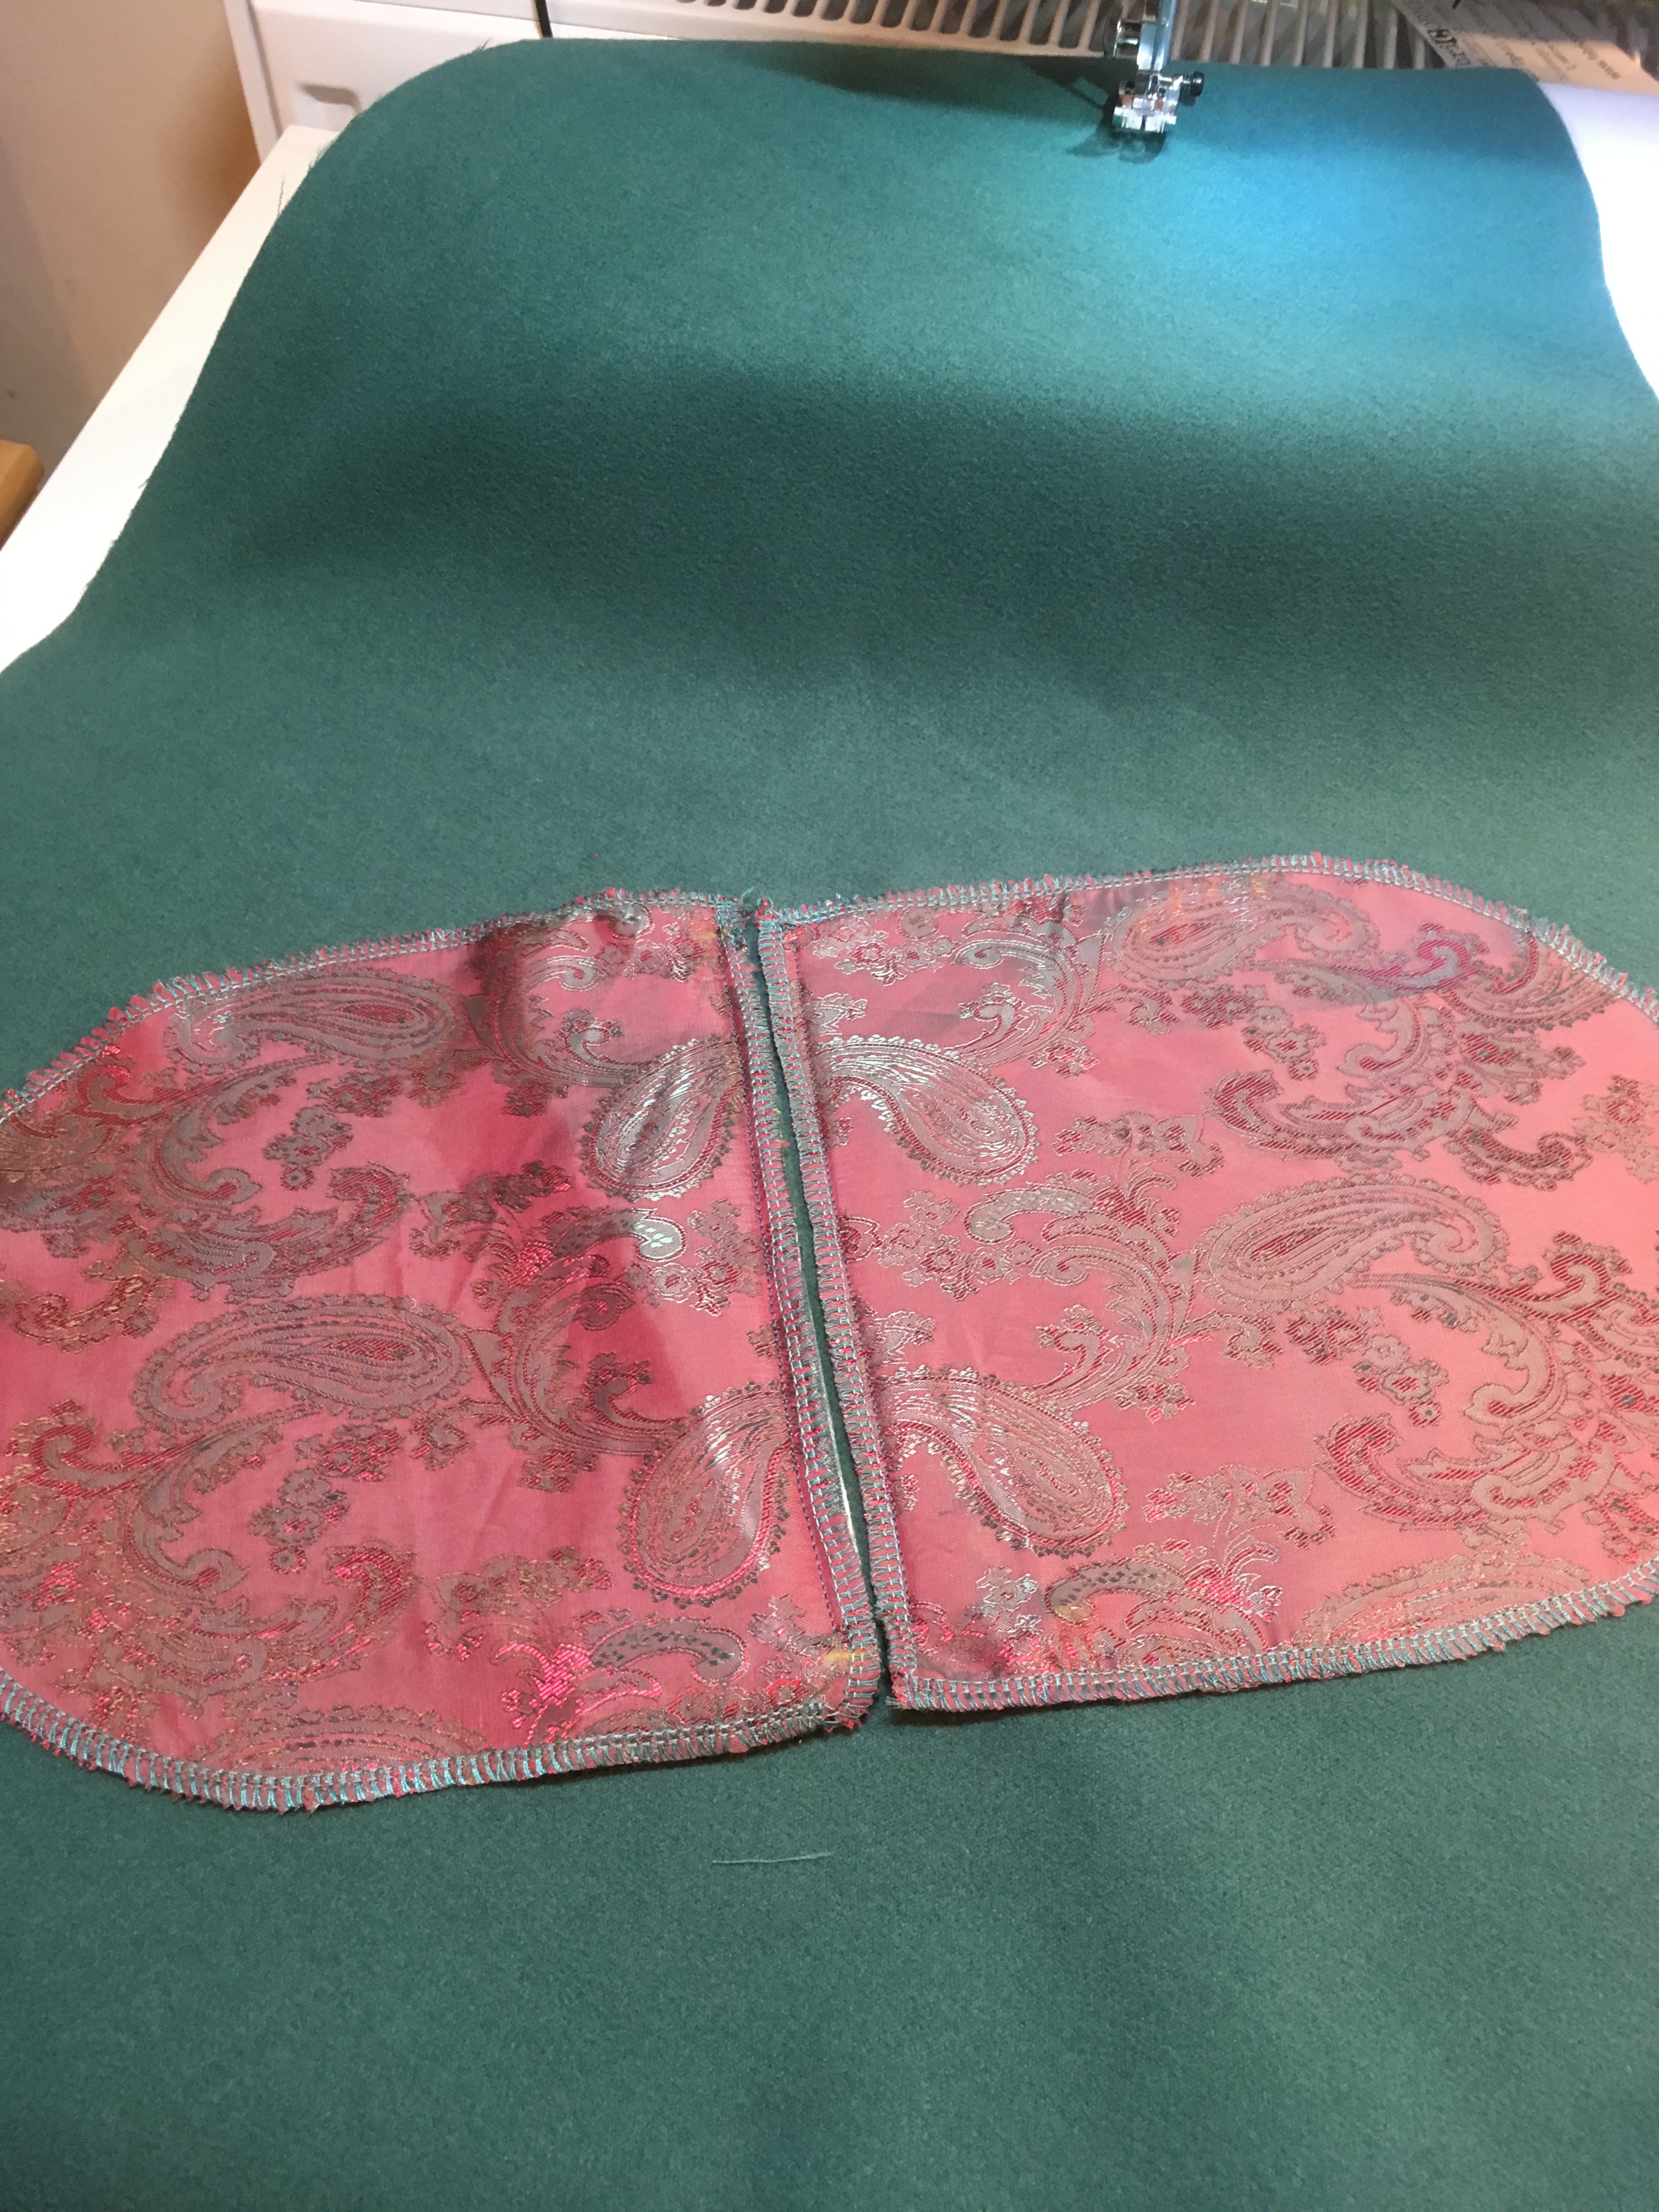
I didn’t actually finish the seams on the outer fabric of the coat (really hoping this doesn’t come back to bite me!) because it showed absolutely no sign of fraying whilst being handled and every single outer seam is enclosed once the garment is finished. I took one look at the lining, which was quietly unravelling just sitting flat in a neat pile waiting to be used, and overlocked the hell out of every piece before ever attempting to sew them together!
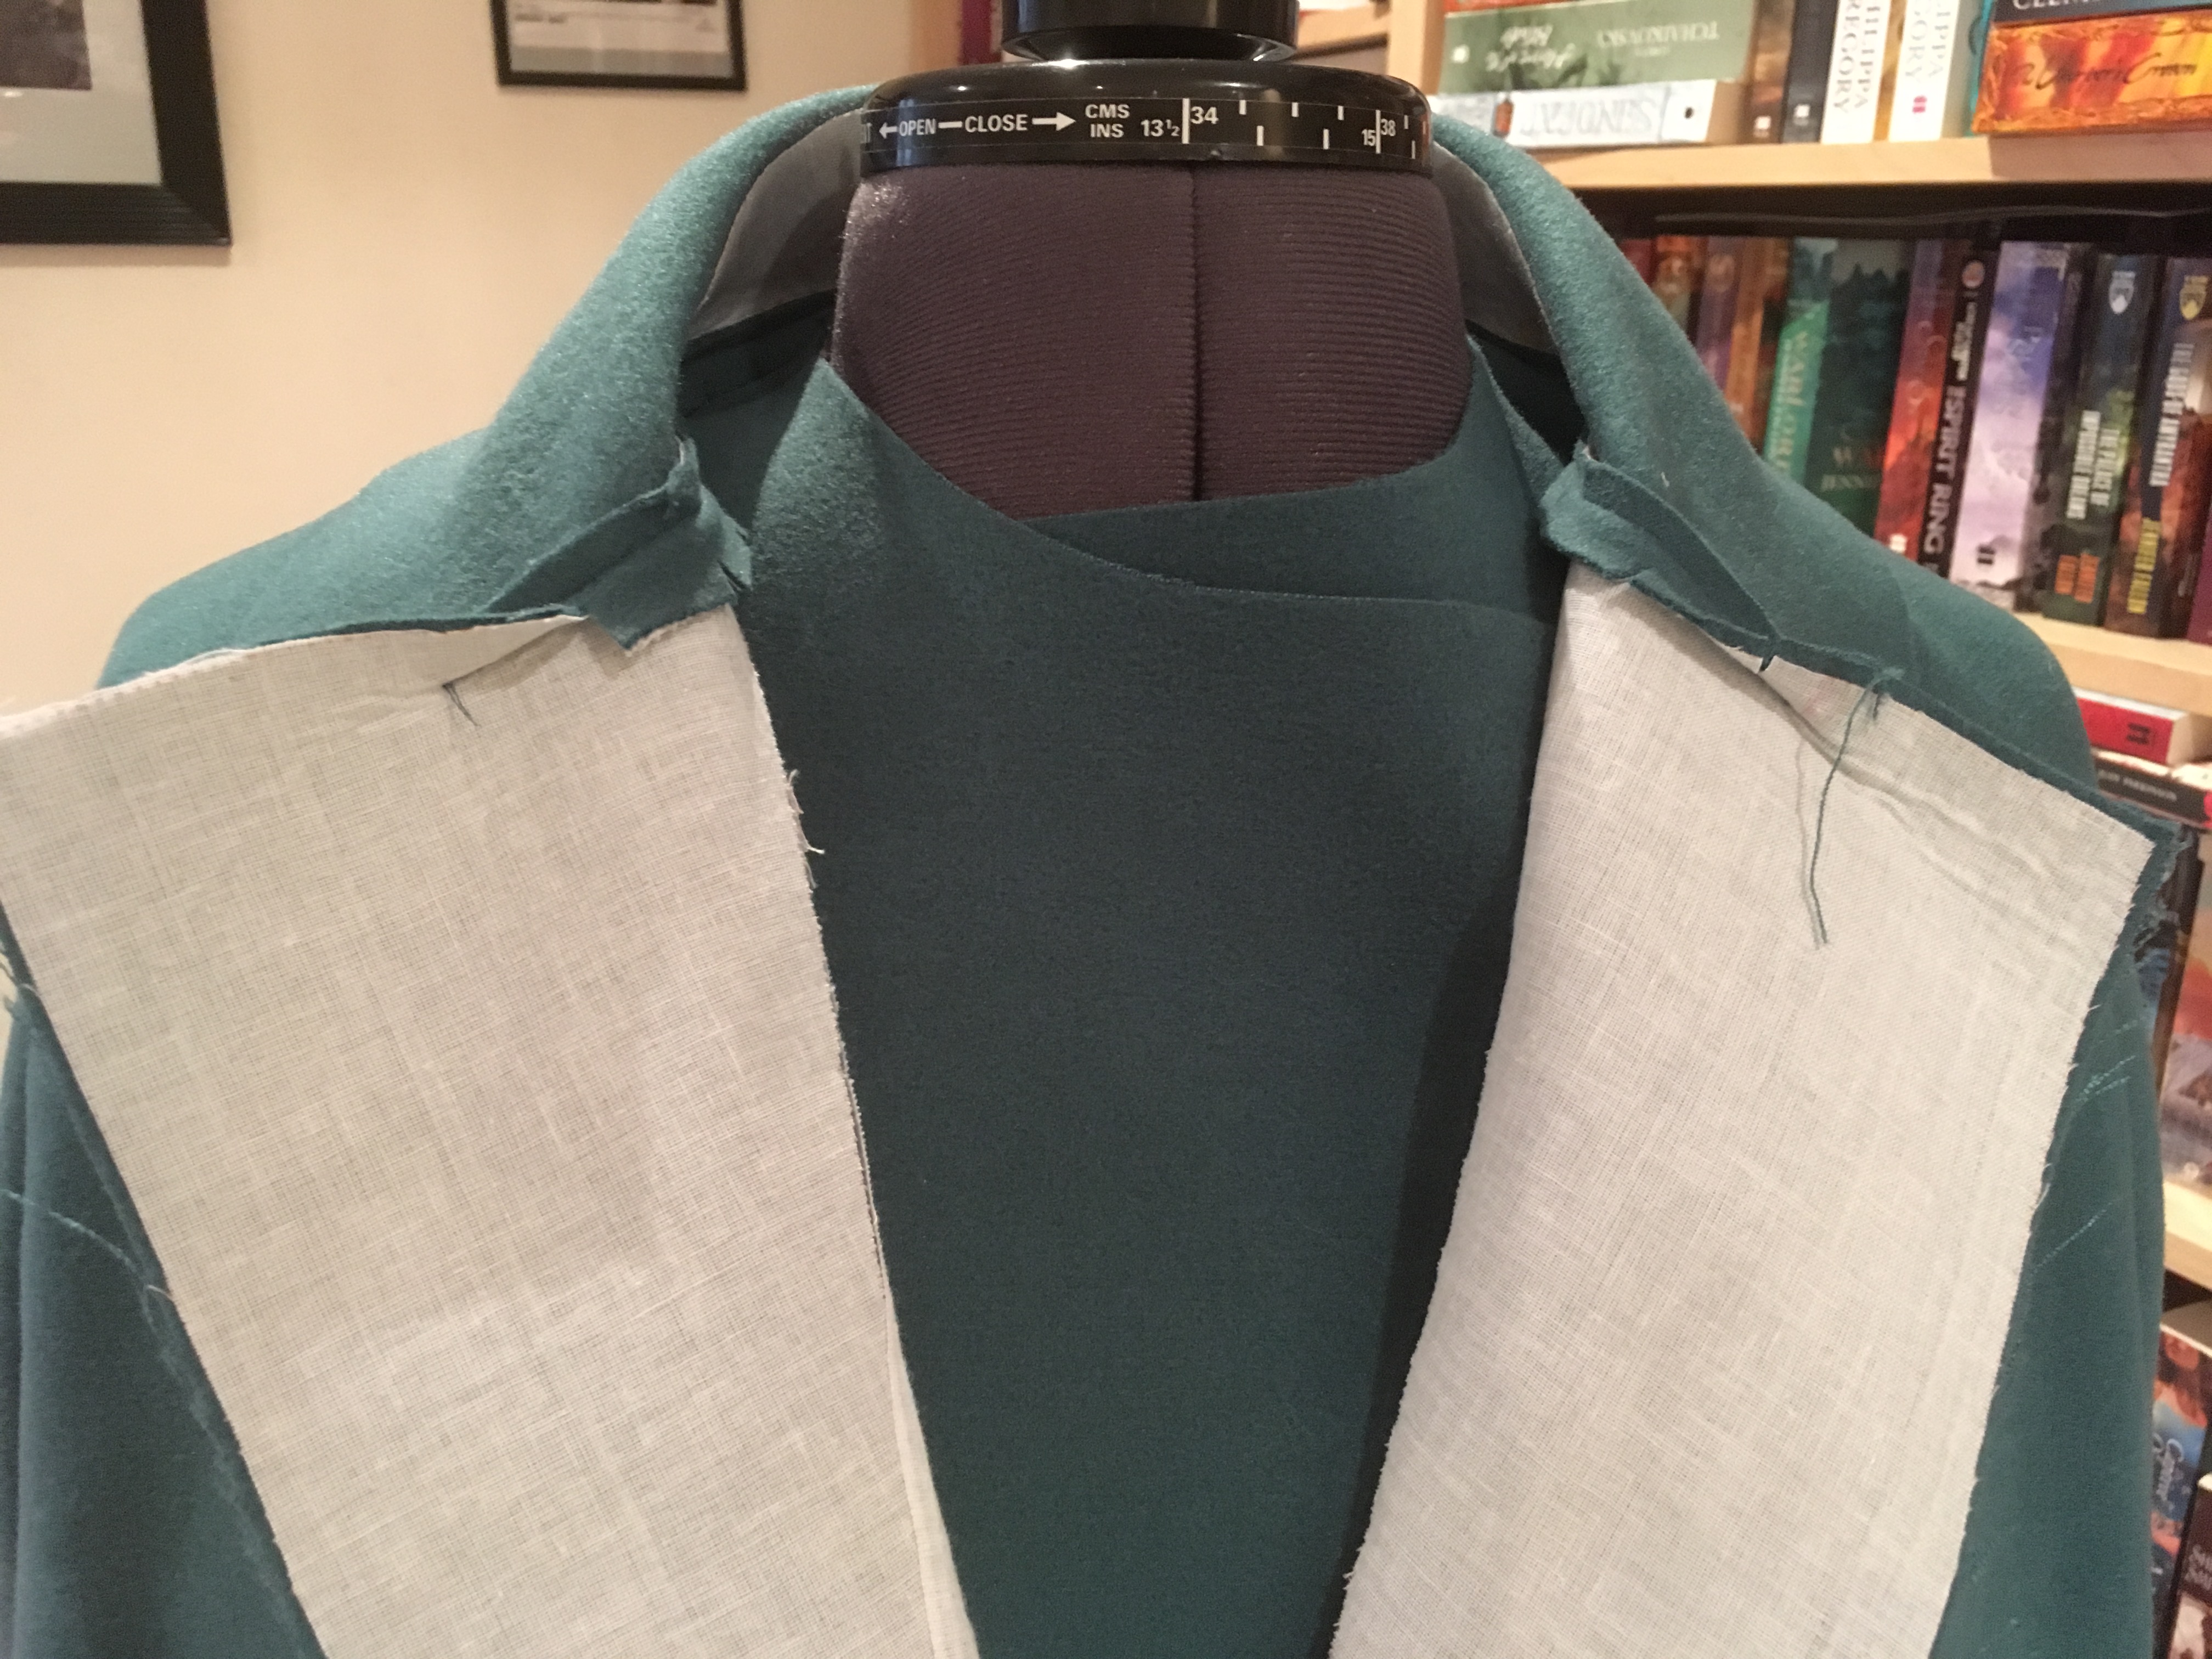
In general, I found the instructions clear and easy to follow and thought the coat came together really well. There are very few notches but actually that’s OK. The only point where it’s less than perfect is around the damn collar. I don’t know. I’m clearly just not that good at this kind of collar point. But with a little handstitching it’s passable. I think another time I would carefully mark the seam allowances on all the edges before sewing, making it less of a guessing game as to where the lines of stitching should meet. Live and learn.

The other thing I’ve noticed (now I’ve made it) on every version of the coat is that it pulls just a little at the centre front. Is that bad drafting or poor explanation of how to handle the lining? Not sure but it annoys me a bit.
I obviously added a few little extra touches; there’s nearly always a label from Kylie and the Machine in my makes these days and I also found these little metal coat hangers on Amazon. Not having considered hanging my coat when out of the house is my one regret with my Kelly anorak; I HATE having to hang it by the hood on a hook. Thankfully this came in a pack of 3 so I can now add one in to that, too!

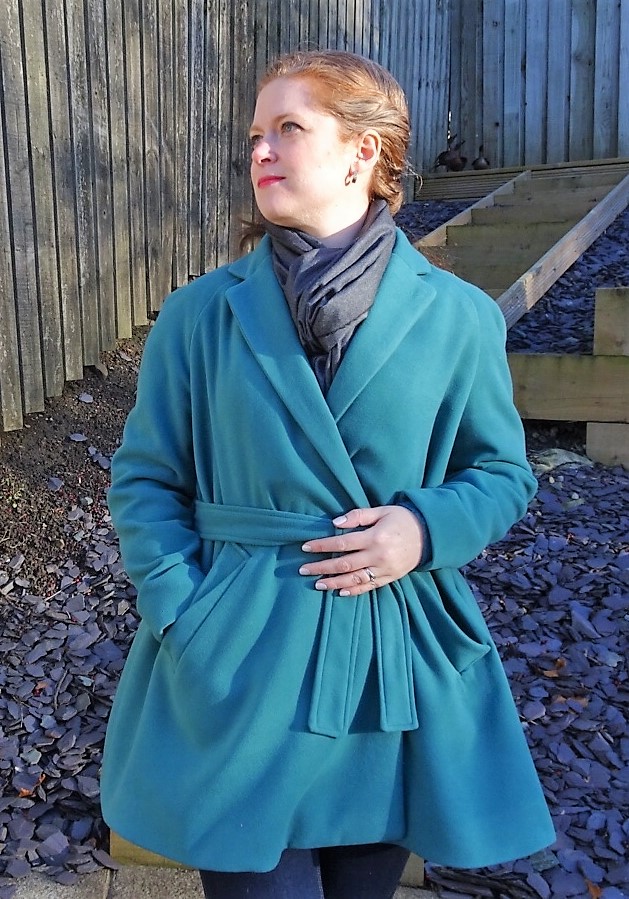
The one thing I’m undecided on is whether the coat looks better with or without its belt. Before making it, I thought that I would definitely prefer it with a belt, so added the loops. However, I’m not sure now. I did add the two large poppers as well, on the grounds that if it’s cold enough for a winter coat, it’s probably windy too! And the fullness of the coat means that the belt loops just get lost if you wear it without.
Thoughts, anyone?
Anyway, well done if you’ve got this far through my ramblings. There’s more on the Minerva site here, but I wanted to capture in more detail the things that made making this so much easier.
I’m off to swish round in my grown up coat, feeling like a proper seamstress!
Becca x


Looks fab, I love the colour 🙂
LikeLiked by 1 person
Thanks! It’s a gorgeous fabric, so lovely when it’s cold and grey
LikeLike
Gorgeous! I love the style, fabric colour and contrasting lining! Looks great!
LikeLiked by 1 person
Thanks! It’s quite different to my usual more tailored style but it feels great
LikeLike
Well done, it looks gorgeous and that colour really suits you. Both styles look nice but for me, I’d go without the belt. If you’ve got a swing coat, it’s nice to put your hands in the pockets to swish and swing it as you walk….or is that just me?!
LikeLiked by 1 person
Nope, I’m all about the swishing! 😂
LikeLiked by 1 person
Beautiful coat and really helpful blog. Thank you 😊
LikeLiked by 1 person
It looks super cosy, and those welt pockets are beautiful!
LikeLiked by 1 person
Thank you!
LikeLike
Wowsers! Your coat is amazing – happy wearing!
LikeLiked by 1 person
Thank you 😊 x
LikeLike
It’s an absolute stunner. I want to make this pattern even more now – but not for a while, I’ve got enough coats on the go already…
LikeLiked by 1 person
I’m impressed at you taking on more than one at once!! Also marginally annoyed that, as soon as I finished my winter coat, the weather came all warm!!
Which coats are you on with? X
LikeLike
Your coat looks fantastic. May I ask where you got your clapper from? I’ve been putting off starting my style arc Stella coat as I don’t have the tools for it – I had a quick Google for tailors clapper and haven’t come up with mush. Thank you.
LikeLiked by 1 person
Sure; it’s from Sew Essential. I really love it, it made so much difference to the heavy seams
LikeLike