OK, I admit, the title for this post is a total cliche! But honestly, I’m so chuffed with the make I want to show you today, I couldn’t help myself.
Vogue 9075 has been on my radar for quite some time now. There are various glorious versions floating about on the internet now (here, here and here for example) So, when it appeared as the cover gift on one of the dressmaking magazines a few months ago, I had to buy it. This had the added bonus of including all pattern sizes, rather than my having to pick from the two differing size ranges.
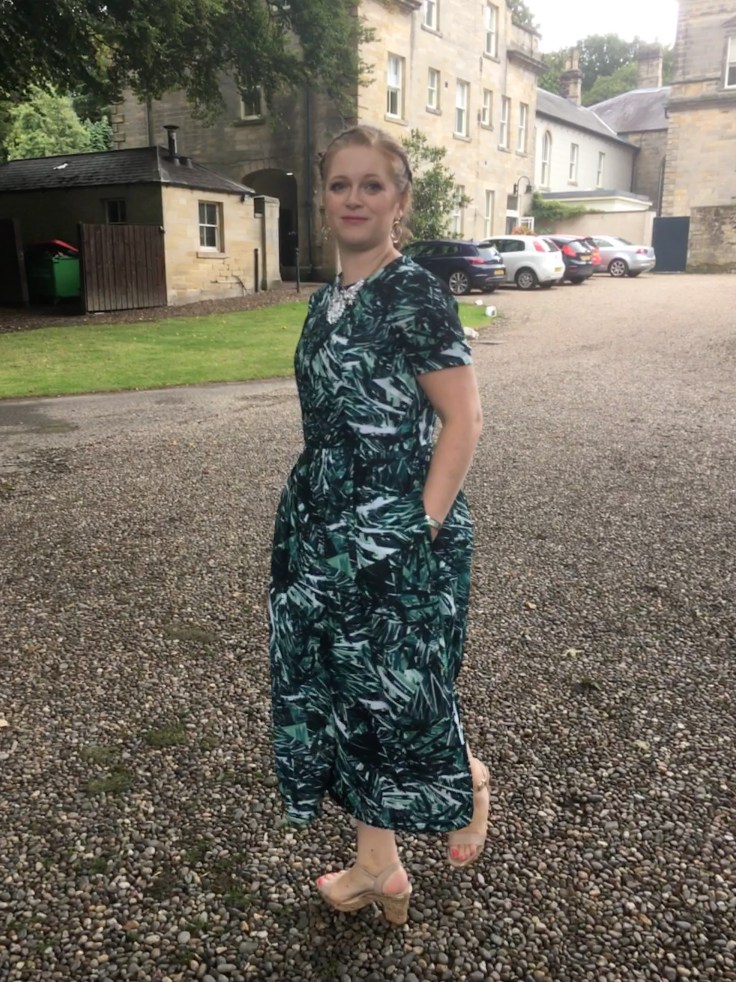
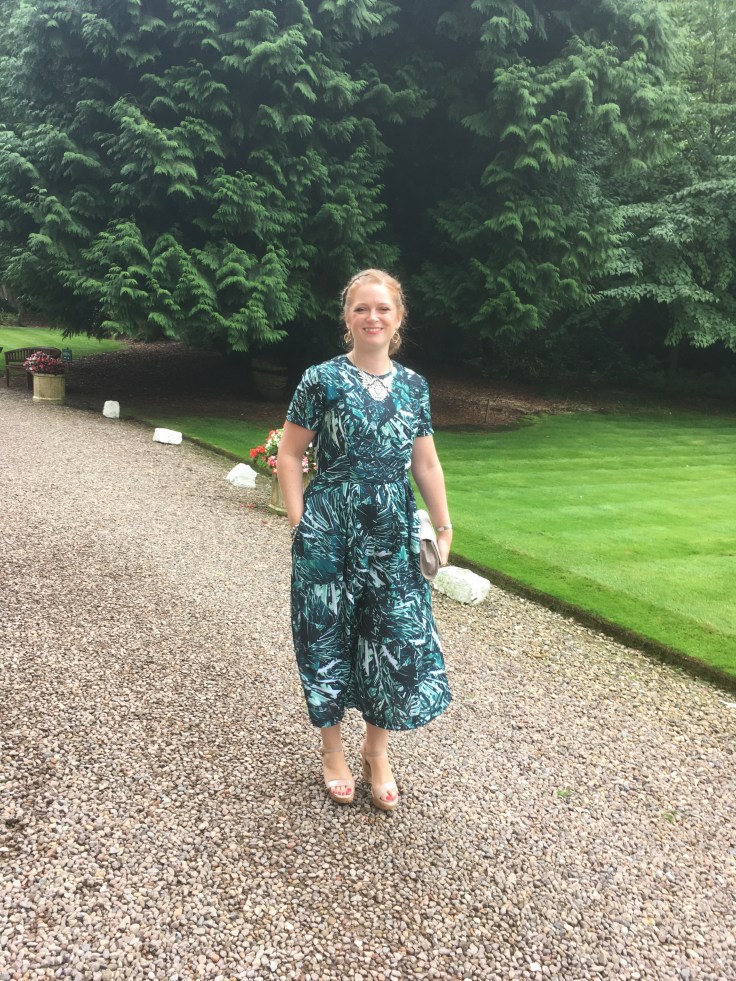
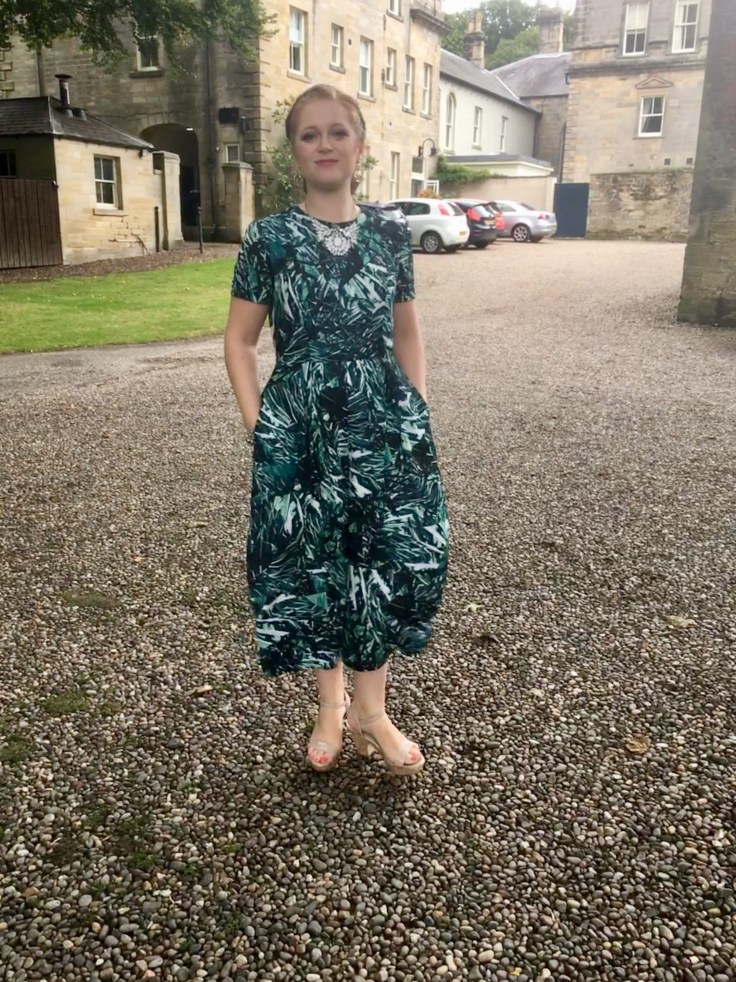
The pattern includes a princess seamed bodice, with or without sleeves, and either a gathered skirt or culottes, both with inseam pockets. Obviously I went with the culottes version!

I dithered a little over the sizing, as there are some pretty big differences between the body measurements and the finished garment measurements (what a shock, right?) My actual measurements put me into a size 14 bust, 16 waist and 18 hips; based on the finished measurements, I decided to toile a size 14 and work from there.
Before cutting out the size 14 bodice, I made a 1cm hollow chest adjustment. I do this by
- measuring 1cm down from both the neckline point and the centre front
- redrawing the neckline curve between those two points
- redrawing the shoulder seam between the new neckline point and the existing shoulder point
I can’t find a decent online tutorial for this, but it’s the way I was shown to do it and it seems to work!
Toiling showed that I needed to take a 3/8″ seam allowance rather than a 5/8″ on the bodice seams, which to me is part of the reason those seam allowances are there in the first place. On the final version I started at 5/8″ on the shoulder seams down to the bust and then gave myself the extra room between the bust and waist. I sewed the culottes with a 3/8″ seam too.
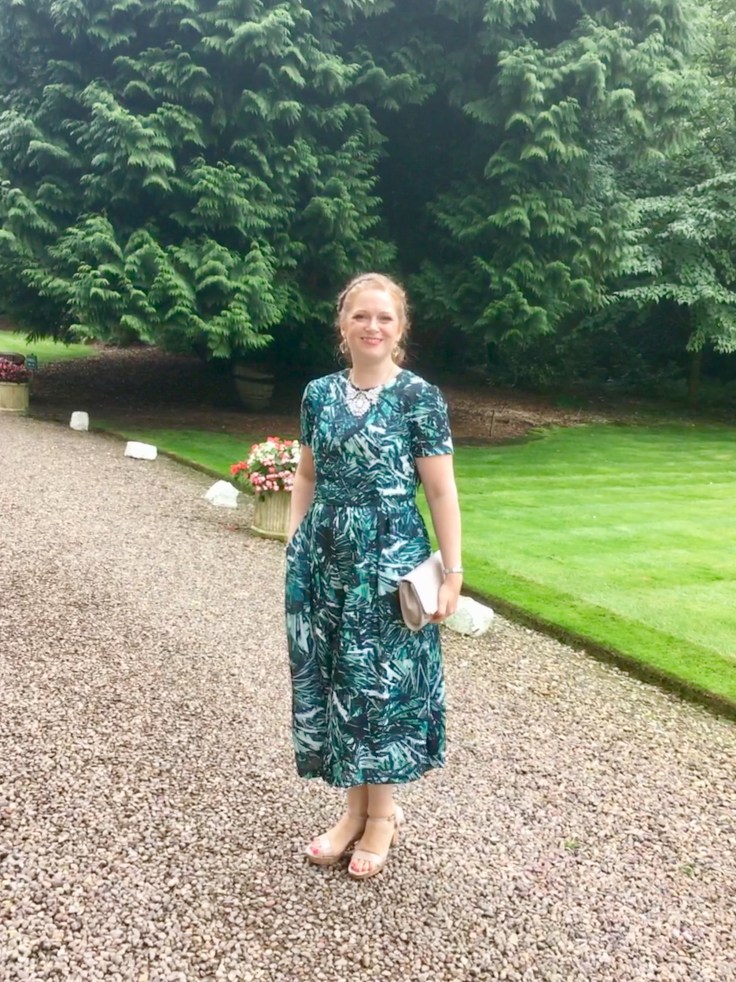
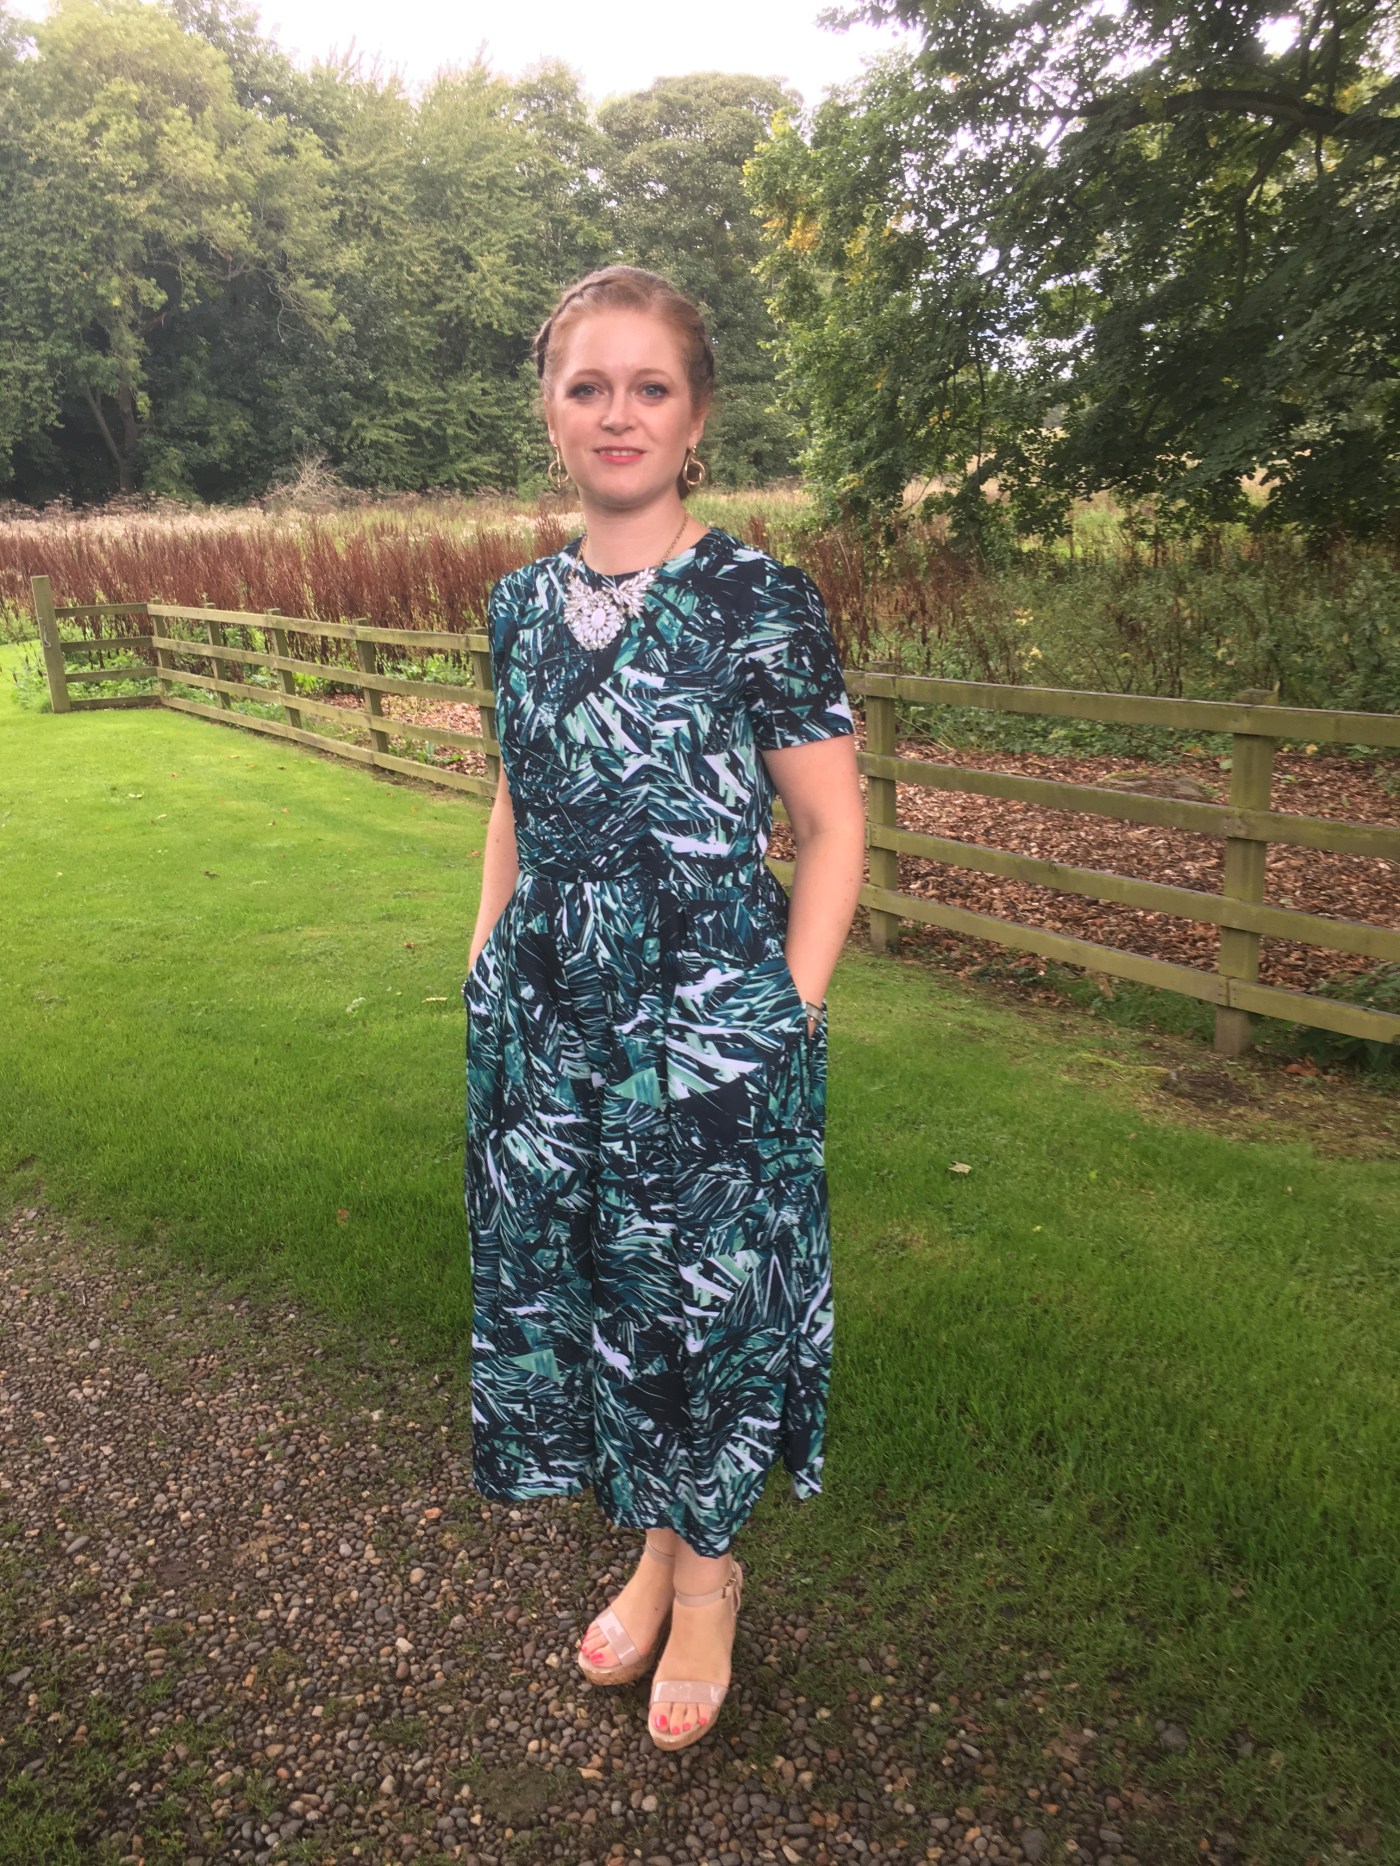
This version (because there will be more!) was for a wedding we attended in Northumberland at the weekend. I chose a tropical print crepe from Cotton Reel Studio which, when it arrived, proved to be very beautiful but a little sheer! So I had a dither about whether or not I needed to line more than the bodice.
I lined the bodice with a white pongee lining from Remnant Kings (I bought about 6m of this in the sale quite some time since) I really like this; it has great drape with none of the stiffness you can get from a standard poly lining and it washes really well.
Somewhere in the cutting out of these two rather shifty fabrics, I ended up with slightly differently sized bodice pieces. The lining pieces turned out to be somewhat longer than the outer, but I just decided to go with it and it worked out fine. I assume something shifted when I was cutting out and this in no way surprises me because, DAMN, that crepe could move!
Because the culottes were quite voluminous, I wasn’t too stressed about fitting them, but I did decide to add in my now standard lengthening of the centre back seam by 1.5cm to give me some extra bum room; this was DEFINITELY a good call!
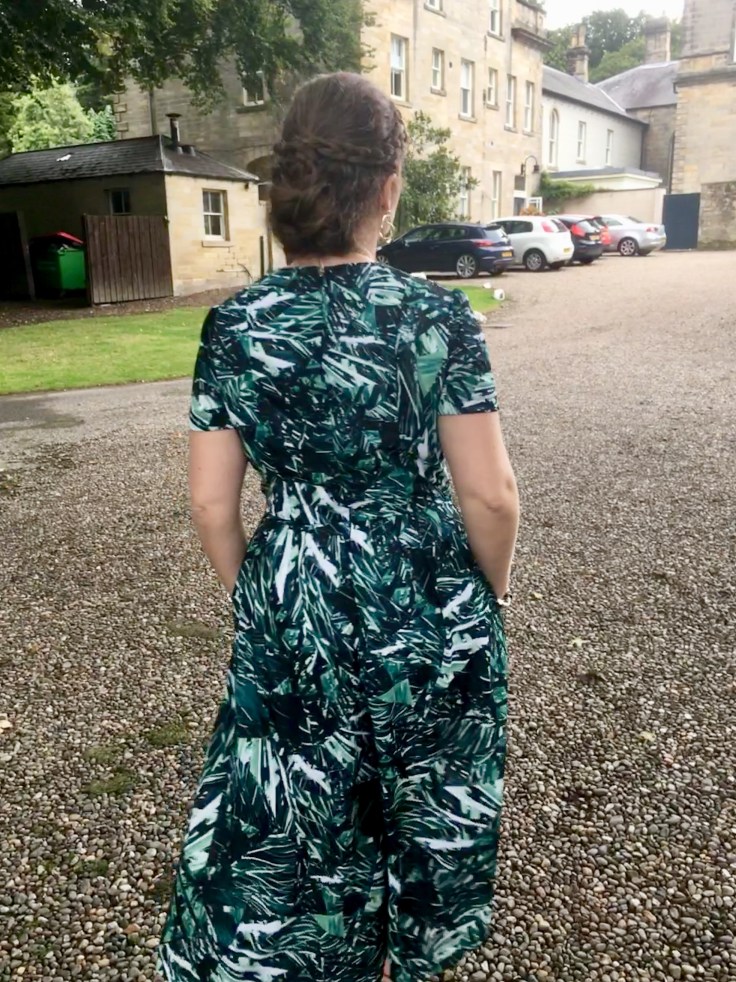
The only real issue with the assembly on this was the nature of the fabrics I chose; I used way more pins than usual and also added the walking foot to my machine, which I only normally use for knits. I also overlocked the hell out of every raw seam because both fabrics were prone to fraying (after trying on at each stage, obvs!)
I got everything assembled bar the back zip, tried on and decided that, yes, despite the dense pattern, this fabric absolutely was too sheer to be worn without a lining and, since I knew very few people at this wedding, flashing my pants didn’t seem like a good plan! So I went back to the pongee and cut out culotte pieces, this time only extending as far as just above the knee. Honestly, they don’t look amazingly attractive on the inside (in fact, they remind me of a large pair of bloomers!) but they are totally invisible from the outside and definitely saved my blushes! I attached them to the bodice lining only instead of slip stitching this to the waistline.

Ah, the waistline. Despite the apparently voluminous cut of the culottes, there is an extra adjustment I will be making next time I reach for this pattern; I need some extra crotch depth all the way around. They JUST fit comfortably and that’s after I’d unpicked the waist seam and resewn it with the smallest seam allowance I could.
As I didn’t have a standard dress zip, I used an invisible zip and I’m just hoping the fabric continues to hold up to the additional strain that brings; having said that, it went in well and I’m pleased with the finish.
To finish off, I hand stitched the lining to the zip at the centre back and machine hemmed the culottes (time constraints and a general air of who the hell will notice with this print? meant I didn’t want to hand stitch) I did let it hang for 24 hours before hemming and then did some levelling off as one trouser leg was suddenly rather longer than the other; again, I blame cutting out with shifty fabric for this!
I absolutely LOVE the finished jumpsuit. I feel amazing in it and it is ridiculously comfortable (if not the easiest to contort myself into without assistance with that back zip; allow extra time for loo visits, that’s all I’m saying!). I knew very few people at this wedding, none of them well, and still got a fair few compliments followed by the amazement you get when people don’t know you sew and realise you made it yourself.
And isn’t that just the best compliment you could get?
I will definitely make this again: I’m hoping to sneak in a chambray version and get a couple of wears before autumn properly sets in. Keep your fingers crossed for me!
Becca x
Details
Pattern Vogue 9075 dress and jumpsuit
Fabric 2.5m of jungle crepe from Cotton Reel Studio
My measurements
Bust 36
Waist 31
Hip 42
Adjustments made
Cut a size 14; sewn with 3/8″ SA ; added 1.5cm to back crotch depth and lowered front shoulder by 1cm at the neck point.
Future adjustments?
I really need a couple more centimetres of depth in the crotch all around
Make again?
Yes, yes, yes!


Oh it’s gorgeous! I haven’t got on board the jumpsuit tend yet but like you, I’ve seen some stunning versions of this pattern. Yours is right up there!
LikeLiked by 1 person
Thank you! It took me a while to buy into the whole jumpsuit thing but I find myself a firm convert these days. X
LikeLike
Looks so good, very classy wedding attire ;o)
LikeLiked by 1 person
Thanks! It definitely felt right for the event
LikeLiked by 1 person