
So remember I wrote a post setting out my sewing plans for the next couple of months in a sensible, measured fashion? Yeah. That didn’t last too long, did it?
First up came my subscriber copy of Love Sewing magazine with a free pattern that is clearly destined for our Christmas party at Bibi’s – sequins will be involved!

Tracing is underway on that one – I think the top’s going to need lengthening a little though. Much as the skirt calls for a shorter top, my belly does not need to hang out!
Then, just to derail me further, Tilly sent out an email launching her newest pattern, Orla. Tilly is apparently psychic and designed precisely the woven top I’ve been hunting for – thank you Tilly!
Fabric wise, this calls for something with some drape. I headed straight for the stash – the perfect project for some heavy rayon(?) I found on my only trip to Goldhawk Road last December. To be honest, I love this fabric more when I’m not sewing it – talk about fray! But the finished article is just what I was after, so it was worth it!

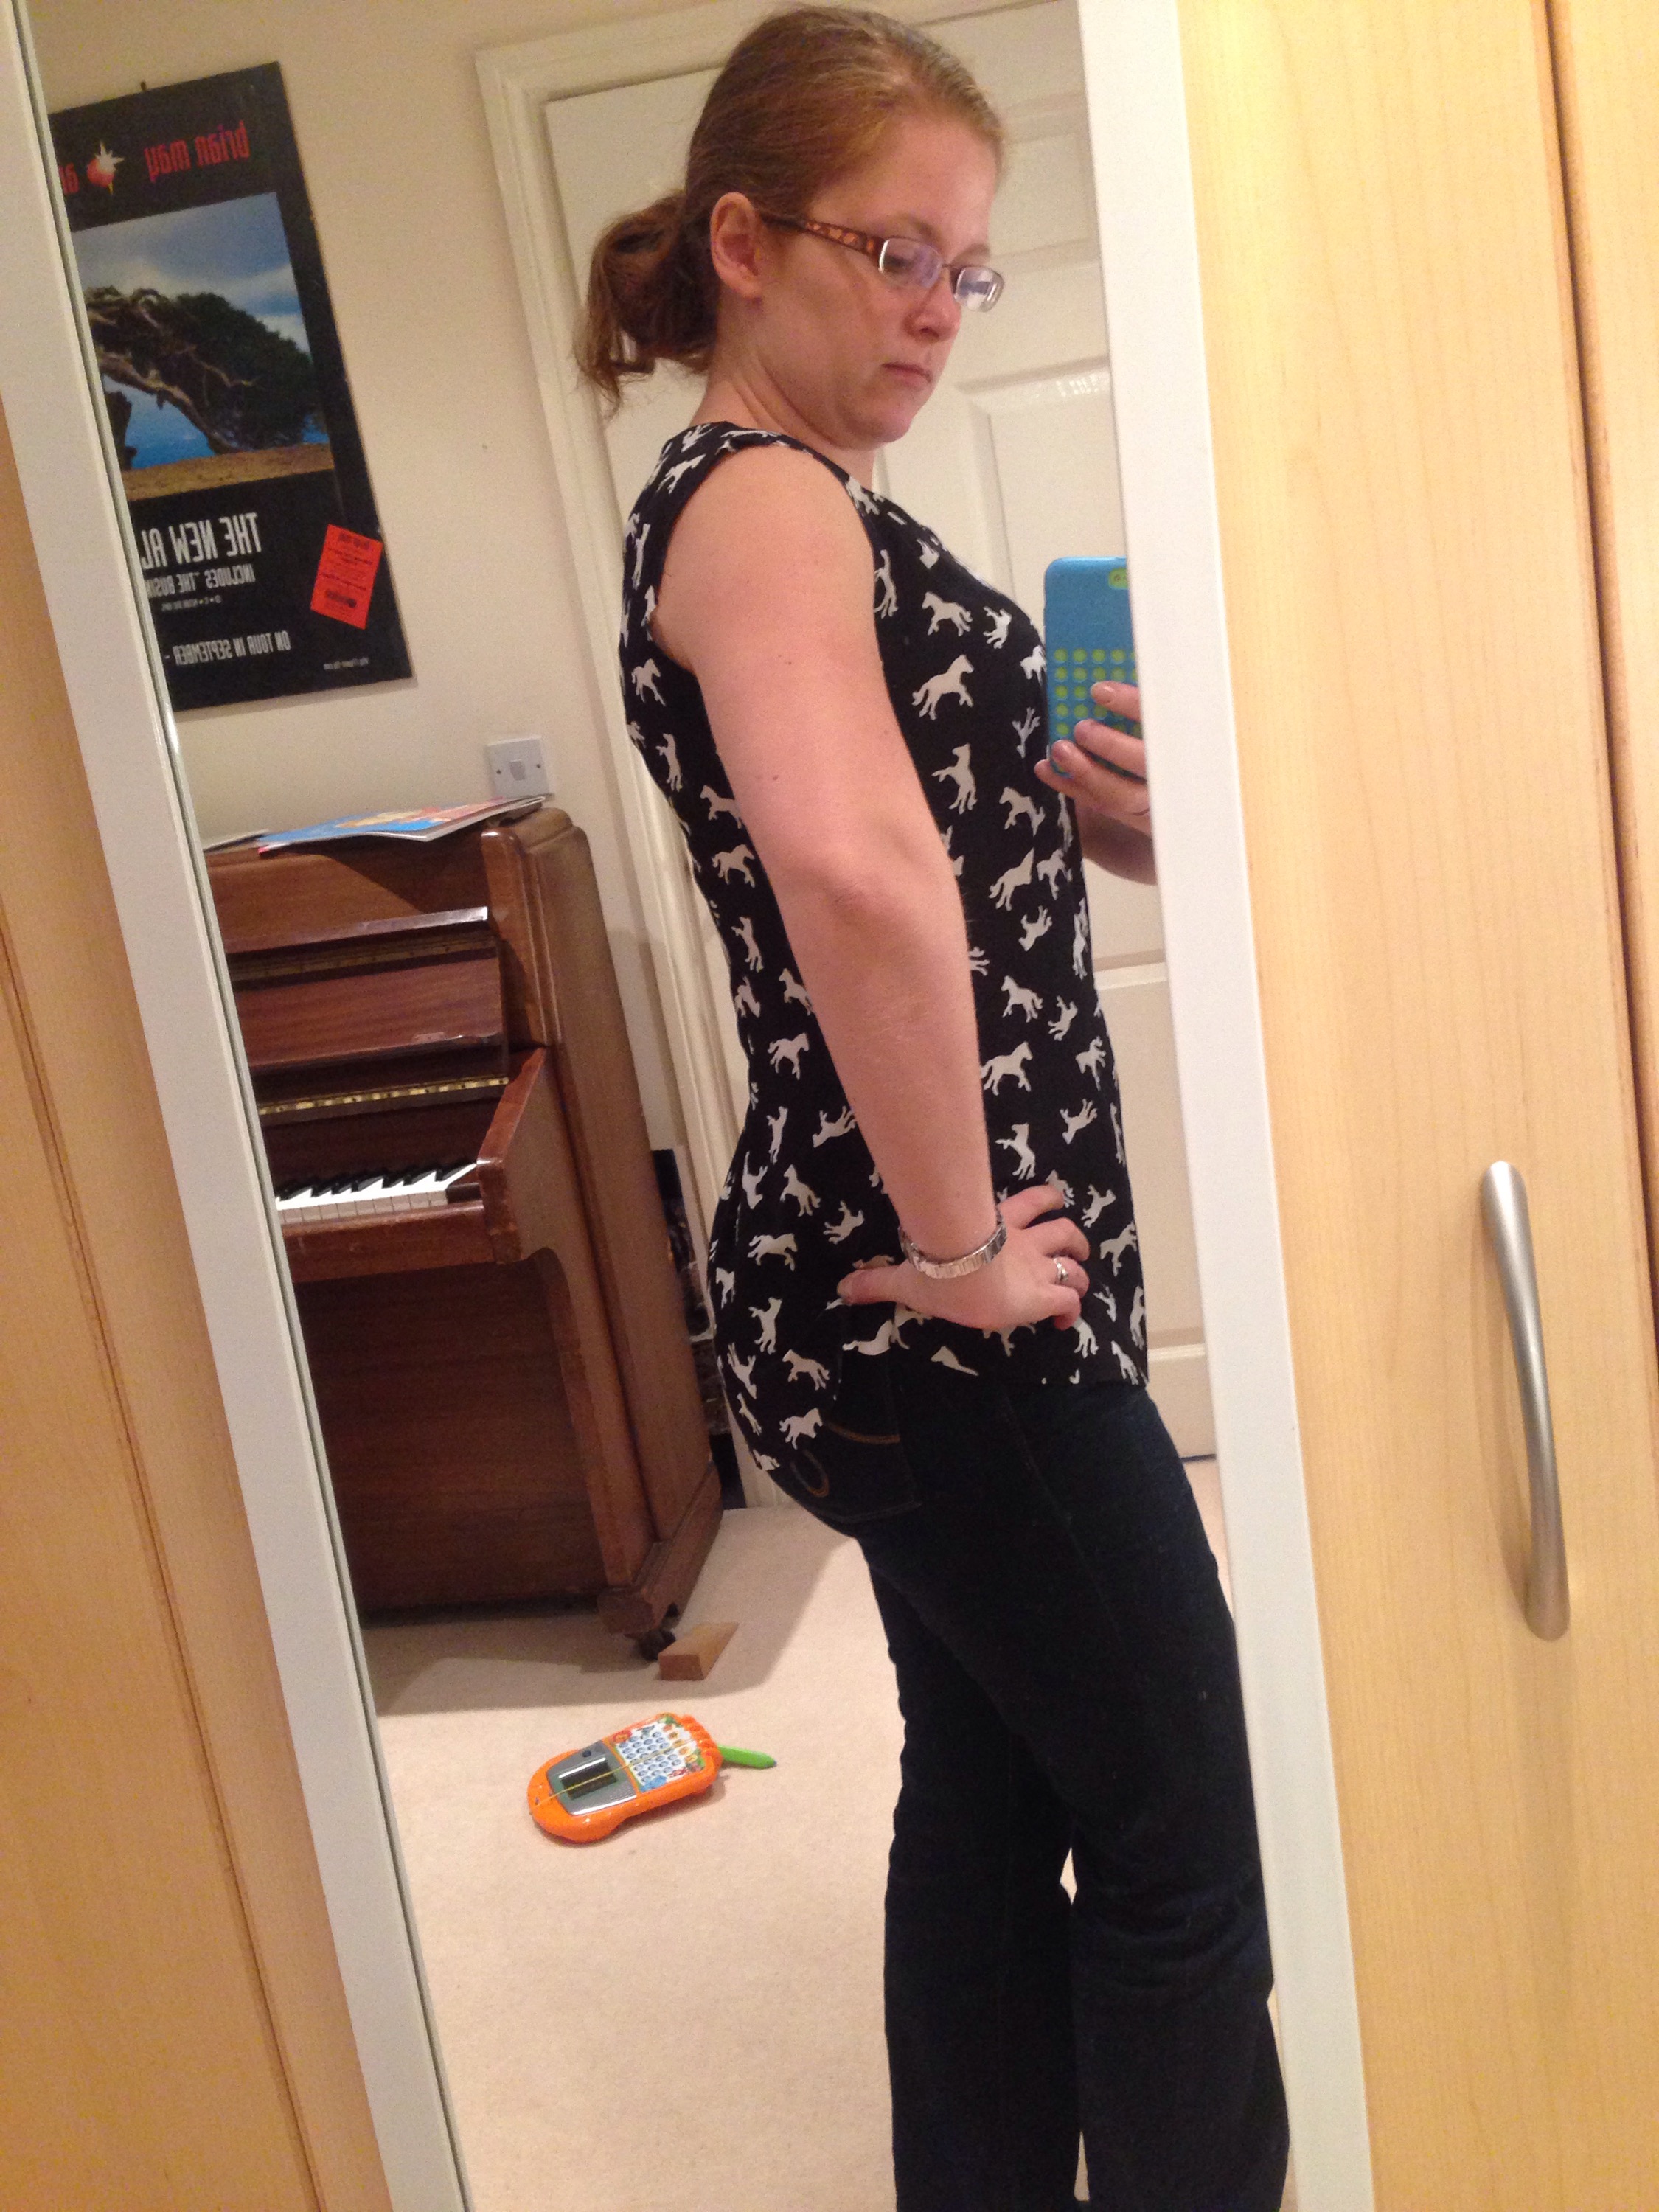
As you can see, I went for long sleeves and no collar on this one. The next one will have a collar but I couldn’t find an appropriate contrast fabric for this version and couldn’t see the point of a patterned one in this print.
And there will definitely be a next one as I love this pattern! It is precisely what I was looking for – a woven top which I can wear either with jeans or to work with tailored trousers or a skirt. It’s high necked so I don’t show more cleavage than I should when leaning over people’s desks doing training, or when chasing insane preschoolers around a soft play centre (Katie, we all know who I’m talking about here!) I’m also quite excited to try the shorter sleeved version but I hadn’t traced that pattern piece out.
Oh, and it covers my bum nicely as you can see in this in progress photo. Along with several of my chins, apparently! The joys of trying to photograph yourself.
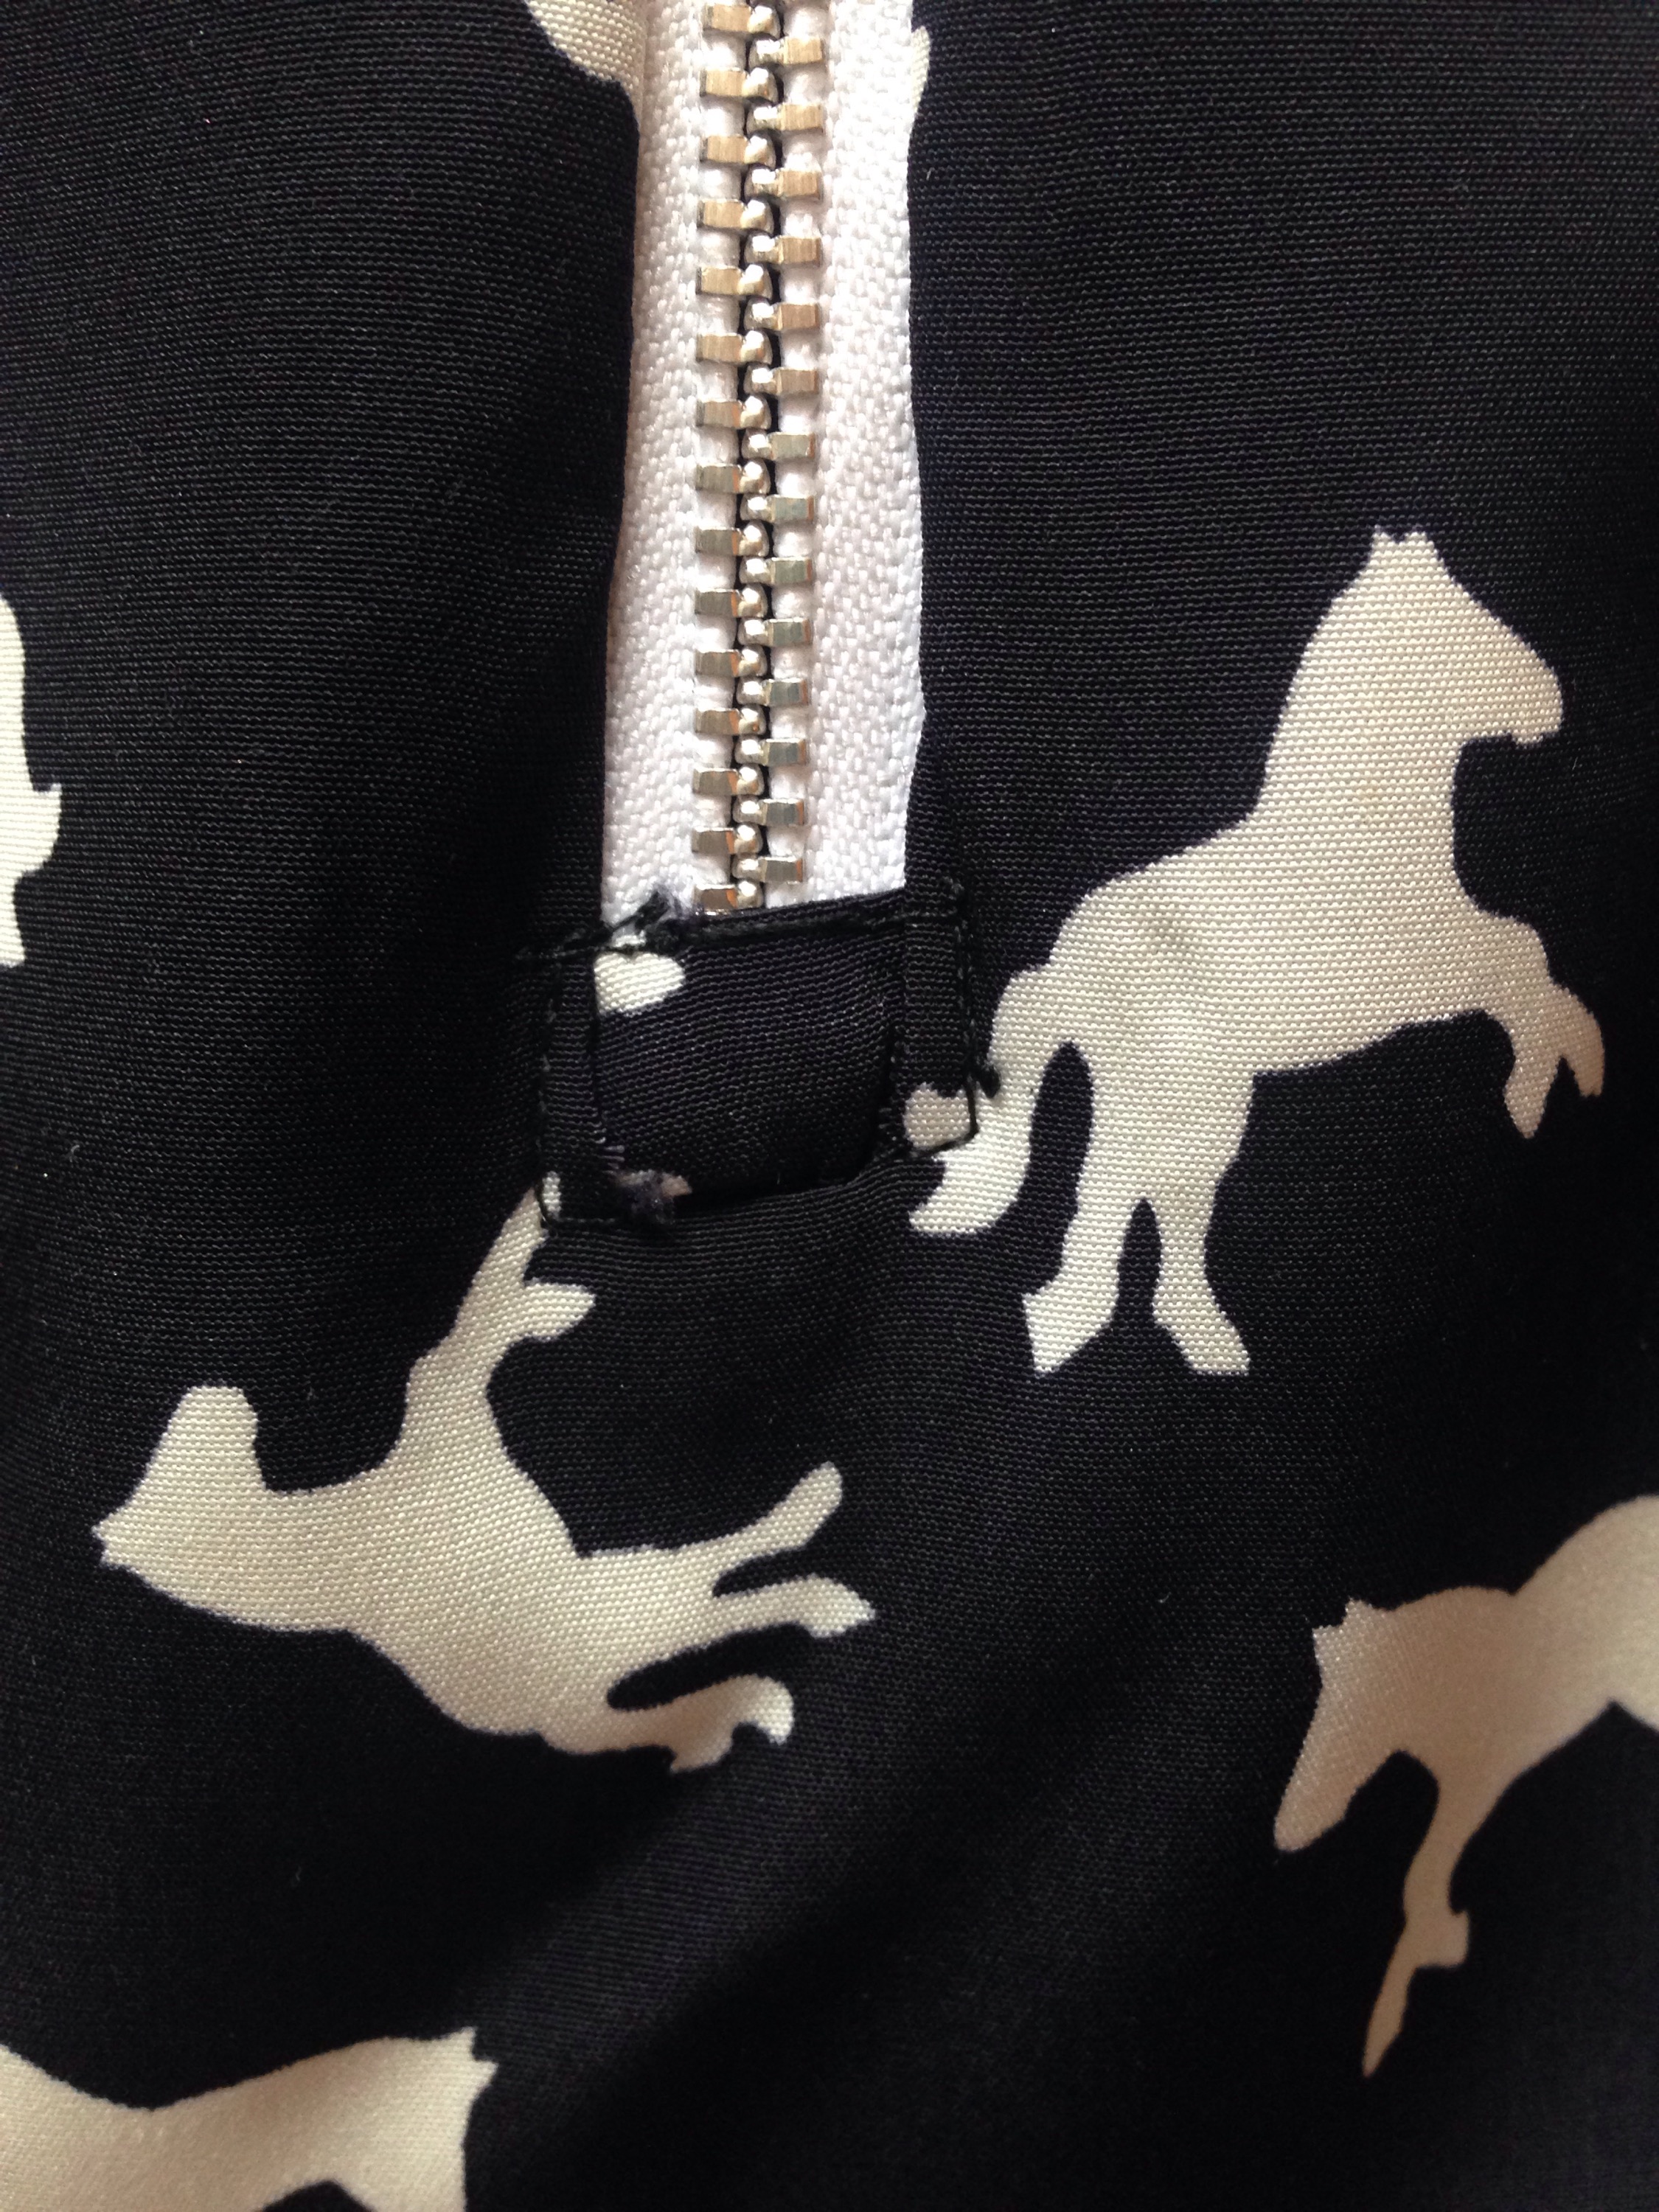
The pattern also features a rather nice exposed zip. Whilst mine does look better than this photo now it’s been pressed, I admit to having gone wrong here. I don’t know why or how, I would swear I traced the right sized pattern piece for the 7″ zip I used and measured down from the neckline carefully, but apparently more care is needed as there turned out to be a small gap at the bottom of the zip when I tucked the last little triangle off fabric out of the way.
Why does this happen on exposed zips and not invisible ones??
Anyway, I kind of fixed it by sewing a little tube out of a scrap and stitching it into place across the bottom of the zip, covering the slight gap. It’s not perfect and I’m just hoping that no fraying happens in the wash!
The pattern was a slightly more complicated one for me somehow, featuring some new tricks like these rather lovely curved bust darts. They give a lovely fit I must say, along with a very interestingly shaped bodice pattern piece. 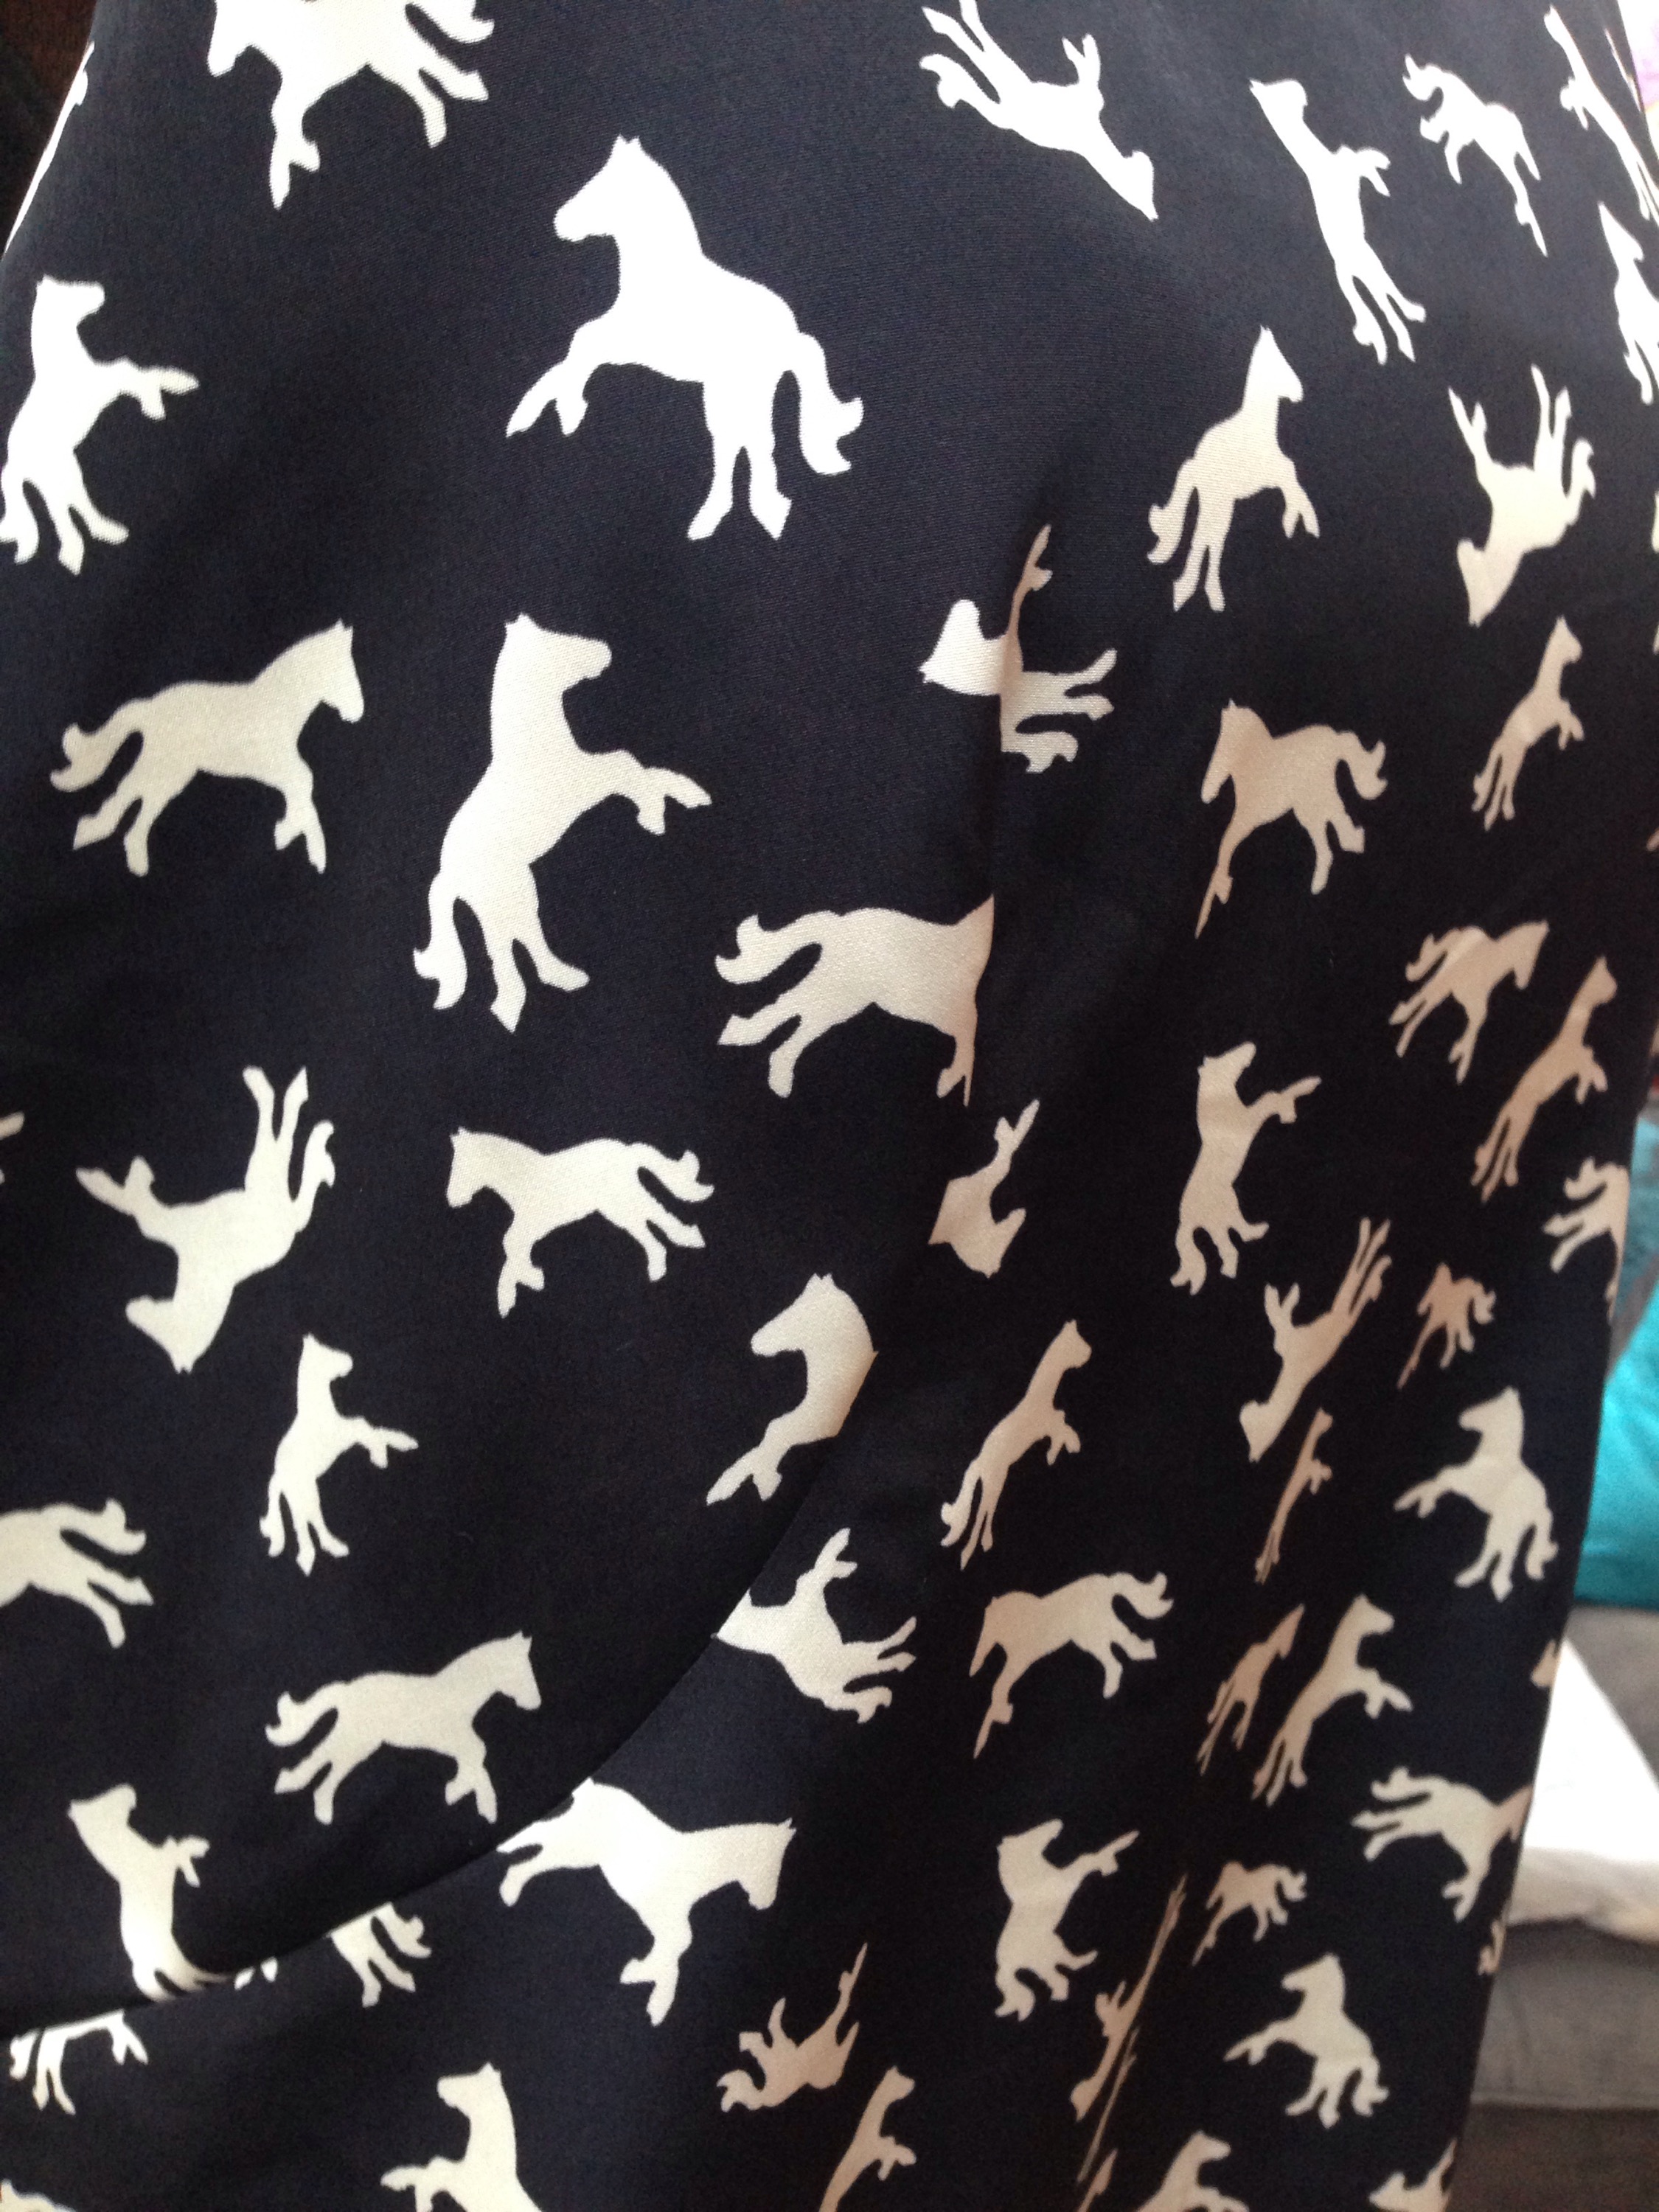
I’m not too sure how you’d go about adjusting this shaped pattern piece if you needed a full bust adjustment but thankfully I decided to manage without one. However, looking at the photo below, I’d say that a sway back adjustment might be something I need to learn to do in the future!
 But given the size of my bum versus my waist, I’ve had a lot of RTW tops that pull like that so never mind!
Size wise, I dithered as usual over sizes. Based purely on my measurements, I should cut at least a 5 if not a 6. However, I’ve done this before with Tilly patterns and felt that the finished garment was too big. Thankfully, Tilly puts finished garment measurements into the instruction booklet. Looking at those and my measurements (38″ / 33″ / 42″ with a high bust of 35″) I went with a 4 at the bust and waist and graded out to a 5 at the hips. Another time I might possibly use a slightly smaller seam allowance at the hips also, but this version will be fine over lighter weight jeans or work trousers.
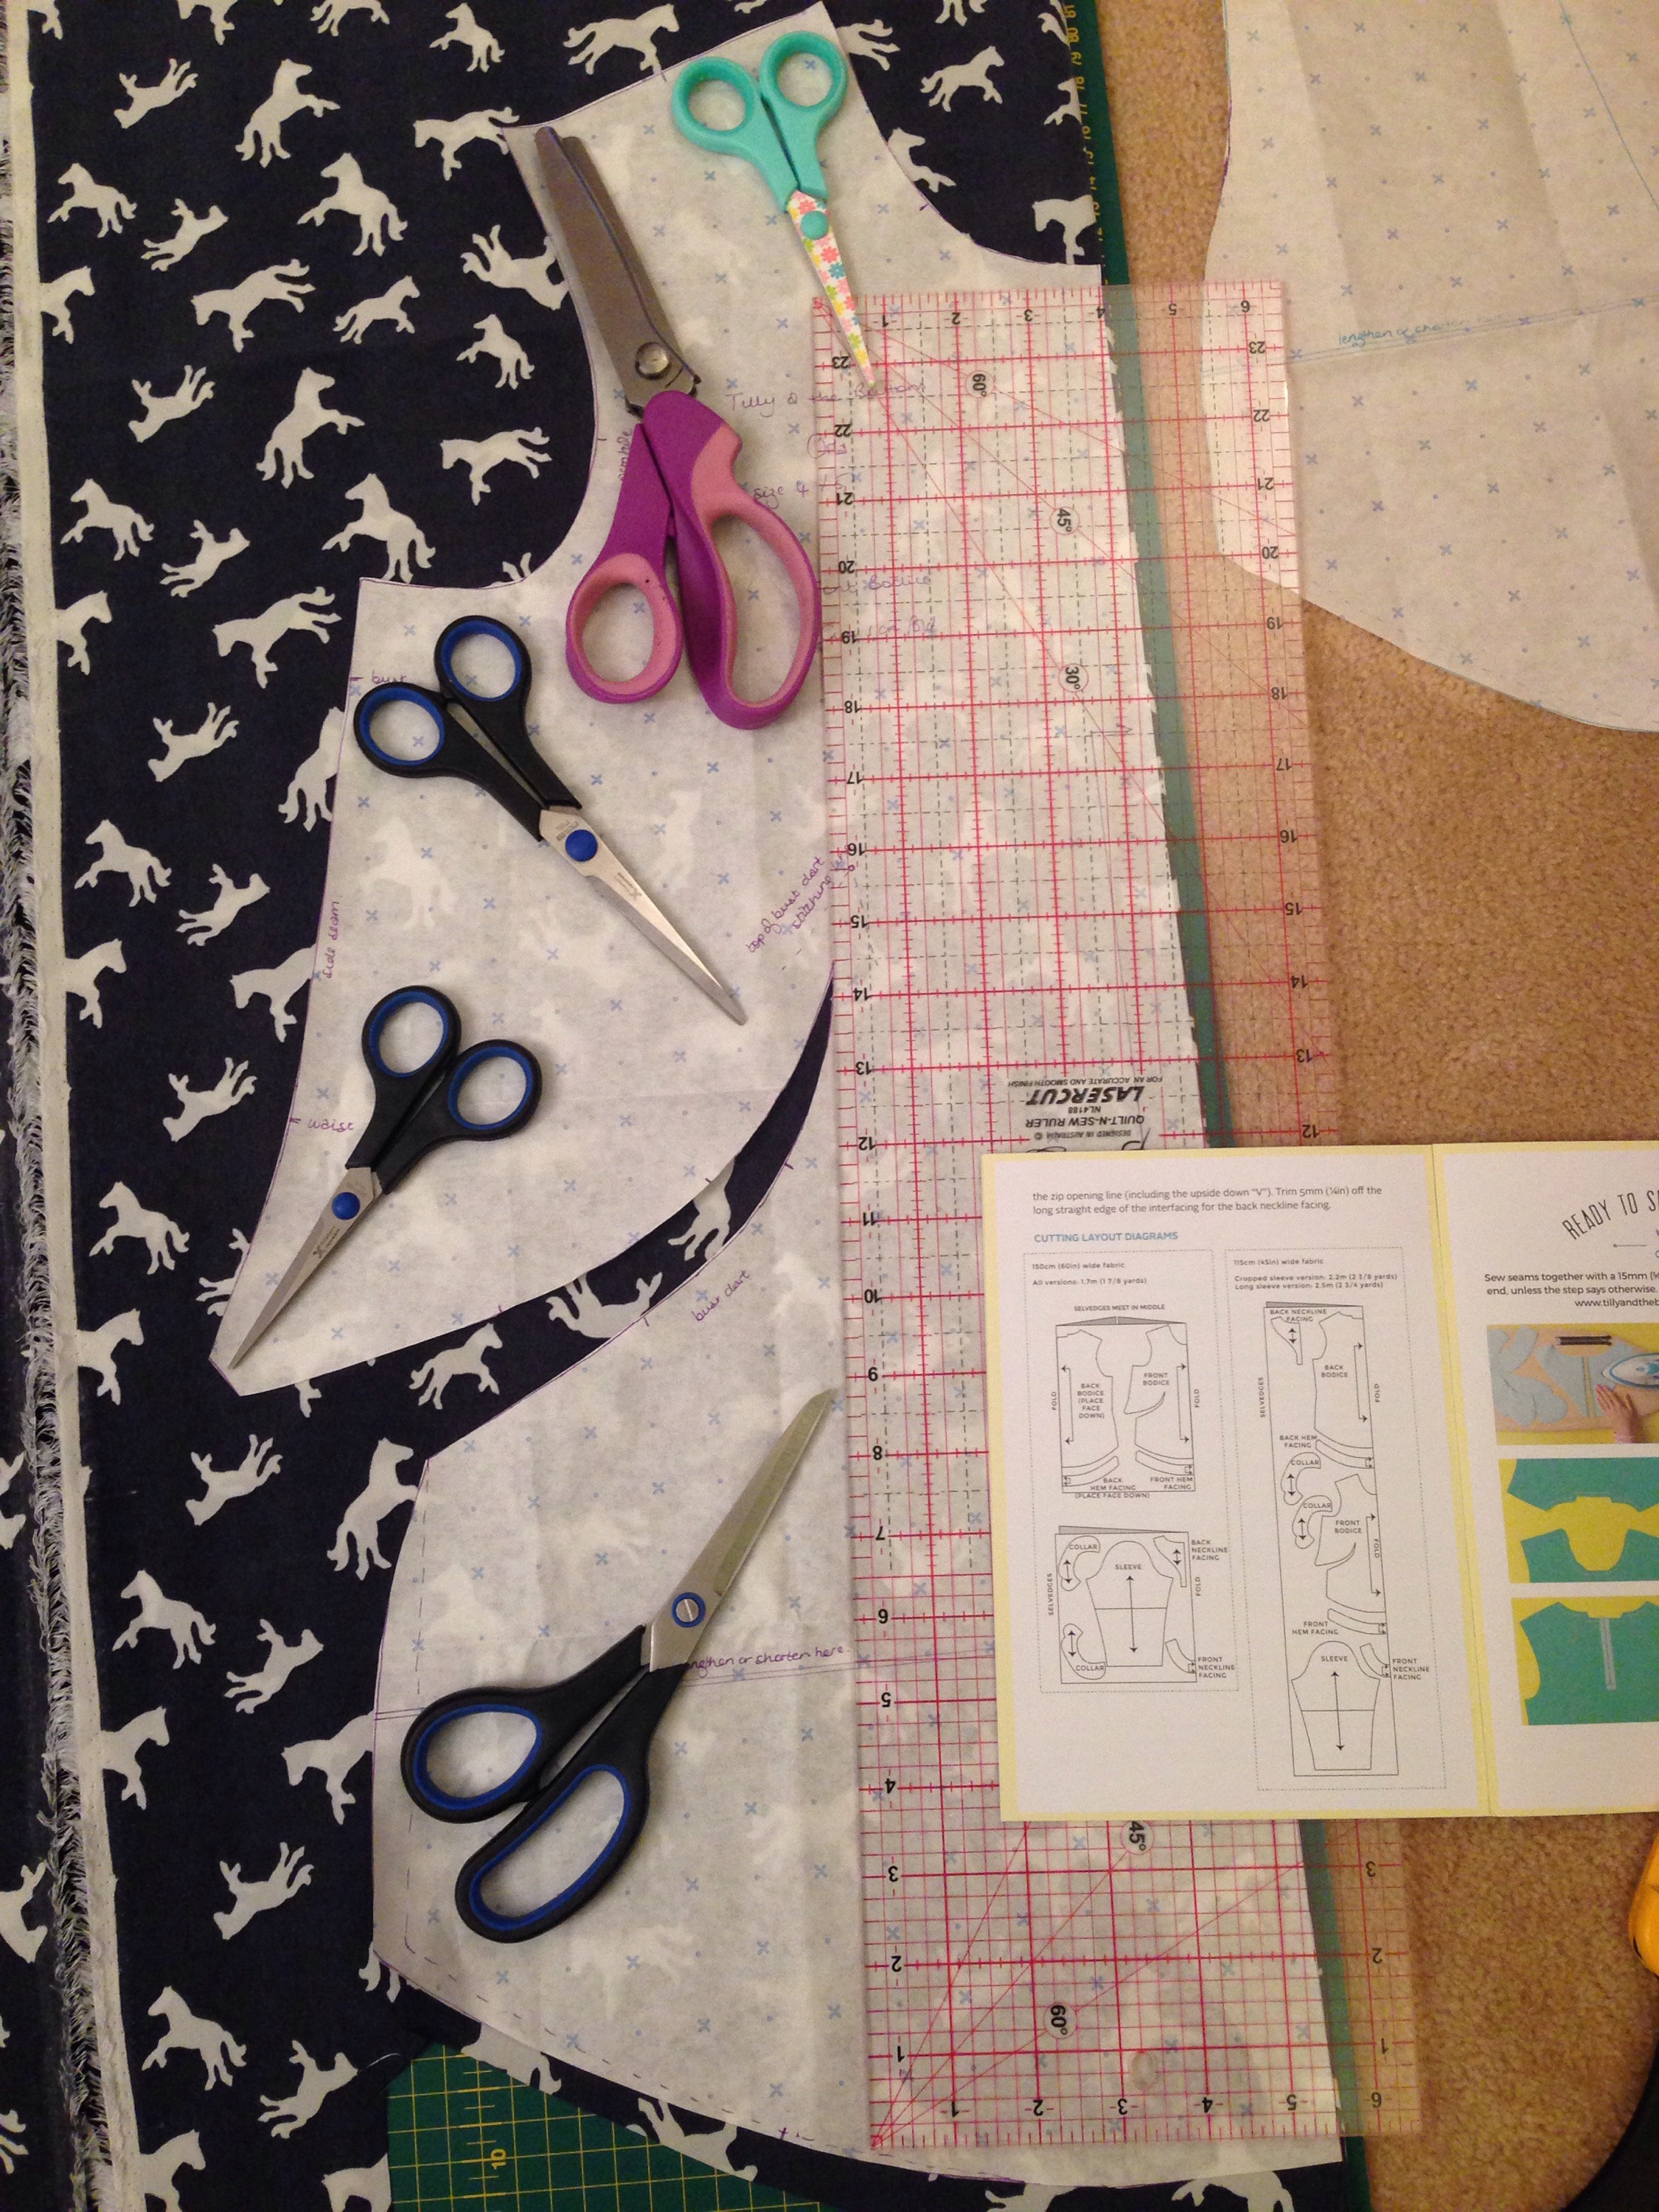
I’ve taken a couple of pictures of how I did the grading, simply because it’s something I was shown on the course I went on to make a Coco. I’d read loads about grading patterns and nowhere did it mention how to match the front and back pattern pieces. Probably because no one else needed it, but just in case you’re like me, this is what I did!
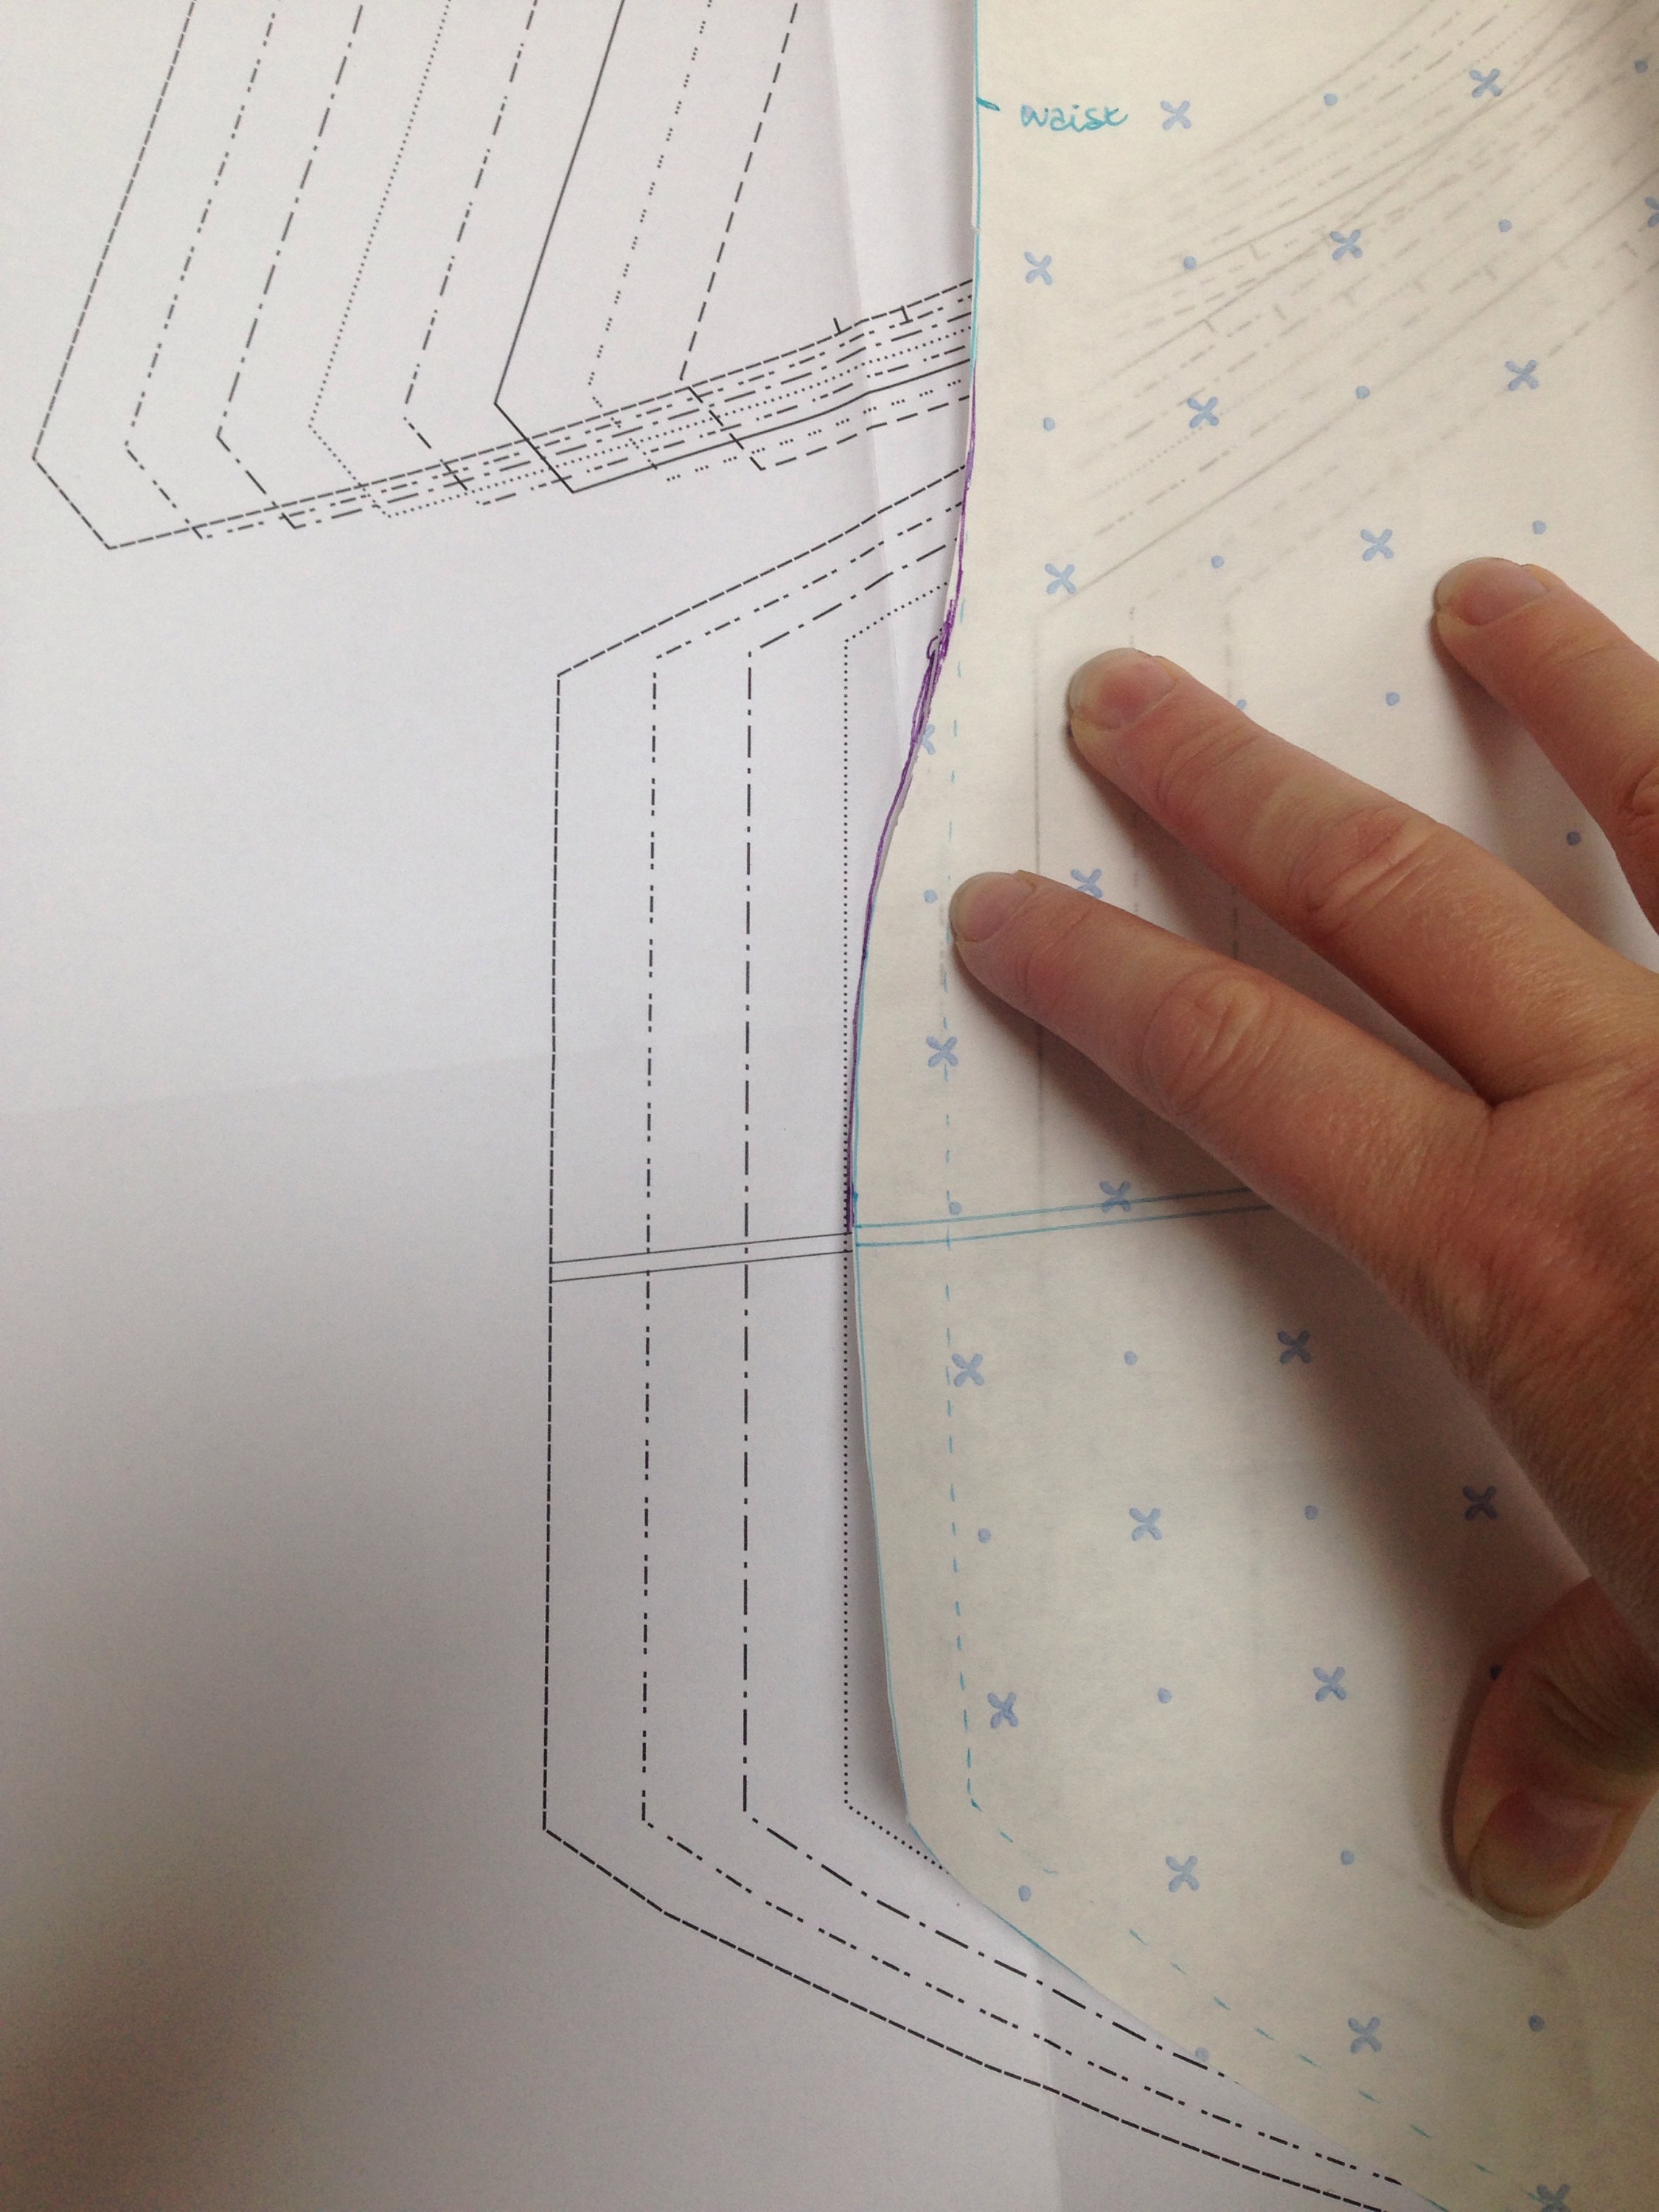
Firstly, locate the waist marking on the pattern. Measure down from your waist to the point at which you measure your hips (i.e. widest point). For me, that’s 8″. Measure 8″ down on the back paper pattern piece and mark that as your hip point – by that point you need to have reached the size 5 line instead of the 4 line when tracing. You can see the line I’ve taken when tracing over the original pattern piece below. 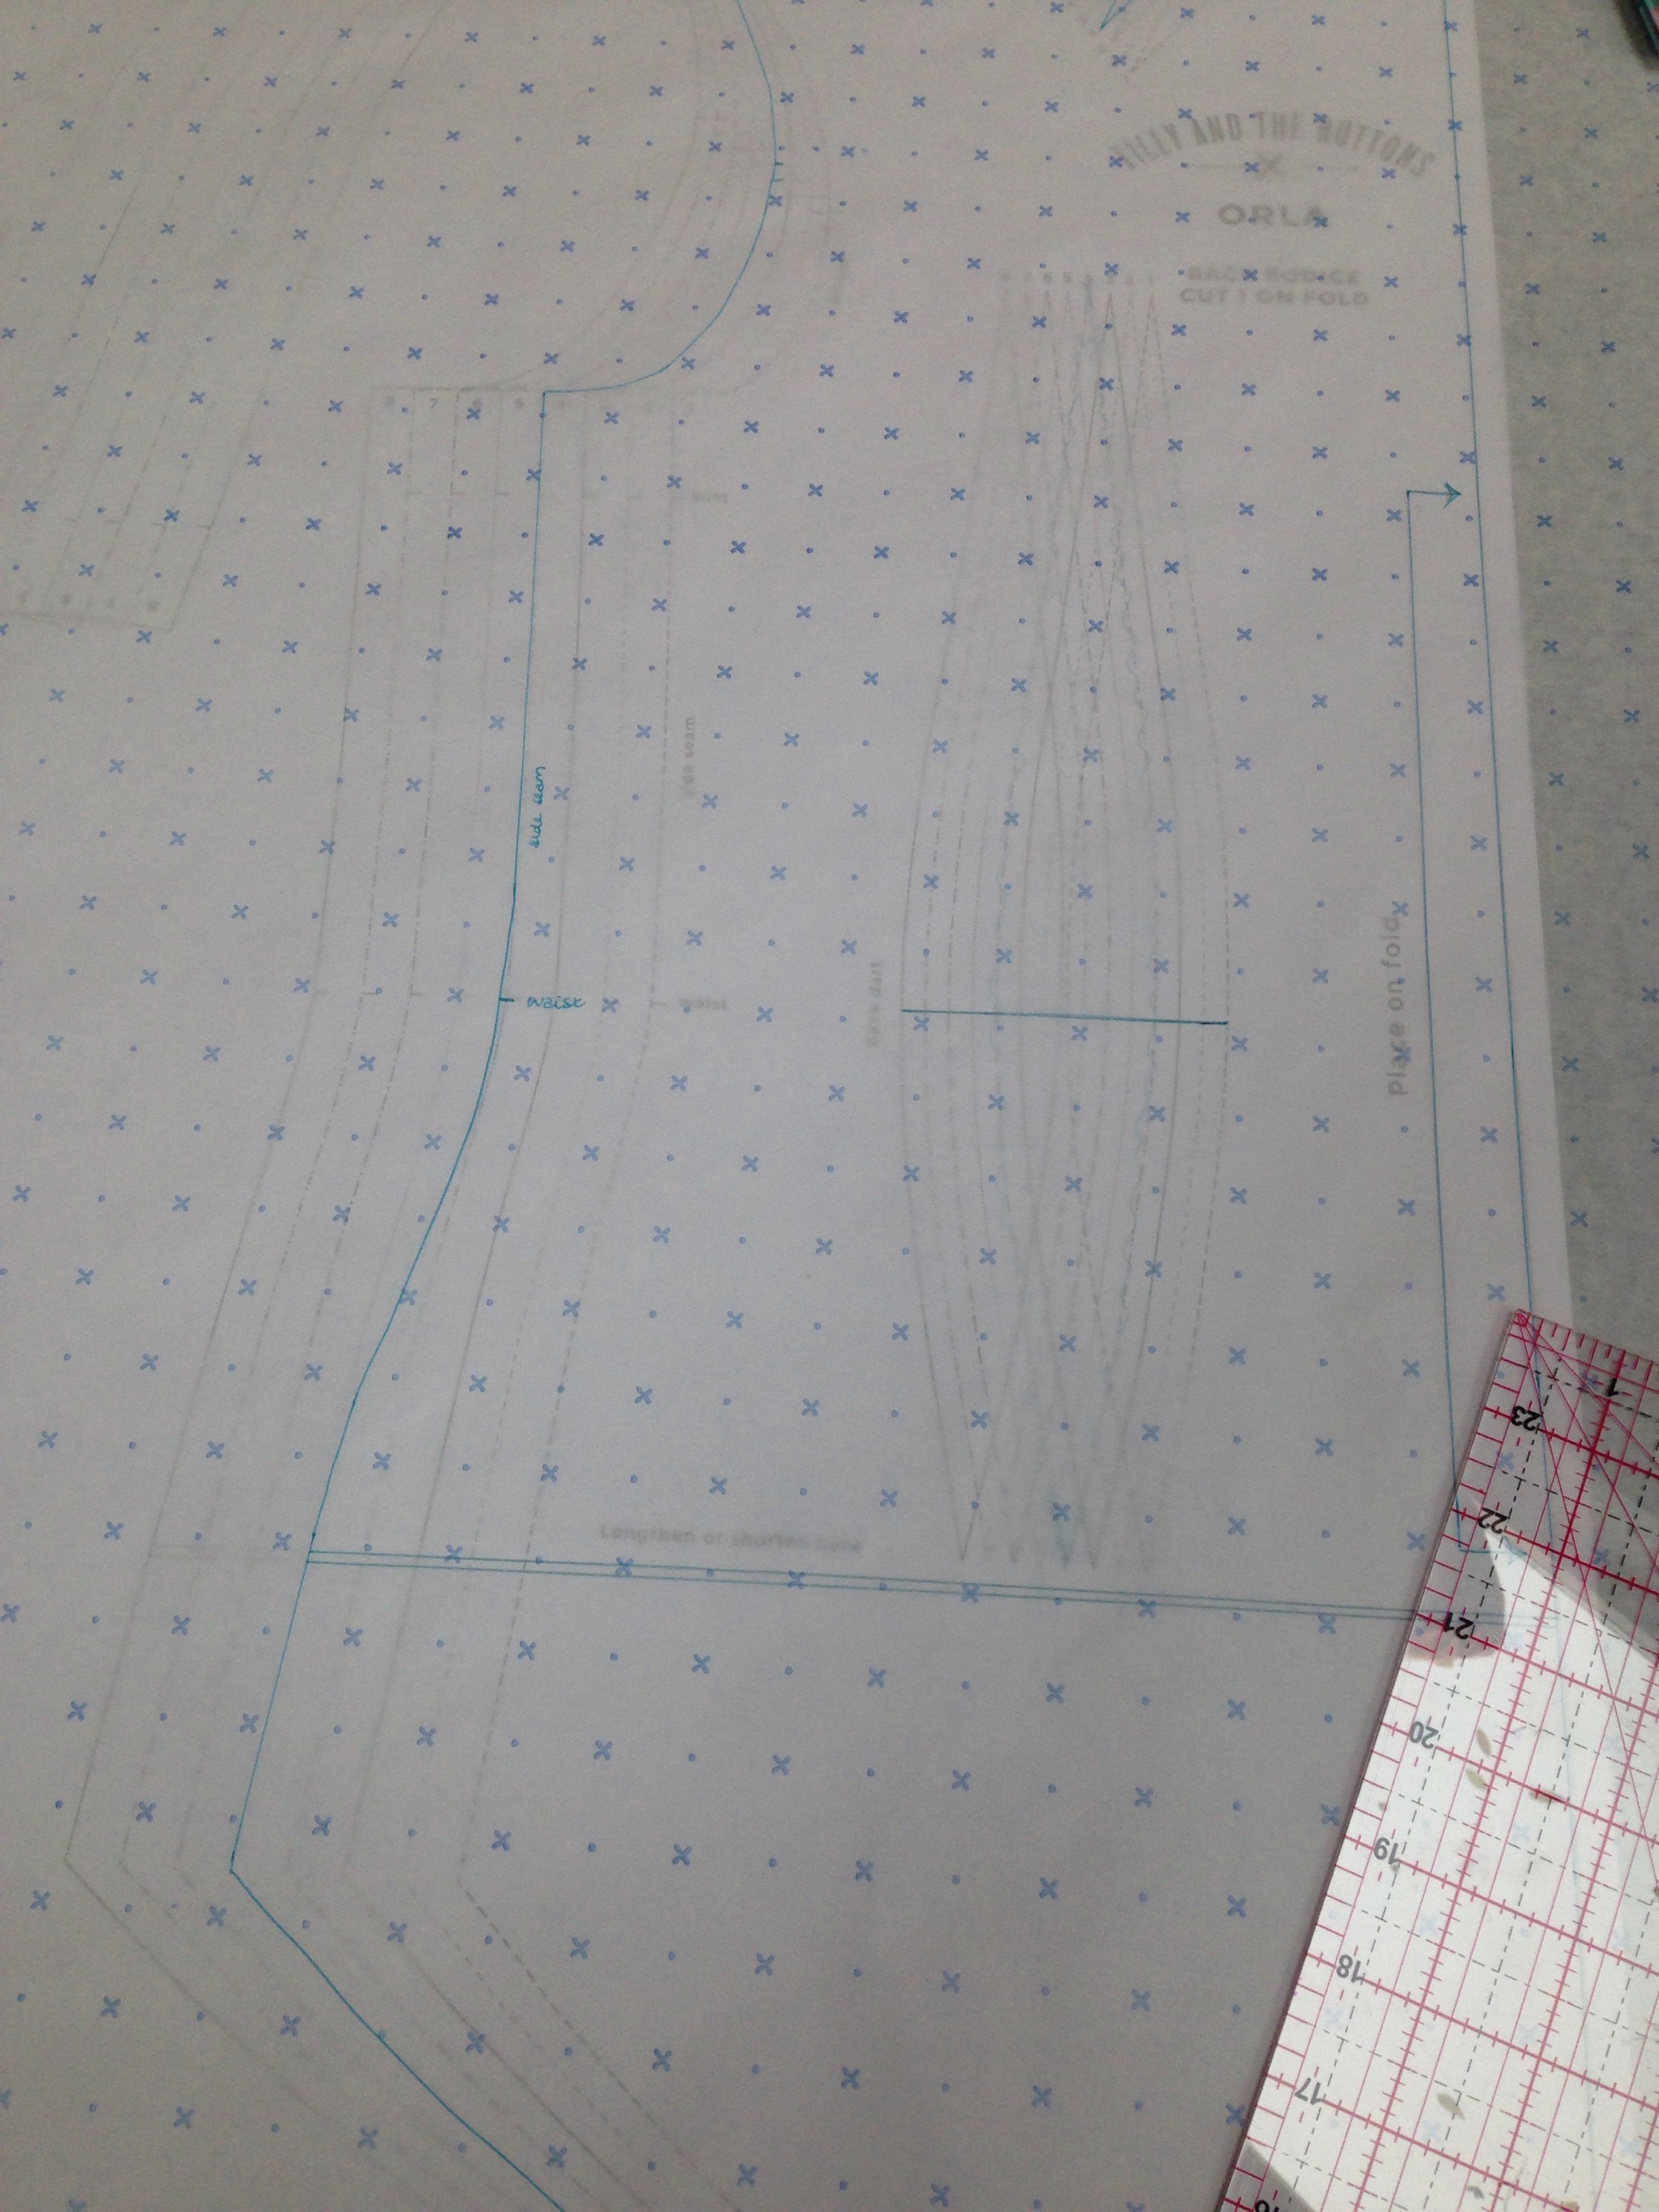 Then, to make sure front and back still match, on the front piece, lay your back pattern piece over the top (post adjustment) and line up on one of the key markings – in this case, I used the lengthen/shorten lines as well as the bottom of the pattern. Match up the size 5 line at the bottom and trace over the same shape from the back pattern piece to get from the 5 to the 4 line – in this case, happily, that was just where the bodice started getting to be an interesting shape for the bust dart lines!
The only other adjustment I made was to take a slightly smaller seam allowance for most of the sleeve – 3/8″ instead of 5/8″. I took it back to the expected 5/8″ at the top of the sleeve where it needed to fit into the bodice so I wouldn’t have any problems fitting it into the sleeve head, but I hate tight sleeves around my upper arm so prefer to make this adjustment.
All in all, I’m really happy with this make. I have fabric lined up for the next version (don’t I always?) but it’s safe to say there will be many Orla’s in my future!
Thanks Tilly!
Becca x


You are amazing for tracing!! With love sewing patterns I always hack into them I want to sew up the Sophia top and you’re the second person I know who has said to lengthen it. Have you seen the sew along at http://livingonashoestring.net ?
The Orla looks amazing, horse fabric!!! I love it. I didn’t realise it had so many interesting lines from the pictures I saw of it. Really looking forward to seeing more of yours xx
LikeLike
Honestly, it’s fear of messing up a pattern that has me tracing – I’m never confident on my sizing! I think I’m just a bit old for a very cropped top – I wore them last time round when I was in 6th form and weighed 8 stone! Thank you for your lovely comments 😊
LikeLike
I wasn’t sold on this pattern but now, seeing all the details I absolutely am! I couldn’t see past the collar, which doesn’t do it for me, but love your long sleeved version. I always wish I’d lengthened everything!
LikeLike
Thank you! I do like the collar but there’s no point with fabric like this. Think it’s going to be perfect for the office over winter
LikeLike
I’ve received this pattern and it has bumped its way high up on my to do list. Seeing your post has only made it climb higher!
LikeLike
Excellent! Can’t wait to see your version!
LikeLike
I love the fabric choice and I’ll keep your zip fix in mind for next time I bodge one! Thanks!
LikeLike
😂 I was so annoyed when I thought I’d been so careful!
LikeLike
Sorry for delayed response – catching up on my backlog! Great top – it had never occurred to me to match before when grading – thanks for the tip. Finally, you hair looks great like that!
LikeLike
😊 compliments on compliments – thank you all round! The matching was totally Zoe and it was one of those, “why has this never occurred to me” moments! Glad it’s helpful!
LikeLike
Great top. I wasn’t convinced by this pattern when it came out, but yours has got me reconsidering! Looks great on you.
LikeLike
😊 thank you! I definitely have more of these planned!
LikeLike