

Hi there!
Today is reveal day for this month’s Sew My Style challenge and I’m pretty excited about this one. Not only have I completed my third project for this challenge in three months, but it also ticks the boxes for Make Nine 2018 AND Make your stash, so I’m feeling pretty smug.
The pattern in question is the Closet Case Patterns Kalle shirt dress, which includes options for a shirt dress, a tunic and a cropped top. There are different placket and collar options and you can opt to include a front pocket. I went for view B, the tunic, and chose the popover placket with a full collar, rather than just a collar stand. I decided the print didn’t need the pocket and I didn’t have the time spare to add one!

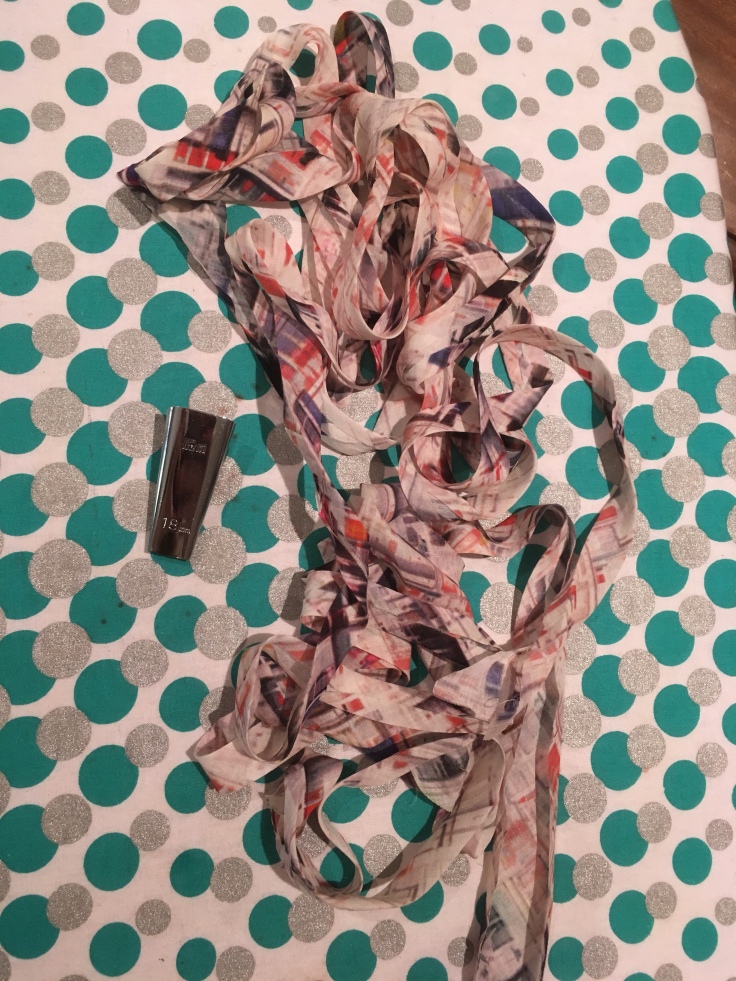
I mentally paired up the fabric with this pattern as part of my Make Nine 2018 challenge as it’s been sitting in my stash for way too long. I think I got it from Fabric Godmother, but I wouldn’t swear to it, which in itself tells you I’ve had it a long time! I absolutely love the print, it looks kind of Ted Baker-esque to me which can only be a good thing.

When I fished it out to get making though, I realised how incredibly light weight it is. It’s described as a voile but it feels almost gauze like, which presented a few challenges.
I chose to make view B and I got a size 8 out of less than 2 metres of fabric. I cut out as ever using my rotary cutter which definitely helped with this shifty fabric.

Construction wise, I found the instructions pretty clear. Because the fabric was so prone to fraying, I decided to use french seams throughout which gives it a great finish inside. I also kind of like the feel of luxury I get from french seams, it’s like I bothered to spend lots of extra time on myself.

I ignored the bias binding pattern piece (as ever) and used self made continuous bias binding, which never ceases to feel like some kind of magic trick. How can so much bias binding appear from such a small square of fabric?
The pattern uses the burrito method to finish the yoke and I love it! It always seems totally impossible that it’s going to work and then it does! One thing I did do differently here was to stay stitch the neckline before I did the yoke, rather than afterwards; I was worried that yanking the whole thing through the neckline would distort the fabric so made sure it would stay in shape.

The only other place I veered away from the instructions was in attaching the collar and collar stand; I now use the method detailed on Sew Sarah Smith’s blog as standard and I’m much happier with the results I get with it. You basically attach one bit at a time; outer collar stand to shirt, outer collar stand to under collar, under collar to top collar, top collar to inner collar stand. I find this so much easier and more reliable.

One thing I am absolutely thrilled with on this shirt was the popover placket. I often struggle with these but, possibly because the material was so lightweight, I found this one just worked. I edge stitched using my normal foot but moving my needle all the way over to one side and all the pattern markings were transferred using dressmaker’s carbon paper so I was really confident about where to press, but it all just came together really well.

I think I’m now reaching peak gadget geek when it comes to shirt making. In putting this together, I used
- My silk organza pressing cloth
- My bias binding maker
- My MIY point turner/seam allowance gadget
- My chalk pencil with interchangeable leads
- My Simflex gauge
- My buttonhole foot
- My button foot
- My new and shiny buttonhole chisel and fray check (LOVE this: heard about it on the Love To Sew podcast and the combination of the two is superb!
And that’s over and above my usual rotary cutter, duck billed scissors, magnetic pin dish… I’m slightly concerned that I will soon get to a point where I don’t need more sewing gadgets: what will I do?!

Style wise, I’m not sure. I can’t decide whether or not I like this tunic length on me or whether I might get more wear out of it were I to shorten it to a normal shirt length? Jury’s out I guess. I’m tempted to wear it a few times and see how I feel, but I can realistically see me altering this.

Still, I am really pleased with it anyway. The shirt style lines are great and the techniques in it are satisfying. I can see me making it again, but possibly a slightly lengthened view A. I’m beyond wanting to run the risk of my tummy flashing people at work!

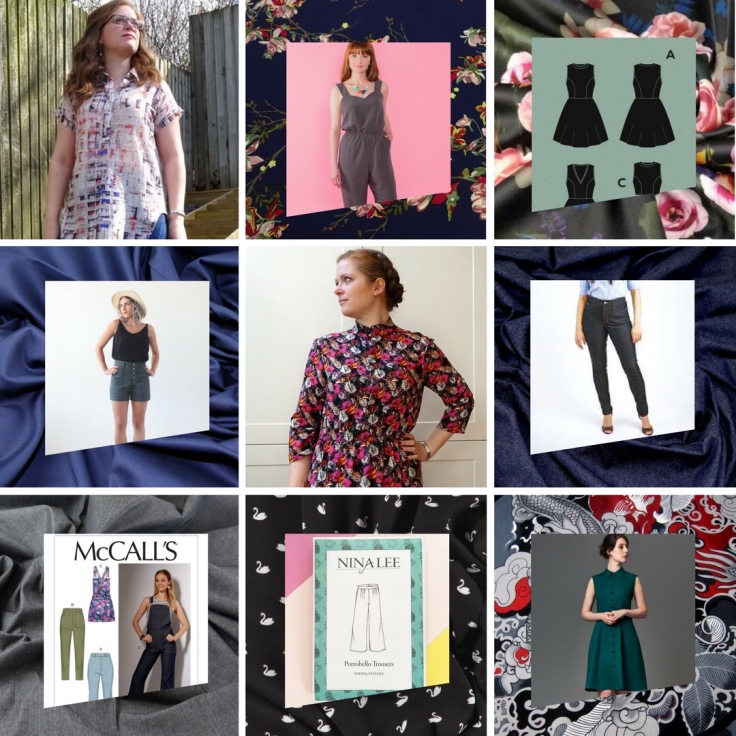
So, all in all, another good make from Sew My Style challenge. I’ve already ordered next month’s pattern, but can’t decide whether to go for the jumpsuit or the trousers. Thoughts on how likely I am to wear this jumpsuit, anyone?
Becca x
Details
Pattern
Closet Case Patterns Kalle shirt
Fabric City print cotton voile, possibly from Fabric Godmother? found lurking in the depths of the stash!
My measurements
Bust: 36″
Waist: 31″
Hips: 41″
Size cut 8
Adjustments made
None
Future adjustments?
As above: I’d probably make the cropped version less cropped
Make again?
Probably: also wondering whether I could rock the shirt dress or whether I’d feel a little too sack like?


I’ve got a couple of versions of this Kalle. I levelled up the front and back on option B and found it much more wearable for me
LikeLiked by 1 person
Yes, that might be the way forward: I like the front length so maybe if the back were similar I’d be more comfortable with it. Thanks!
LikeLike
This looks great on you, really like the tunic length as it looks great with skinny jeans or you could wear it with smarter trousers and heels for a night out. Great print😊
LikeLiked by 1 person
Thanks!
LikeLike
I think it looks grand as is but it has to feel right too doesn’t it. That placket is beautifully done. And I laughed at your comment about reaching peak gadget…I hope not, gadgets rock!!! (And thanks for the shout out!)
LikeLiked by 1 person
Surely there will always be another gadget?
LikeLike
I love it! You picked the perfect fabric and pattern. Very cute! Sewing tools are the best, aren’t they. Sometimes I feel like it is just an excuse to spend money on sewing but then when I start using them regularly I am really pleased that I have the helping hands – oh! Cute label and buttons!
LikeLiked by 1 person
I think the shirt looks wonderful on you, but I’m not seeing you in person. Only you can decide if it’s right for you, but I think it’s perfect, especially with the bottoms you are wearing.
LikeLiked by 1 person
Thank you!
LikeLike
Nice job. Love the length you chose, the fabric and those buttons.
LikeLiked by 1 person
Thanks: I am very fond of the buttons!
LikeLike
Your placket is so crisp!! Satisfying even second-hand for me. XD Also I love that your pattern weights are beautiful rocks!
LikeLiked by 1 person
Thanks! The pattern weights are a recent upgrade from my phone, the tv remote, random small toys….
LikeLike